
Clutch Pre-Assembly
02/17/14 23:58 Filed in: All
The clutch is pretty basic. First, install a threaded steel plug in the top piece and cross drill for a bolt. I don't have picture, but found a little trick. BJ says to use a vice or a press to jam in the plug. I looked down the tube and plug with a small flashlight shining UP through the tube. It could be seen that the steel tube was slightly out of round (probably from the welding). Well, just give a light squeeze in a vice to the tube on the wide sides and the plug just tap, taps in with a little piece of wood - actually very gently. No ham-handed vice-pressing needed.
Next up is drilling the side plates to the clutch lever arm. I made use of my jig plates (from the cyclic tube mixer mount operation) to get a perfect alignment between the bolts and the holes for the plates.
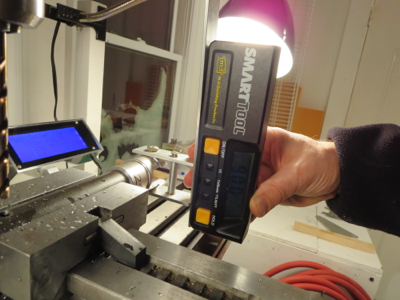
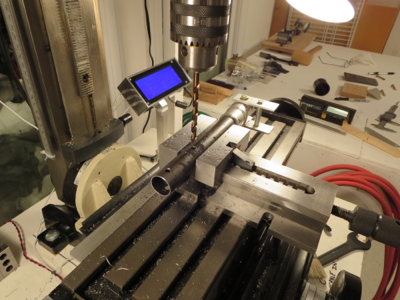
Jig plates repurposed and alignment exact. It pays to make sure that mill is perfectly level and mill head is trammed. Then everything can be referenced to 0.0 degrees or 90.0 degrees.
It seems like a pain to make little jig thingies for a single operation, but I usually can find a secondary purpose for them which make the time spent much more worthwhile.
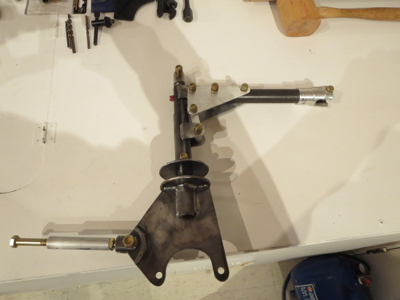
Complete clutch assembly pre-fitted (except rubber parts and bearing). Now I just have to tidy up the steel parts (they picked up some scale having sat for so long), prime, and paint. With the precision of the mill, and no broken drill bits, the pieces just fall together, snug and true. The clutch is a very simple assembly project.

Next up is drilling the side plates to the clutch lever arm. I made use of my jig plates (from the cyclic tube mixer mount operation) to get a perfect alignment between the bolts and the holes for the plates.

Jig plates repurposed and alignment exact. It pays to make sure that mill is perfectly level and mill head is trammed. Then everything can be referenced to 0.0 degrees or 90.0 degrees.
It seems like a pain to make little jig thingies for a single operation, but I usually can find a secondary purpose for them which make the time spent much more worthwhile.

Complete clutch assembly pre-fitted (except rubber parts and bearing). Now I just have to tidy up the steel parts (they picked up some scale having sat for so long), prime, and paint. With the precision of the mill, and no broken drill bits, the pieces just fall together, snug and true. The clutch is a very simple assembly project.