
DirectionalControls
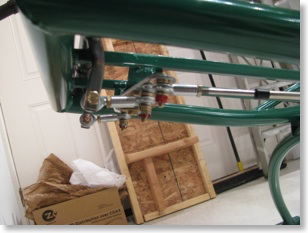
Final Pedal Mounting
02/02/14 15:46 Filed in: All
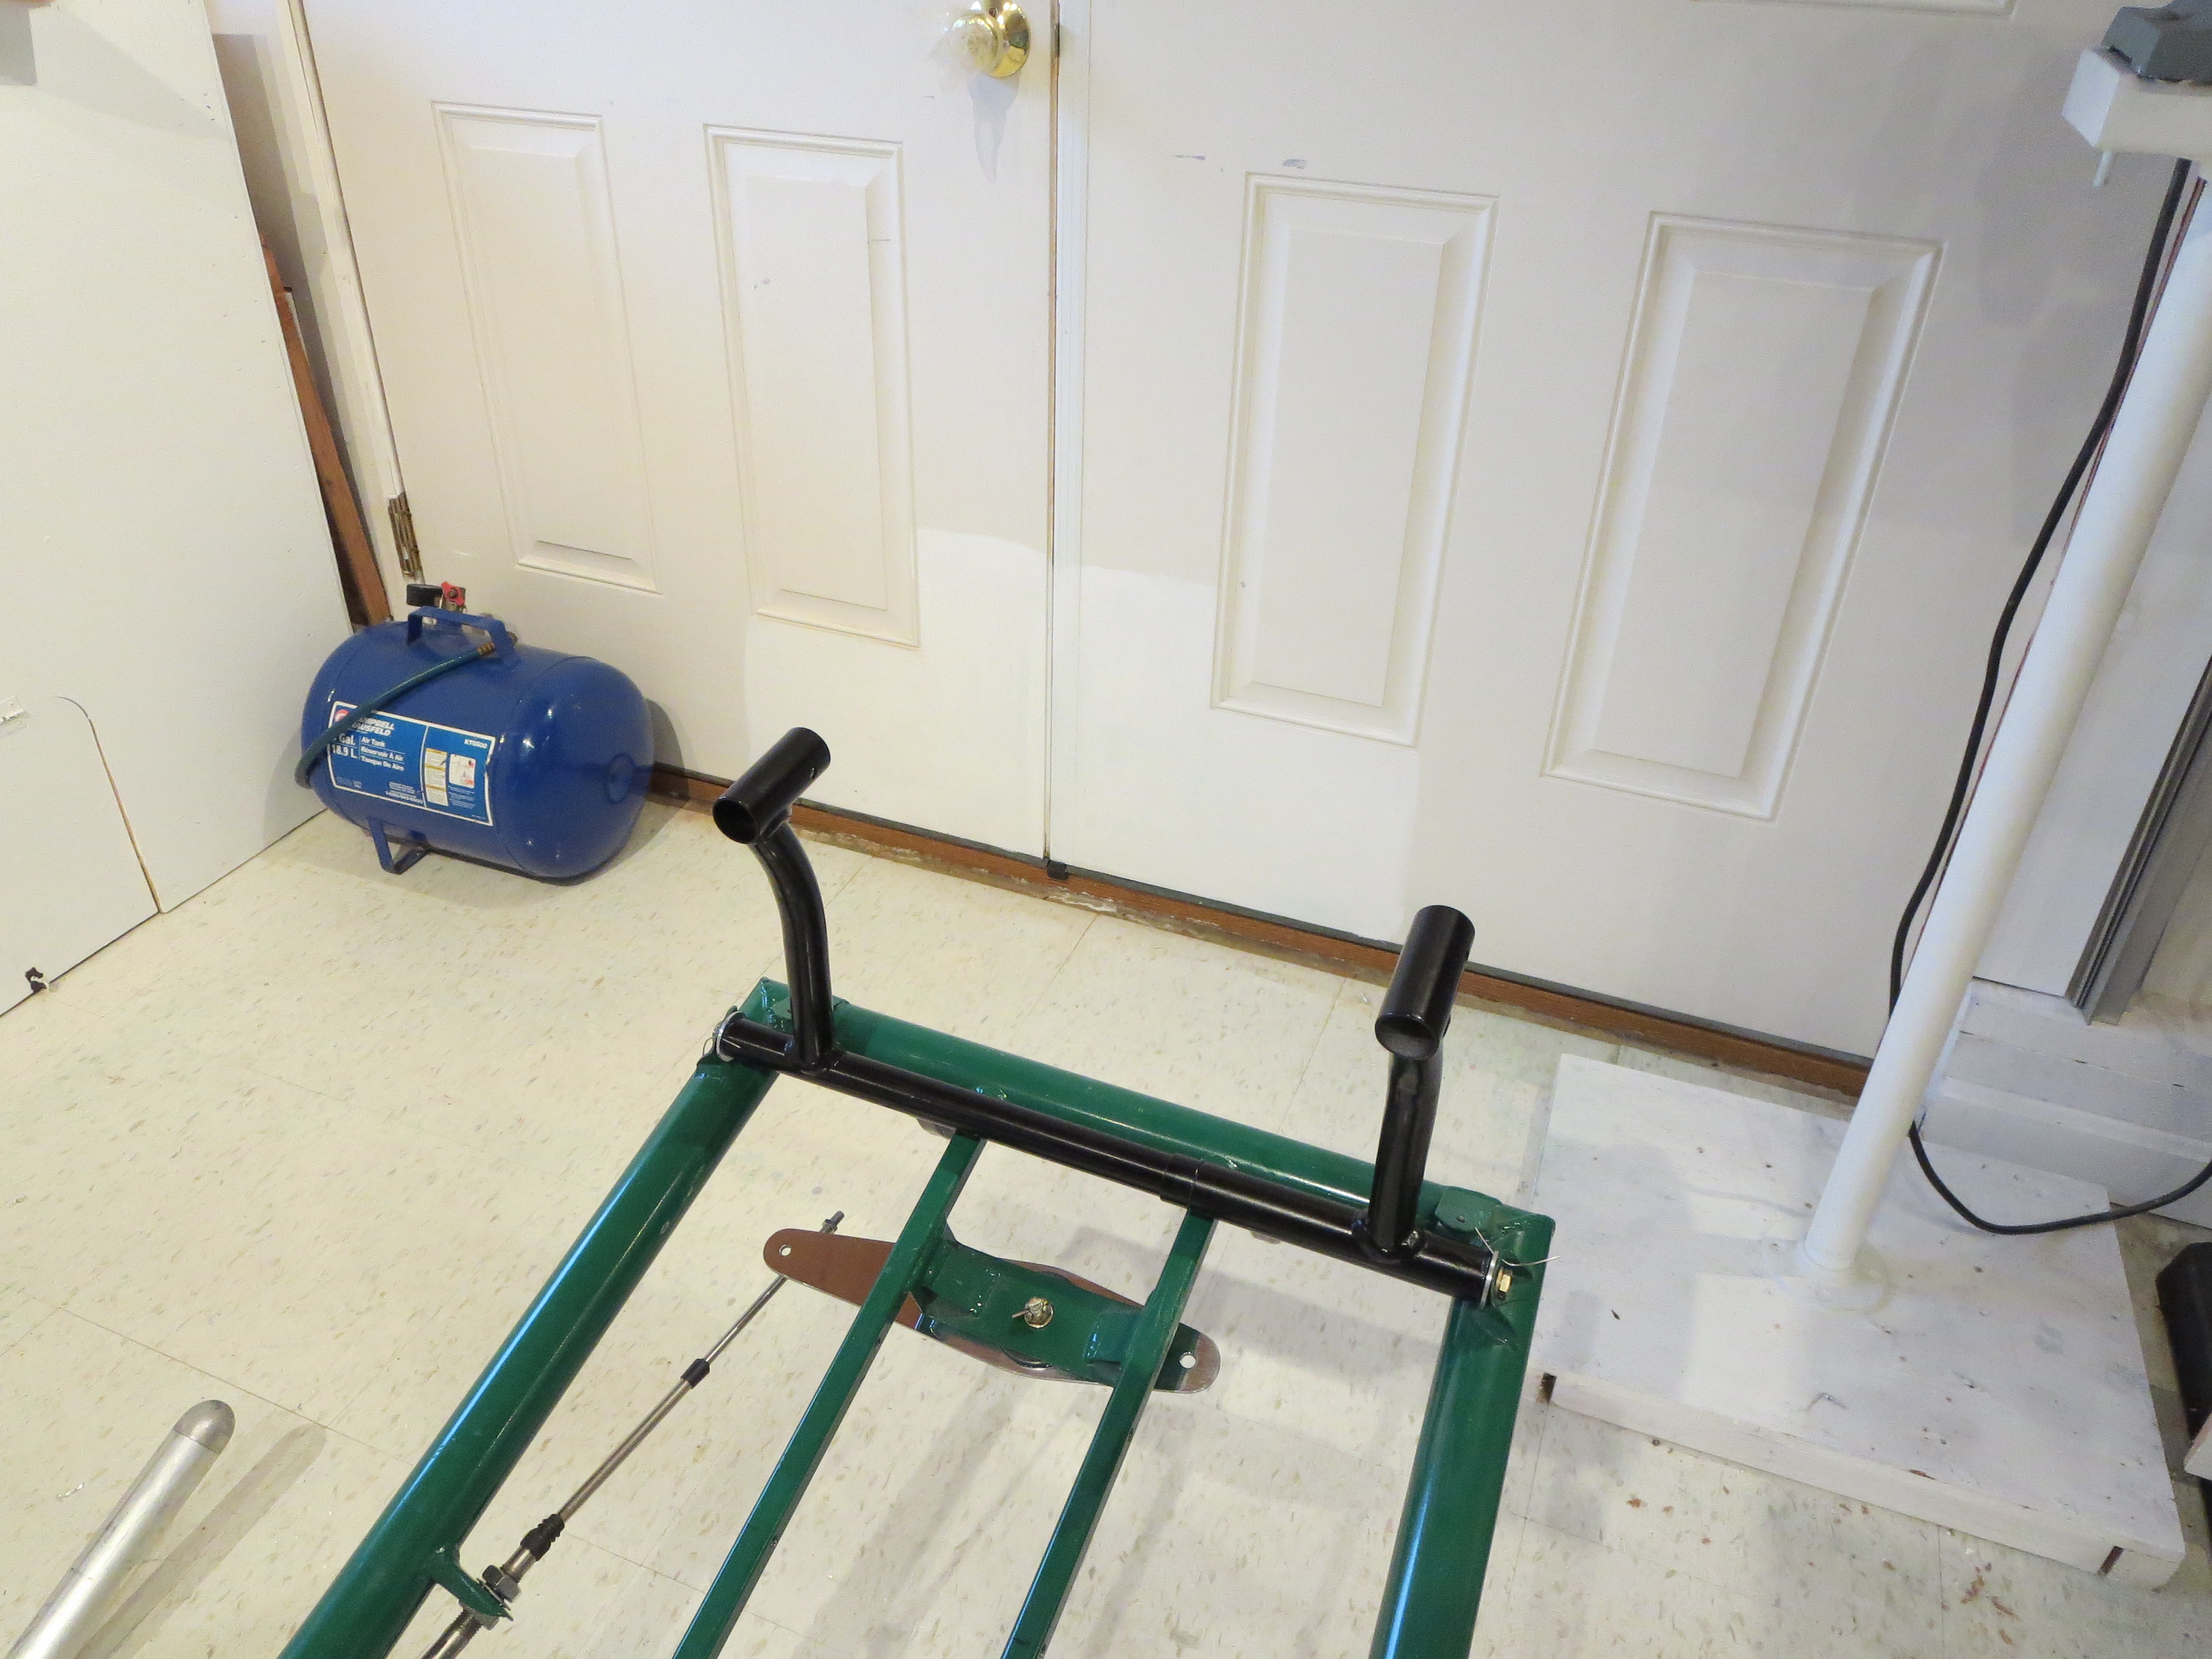
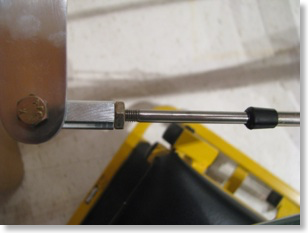
I went to FINAL mount the TR pedals as it is time to start placing some things on the ship for the LAST time now. When I went to snug the bolts up it all bound up and was very stiff. Not good. Controls are supposed to have some damping, but should be butter smooth with no stiction.
After staring at it for a few minutes it became apparent that when the AL bushings are snugged up, they get pulled against the welded steel tabs that mount them to the frame and those tabs are not perfectly square with the mate on the other side of the frame for the opposing bushing. That "tilts" the bushings and cause them to bind in the tube.
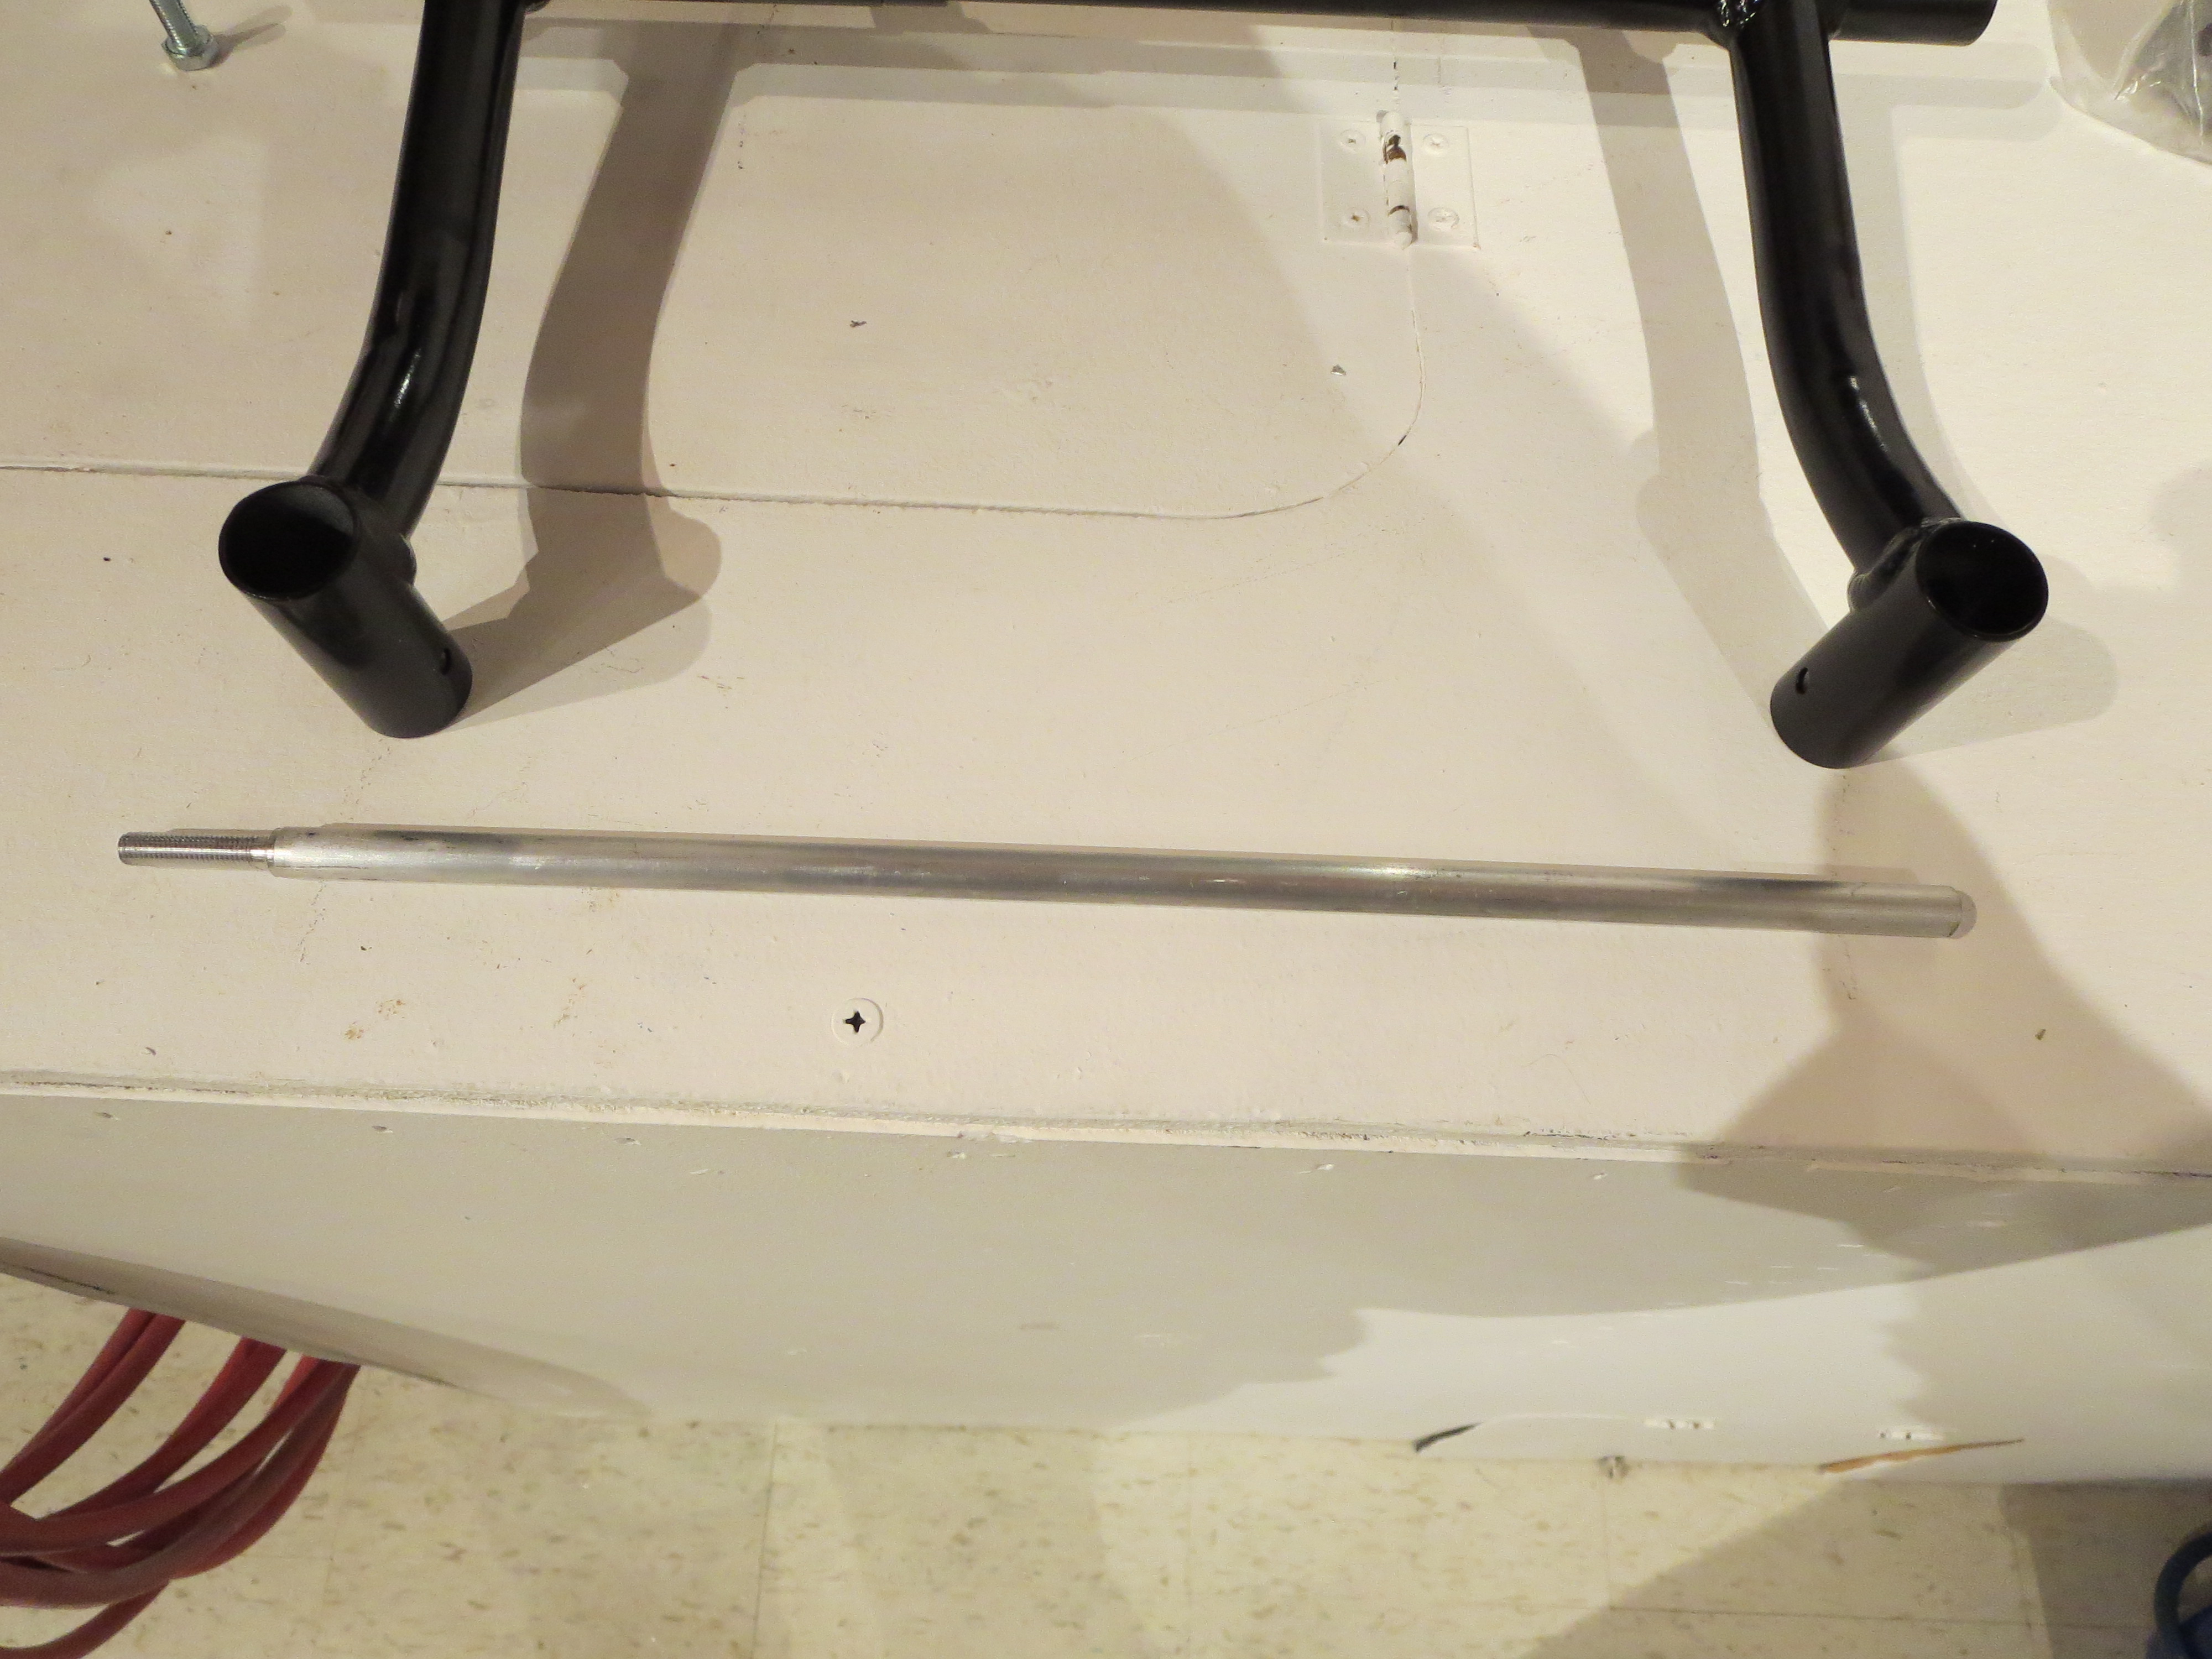
No problem. I have all these machine tools - time to put them to use. I lathed down and threaded an aluminum rod that was the appropriate length to thread into the bushing to "point" to where the alignment was on the opposite side.
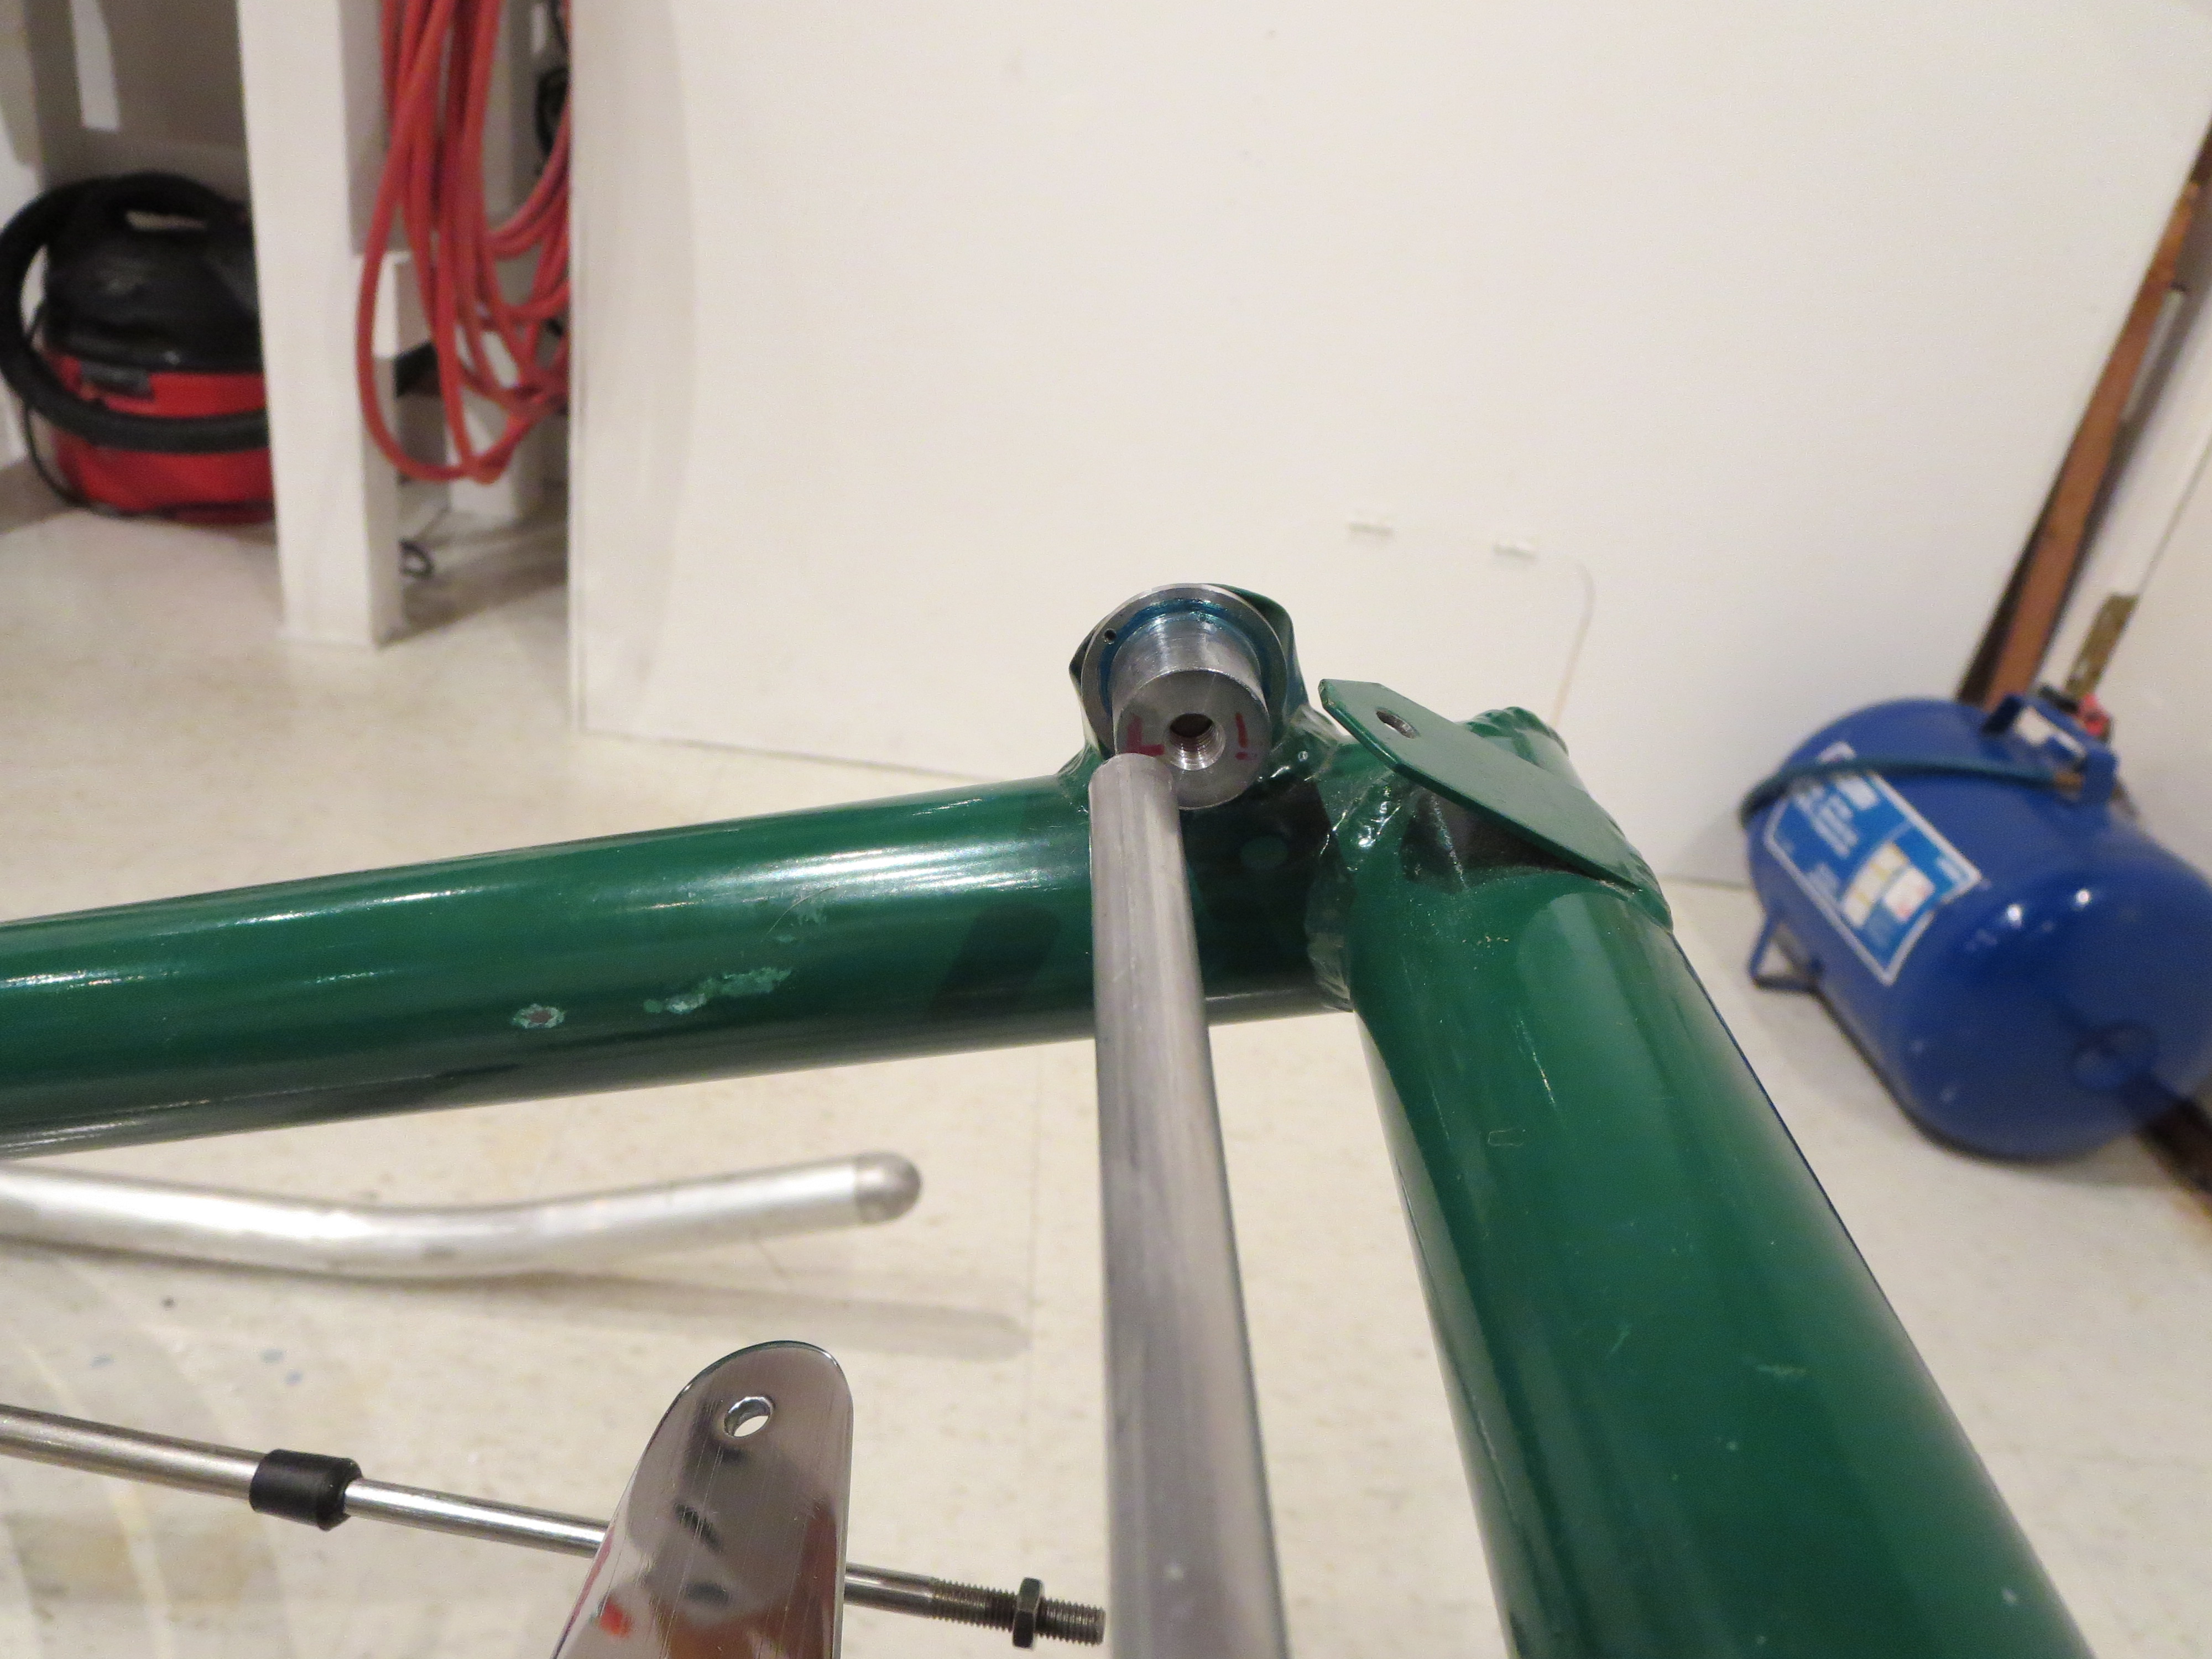
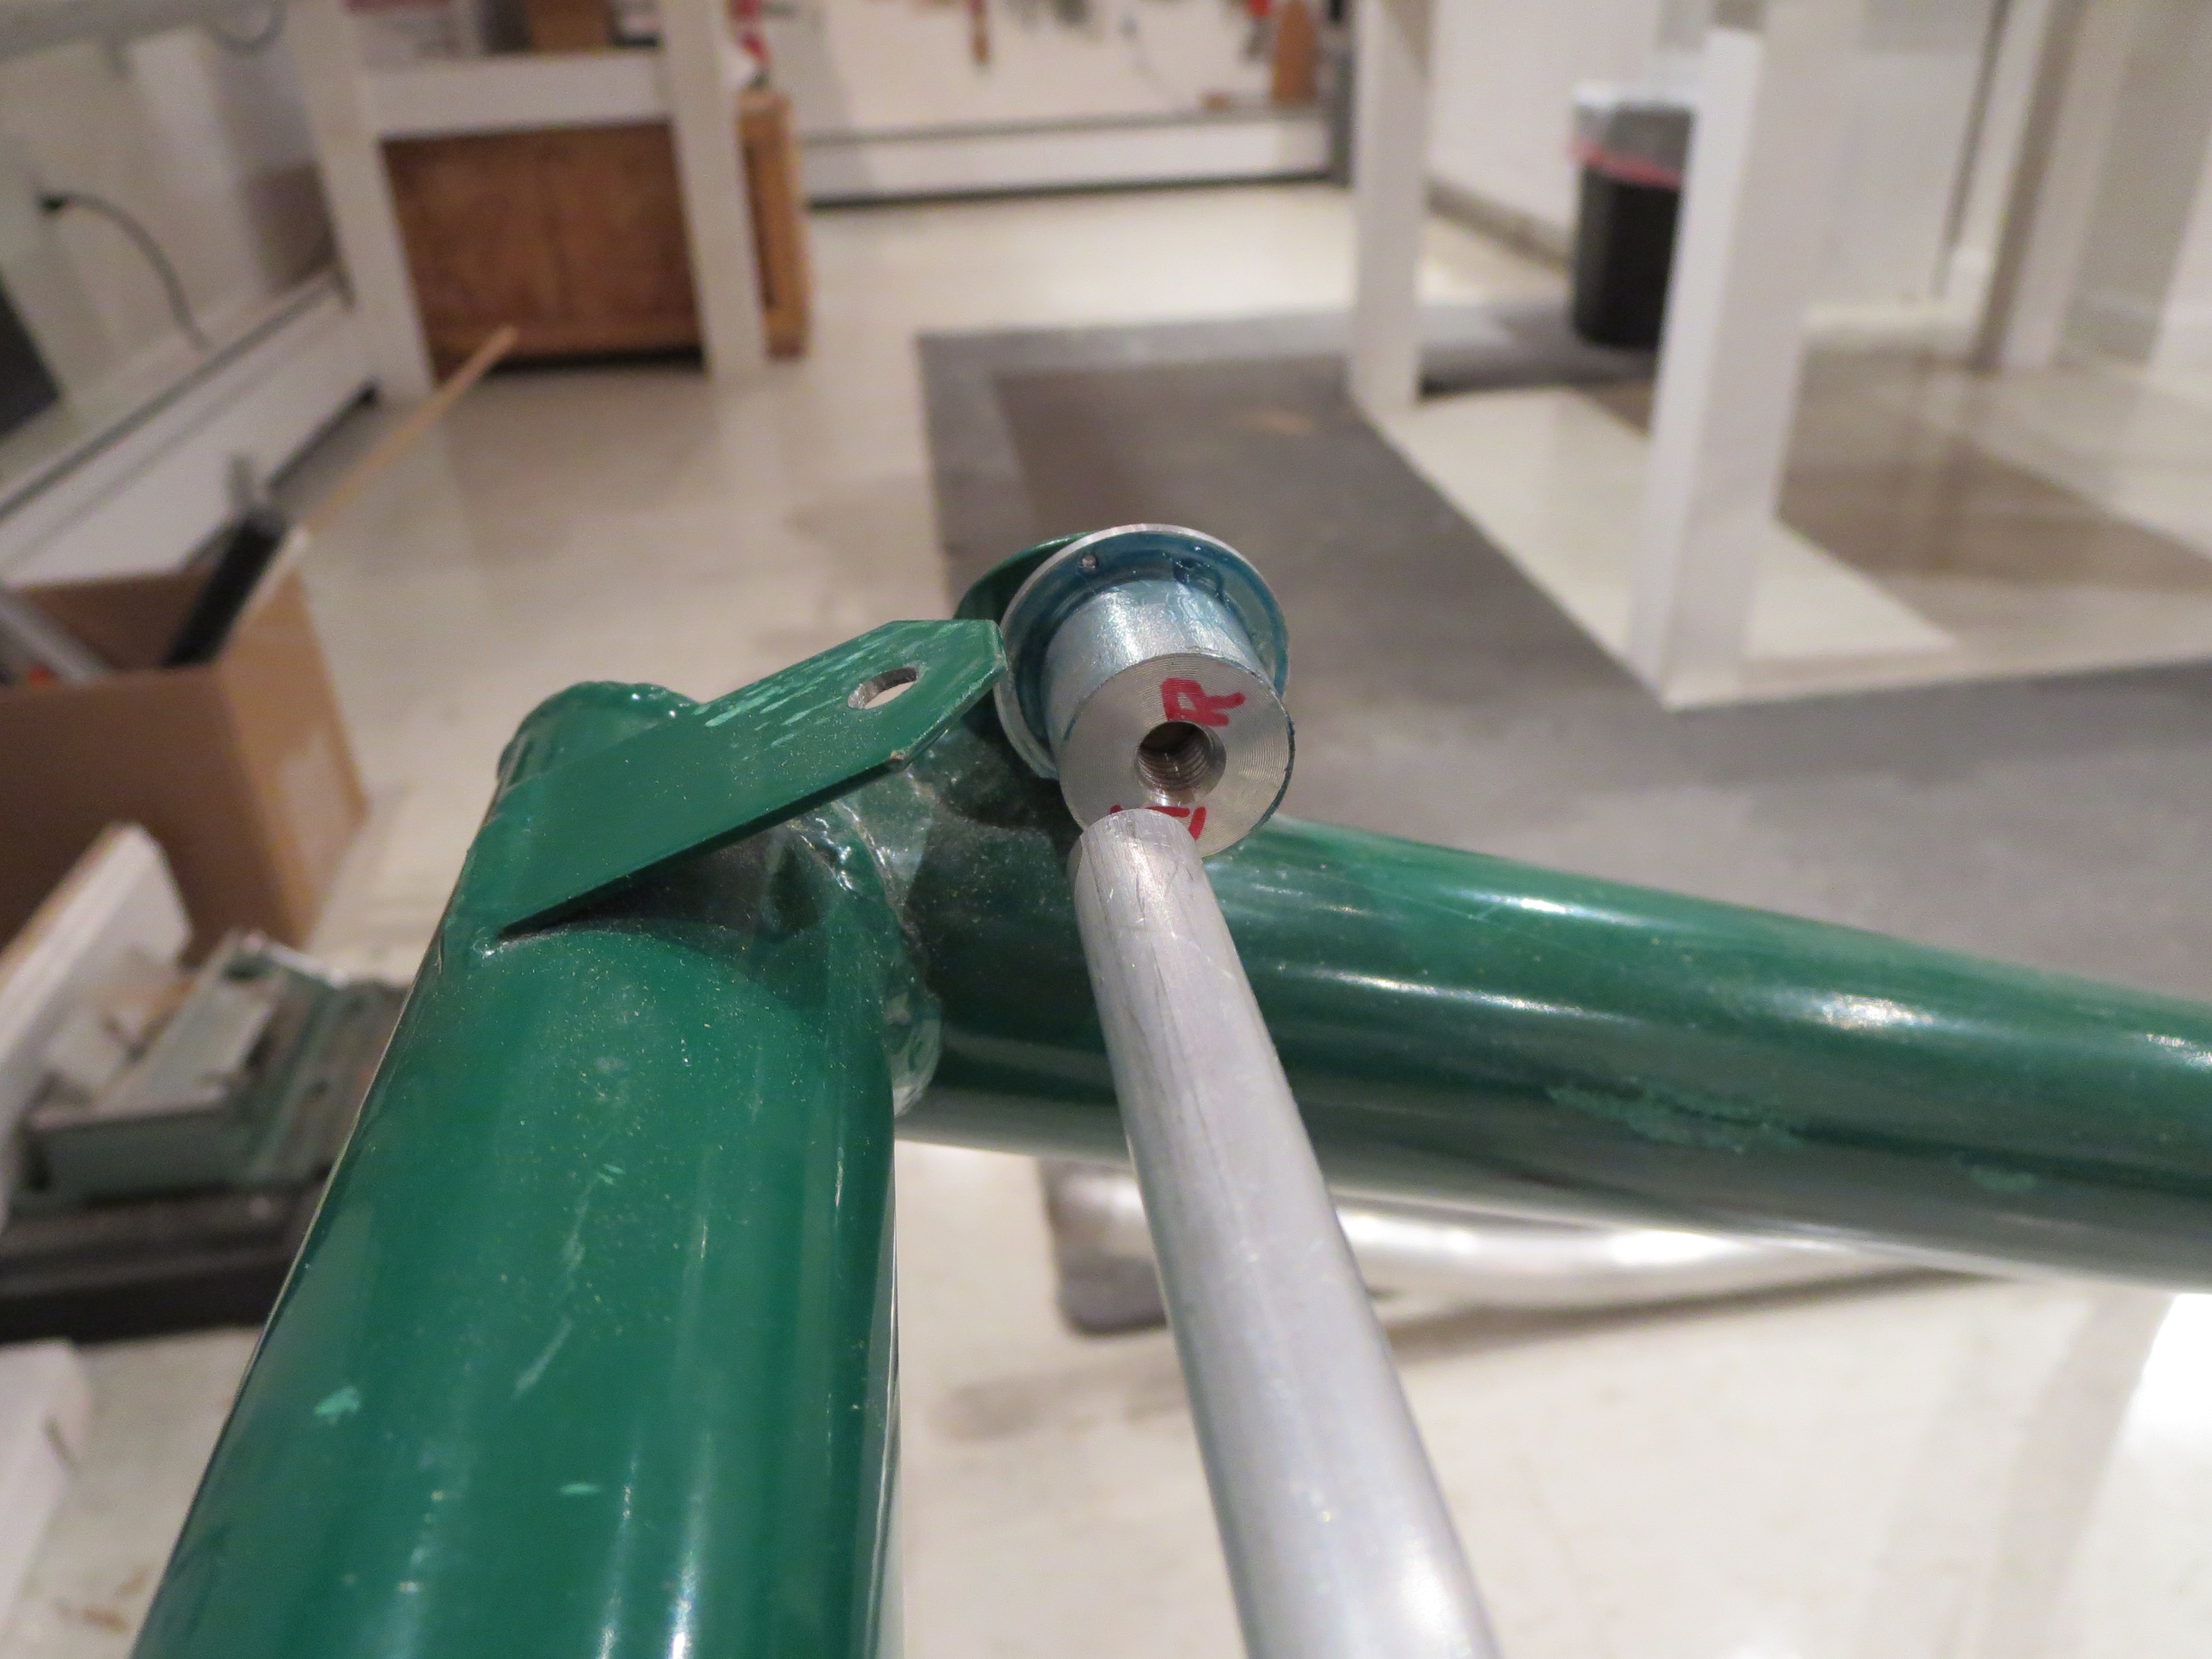
With those very evident visual cues it was very easy to tweak the mounting tabs (it didn't take much) to bring everything into nearly perfect alignment.
Amazing how such a small change resulted in such a large difference in the feel and operation of the pedals. Greased up, snugged up, Safety wired. The first permanent moving part. Lots to follow in a short period. Nice.
Pedal Fitting
01/07/11 17:00 Filed in: All
Back to Work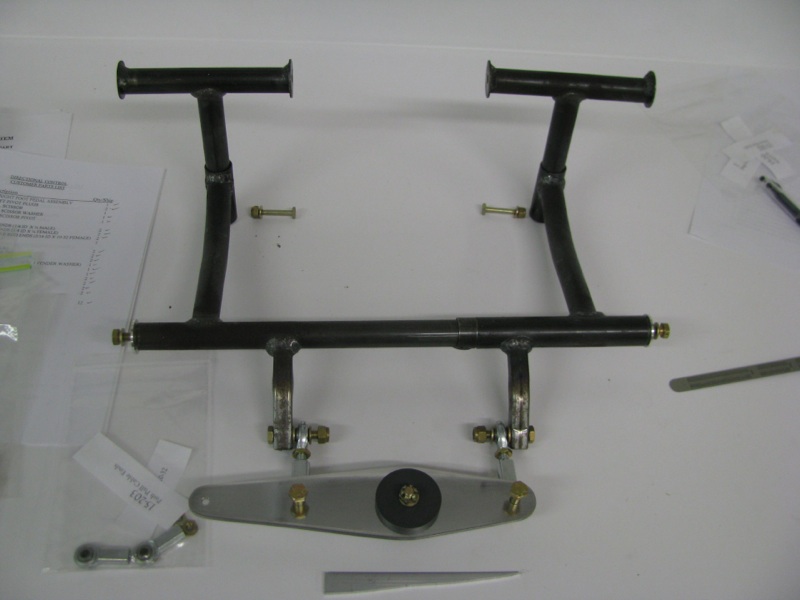
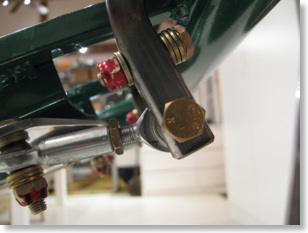
The directional pedals are a fairly straightforward sub-assembly, so it was an easy thing to work on to get back in the swing of helicopter work. I cut the walking beam and tried my hand at polishing. Aluminum takes on a wonderful shine with a bit of work.
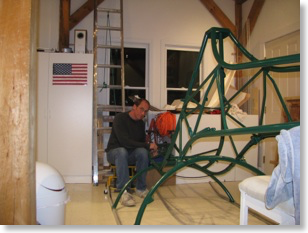
These photos are as much for my own benefit as for any reader that may (or probably won’t) read this. Once fitted things get disassembled and will need to get back together properly.
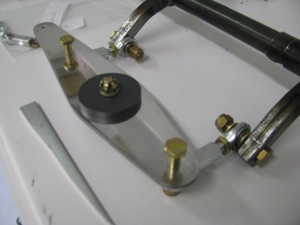
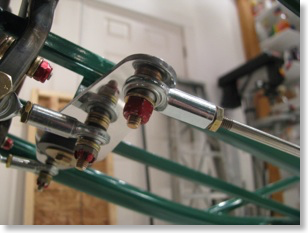
A little technique carried over from the RV building is to take a handful of nuts and drill out the nylon lock plastic. These can be used for preliminary assembly and will have the exact size of the final item. I mark all those trial nuts with red nail polish to make sure they will not find their way into the final assemblies.
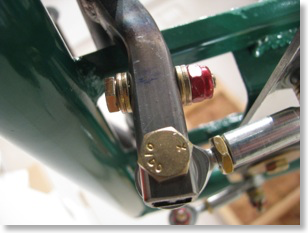
I have read a number of builder logs that have replaced the aluminum pedal bearing plugs with a more suitable material since aluminum on steel is not the best long-term idea. I may do so eventually as well. One thing I learned in my years of abortive aircraft building is that I should build per the plans and modify later - otherwise it’s likely I will never ever finish in the first place.
It took a lot of fiddling, but I was finally able to achieve the pedal and cable travel specs called in the prints. Hopefully this will be duplicatable on final assembly.
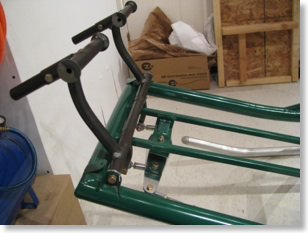
The directional pedals are a fairly straightforward sub-assembly, so it was an easy thing to work on to get back in the swing of helicopter work. I cut the walking beam and tried my hand at polishing. Aluminum takes on a wonderful shine with a bit of work.
These photos are as much for my own benefit as for any reader that may (or probably won’t) read this. Once fitted things get disassembled and will need to get back together properly.
A little technique carried over from the RV building is to take a handful of nuts and drill out the nylon lock plastic. These can be used for preliminary assembly and will have the exact size of the final item. I mark all those trial nuts with red nail polish to make sure they will not find their way into the final assemblies.
I have read a number of builder logs that have replaced the aluminum pedal bearing plugs with a more suitable material since aluminum on steel is not the best long-term idea. I may do so eventually as well. One thing I learned in my years of abortive aircraft building is that I should build per the plans and modify later - otherwise it’s likely I will never ever finish in the first place.
It took a lot of fiddling, but I was finally able to achieve the pedal and cable travel specs called in the prints. Hopefully this will be duplicatable on final assembly.