
Drilling Cabing Halves
07/18/11 22:26 Filed in: All
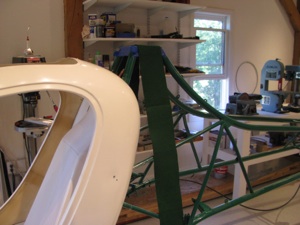
Spotty progress due to work travel. Two trips to Mexico and one to California. Enough excuses - I tweaked the seatpan mounts as much as I could to get the body to fit better. The two rearmost pre-drilled holes on the left side won’t work no matter what I do, though, so they have been repositioned about an inch forward. The existing holes will be filled.

Body halves drilled all around. Straps, cleco clamps, and an extra pair of hands helps here a lot There are really no straight lines or easy reference points to tell whether it’s square and symmetric. Lots of fitting, standing back and eyeballing, then tweaking to make it as square as possible. About 14 or 15 screws from the front to the seatpan top curve. I’ll shim and drill the very top of the seatpan curve once the windscreen is in place.
Rear of the body. The cutouts don’t match exactly, but that’s OK. I’ll trim them in place.
I found some green felt that is a very good match to the frame powder coat color. I will use some spray adhesive and use that on the body shell interior when I get to that point.
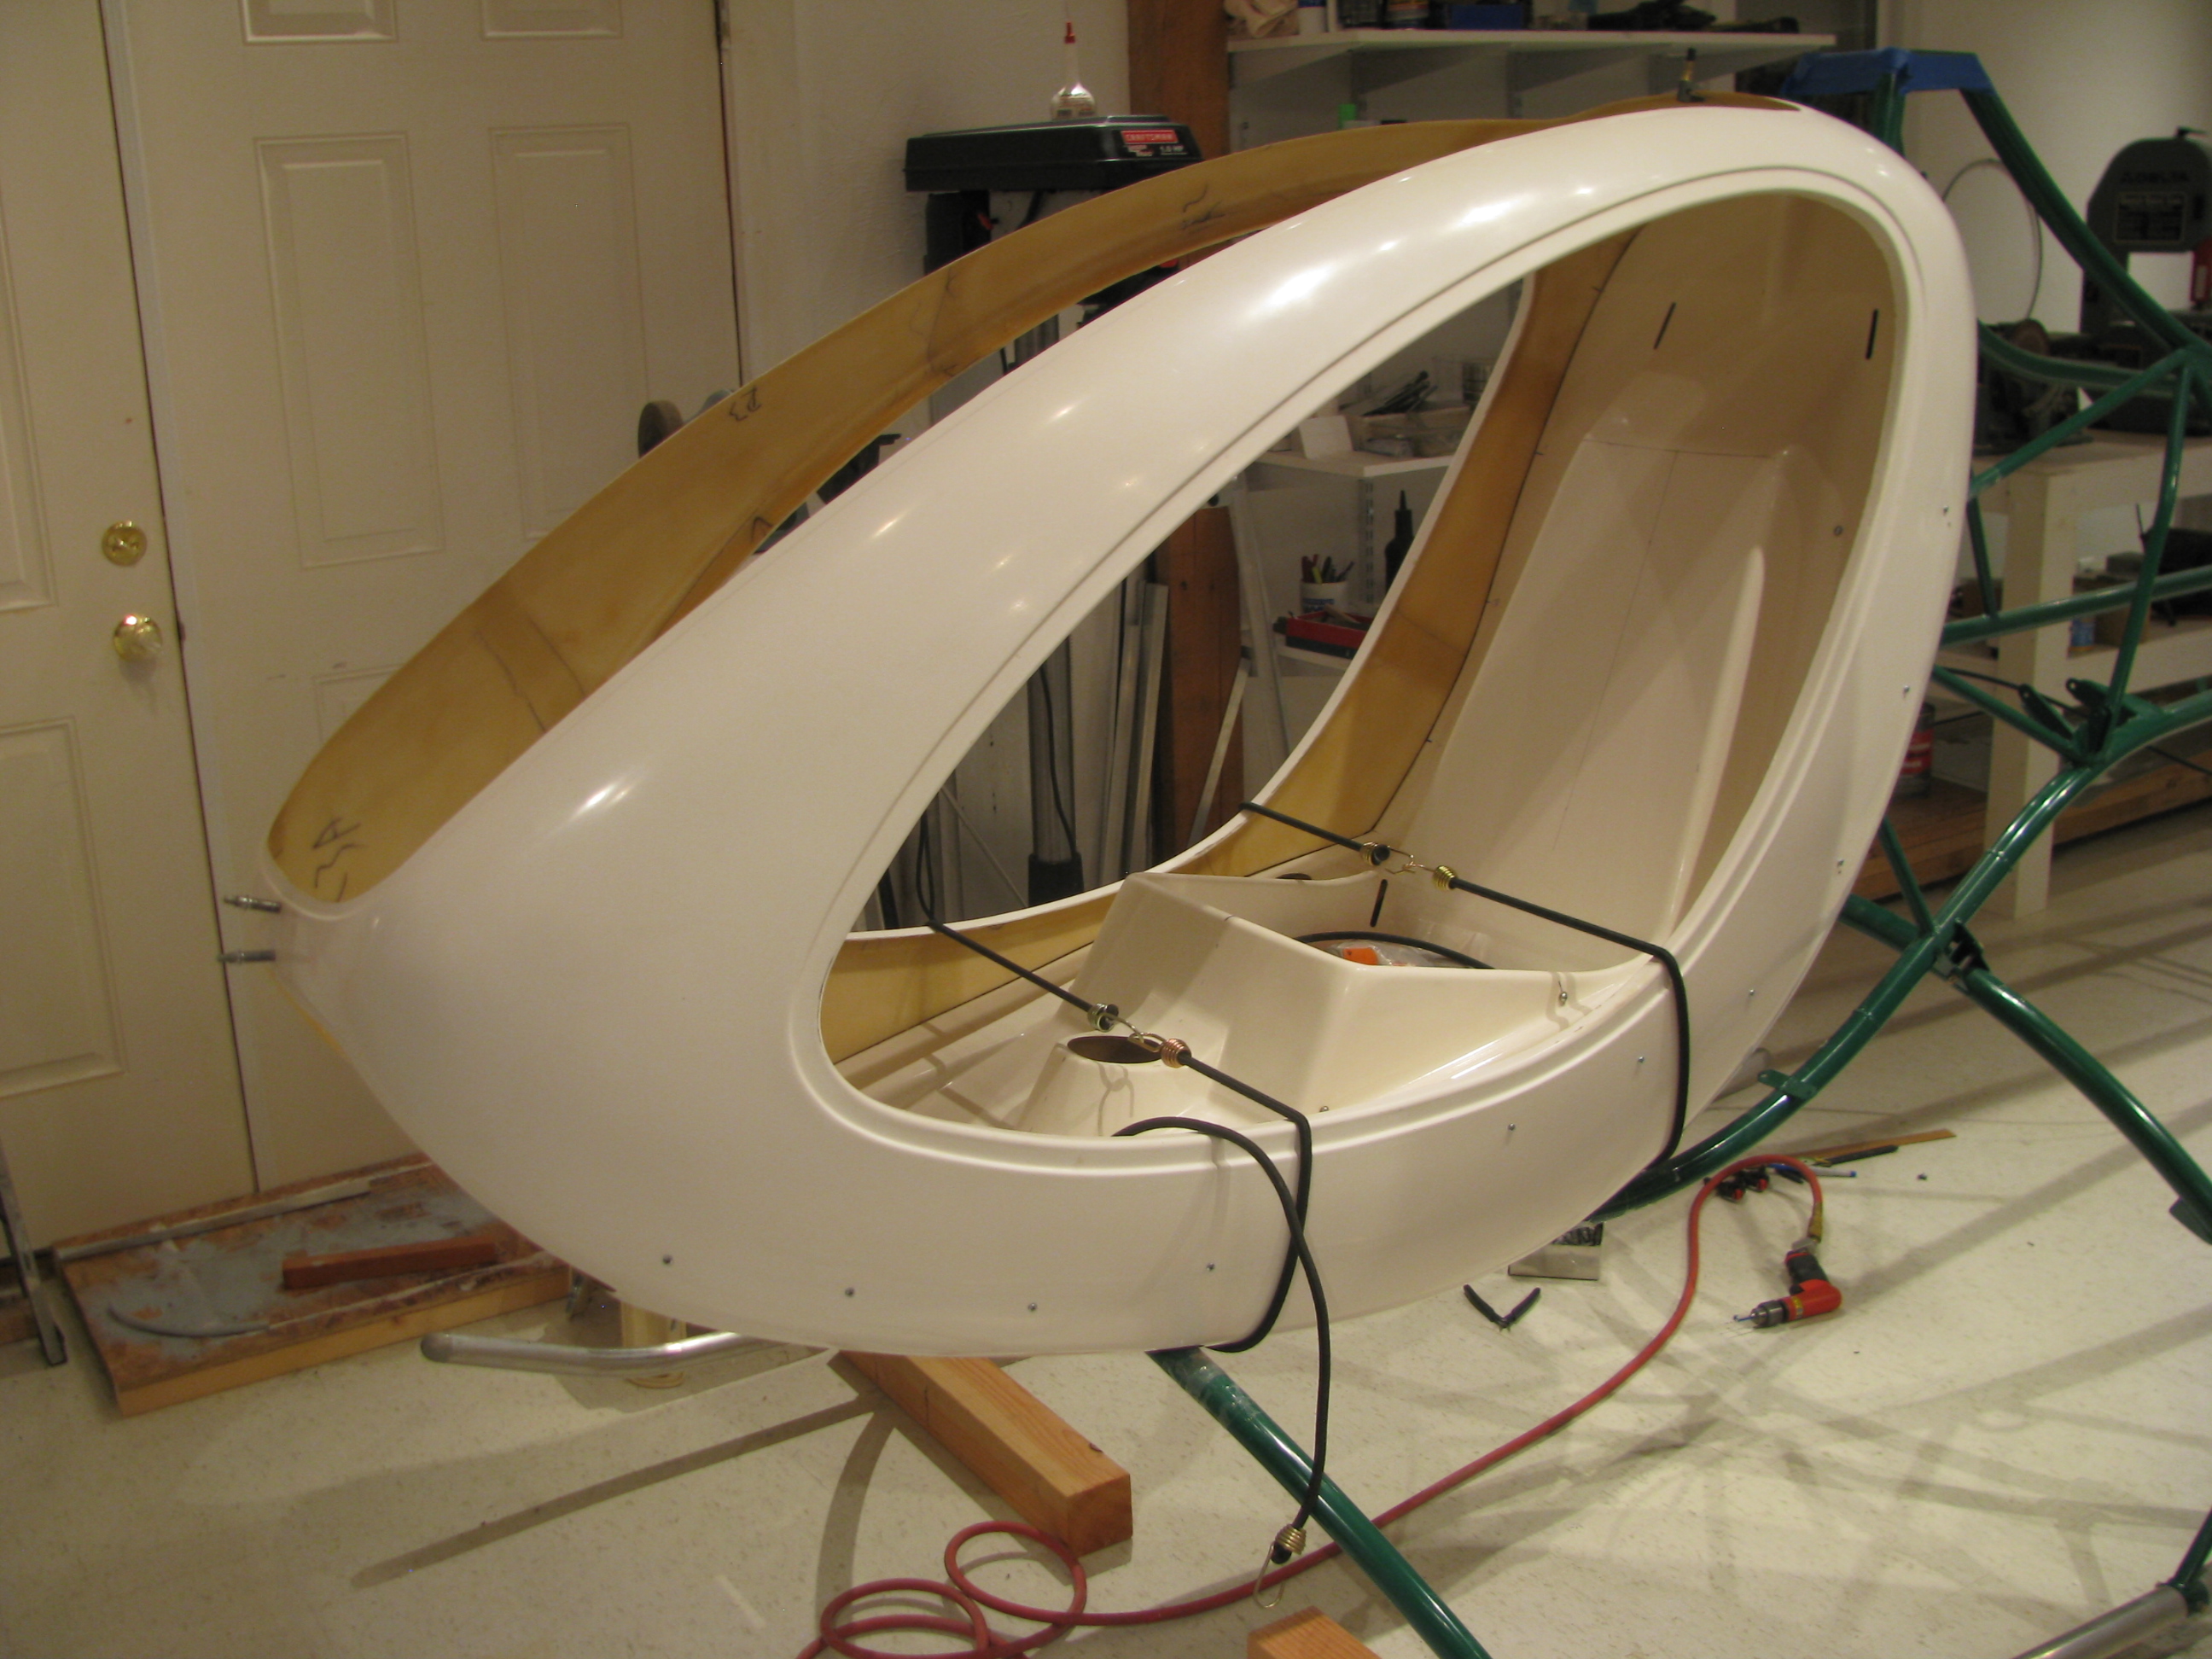
Body halves drilled all around. Straps, cleco clamps, and an extra pair of hands helps here a lot There are really no straight lines or easy reference points to tell whether it’s square and symmetric. Lots of fitting, standing back and eyeballing, then tweaking to make it as square as possible. About 14 or 15 screws from the front to the seatpan top curve. I’ll shim and drill the very top of the seatpan curve once the windscreen is in place.

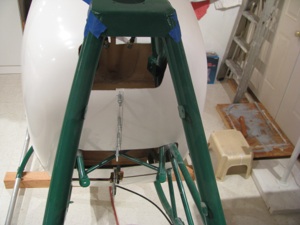
Rear of the body. The cutouts don’t match exactly, but that’s OK. I’ll trim them in place.
I found some green felt that is a very good match to the frame powder coat color. I will use some spray adhesive and use that on the body shell interior when I get to that point.