
Lower Panel Crafted
01/28/14 21:50 Filed in: All
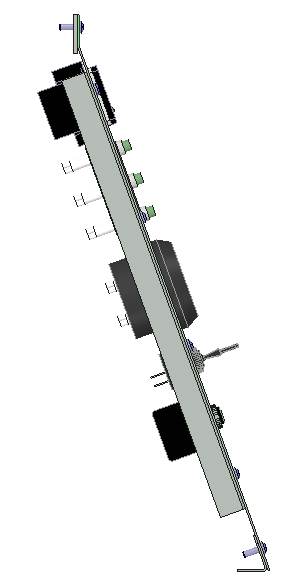
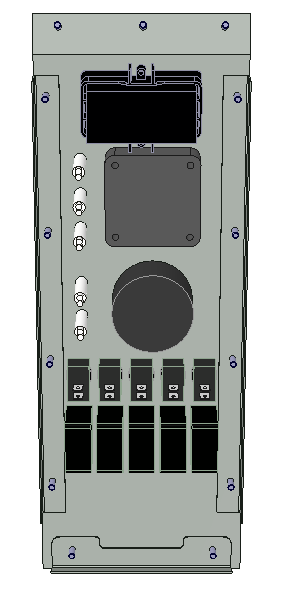
Start with a quick CAD model of the instruments and panel. If anyone is interested in the solid models I used, just email me and I will post them.
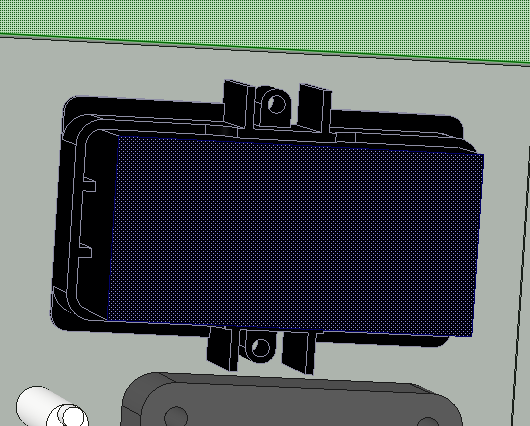
I almost neglected to model the rear retaining ring around the Red Lion tach. Can;t skip that because it's quite a large thing. Once everything is modeled, it is easy tp check for interferences and tweak the position if required.
Once the modeling is complete, add some dimensions and make a detailed drawing as I did HERE. This is the primary reference sheet when machining the holes in the sheet.
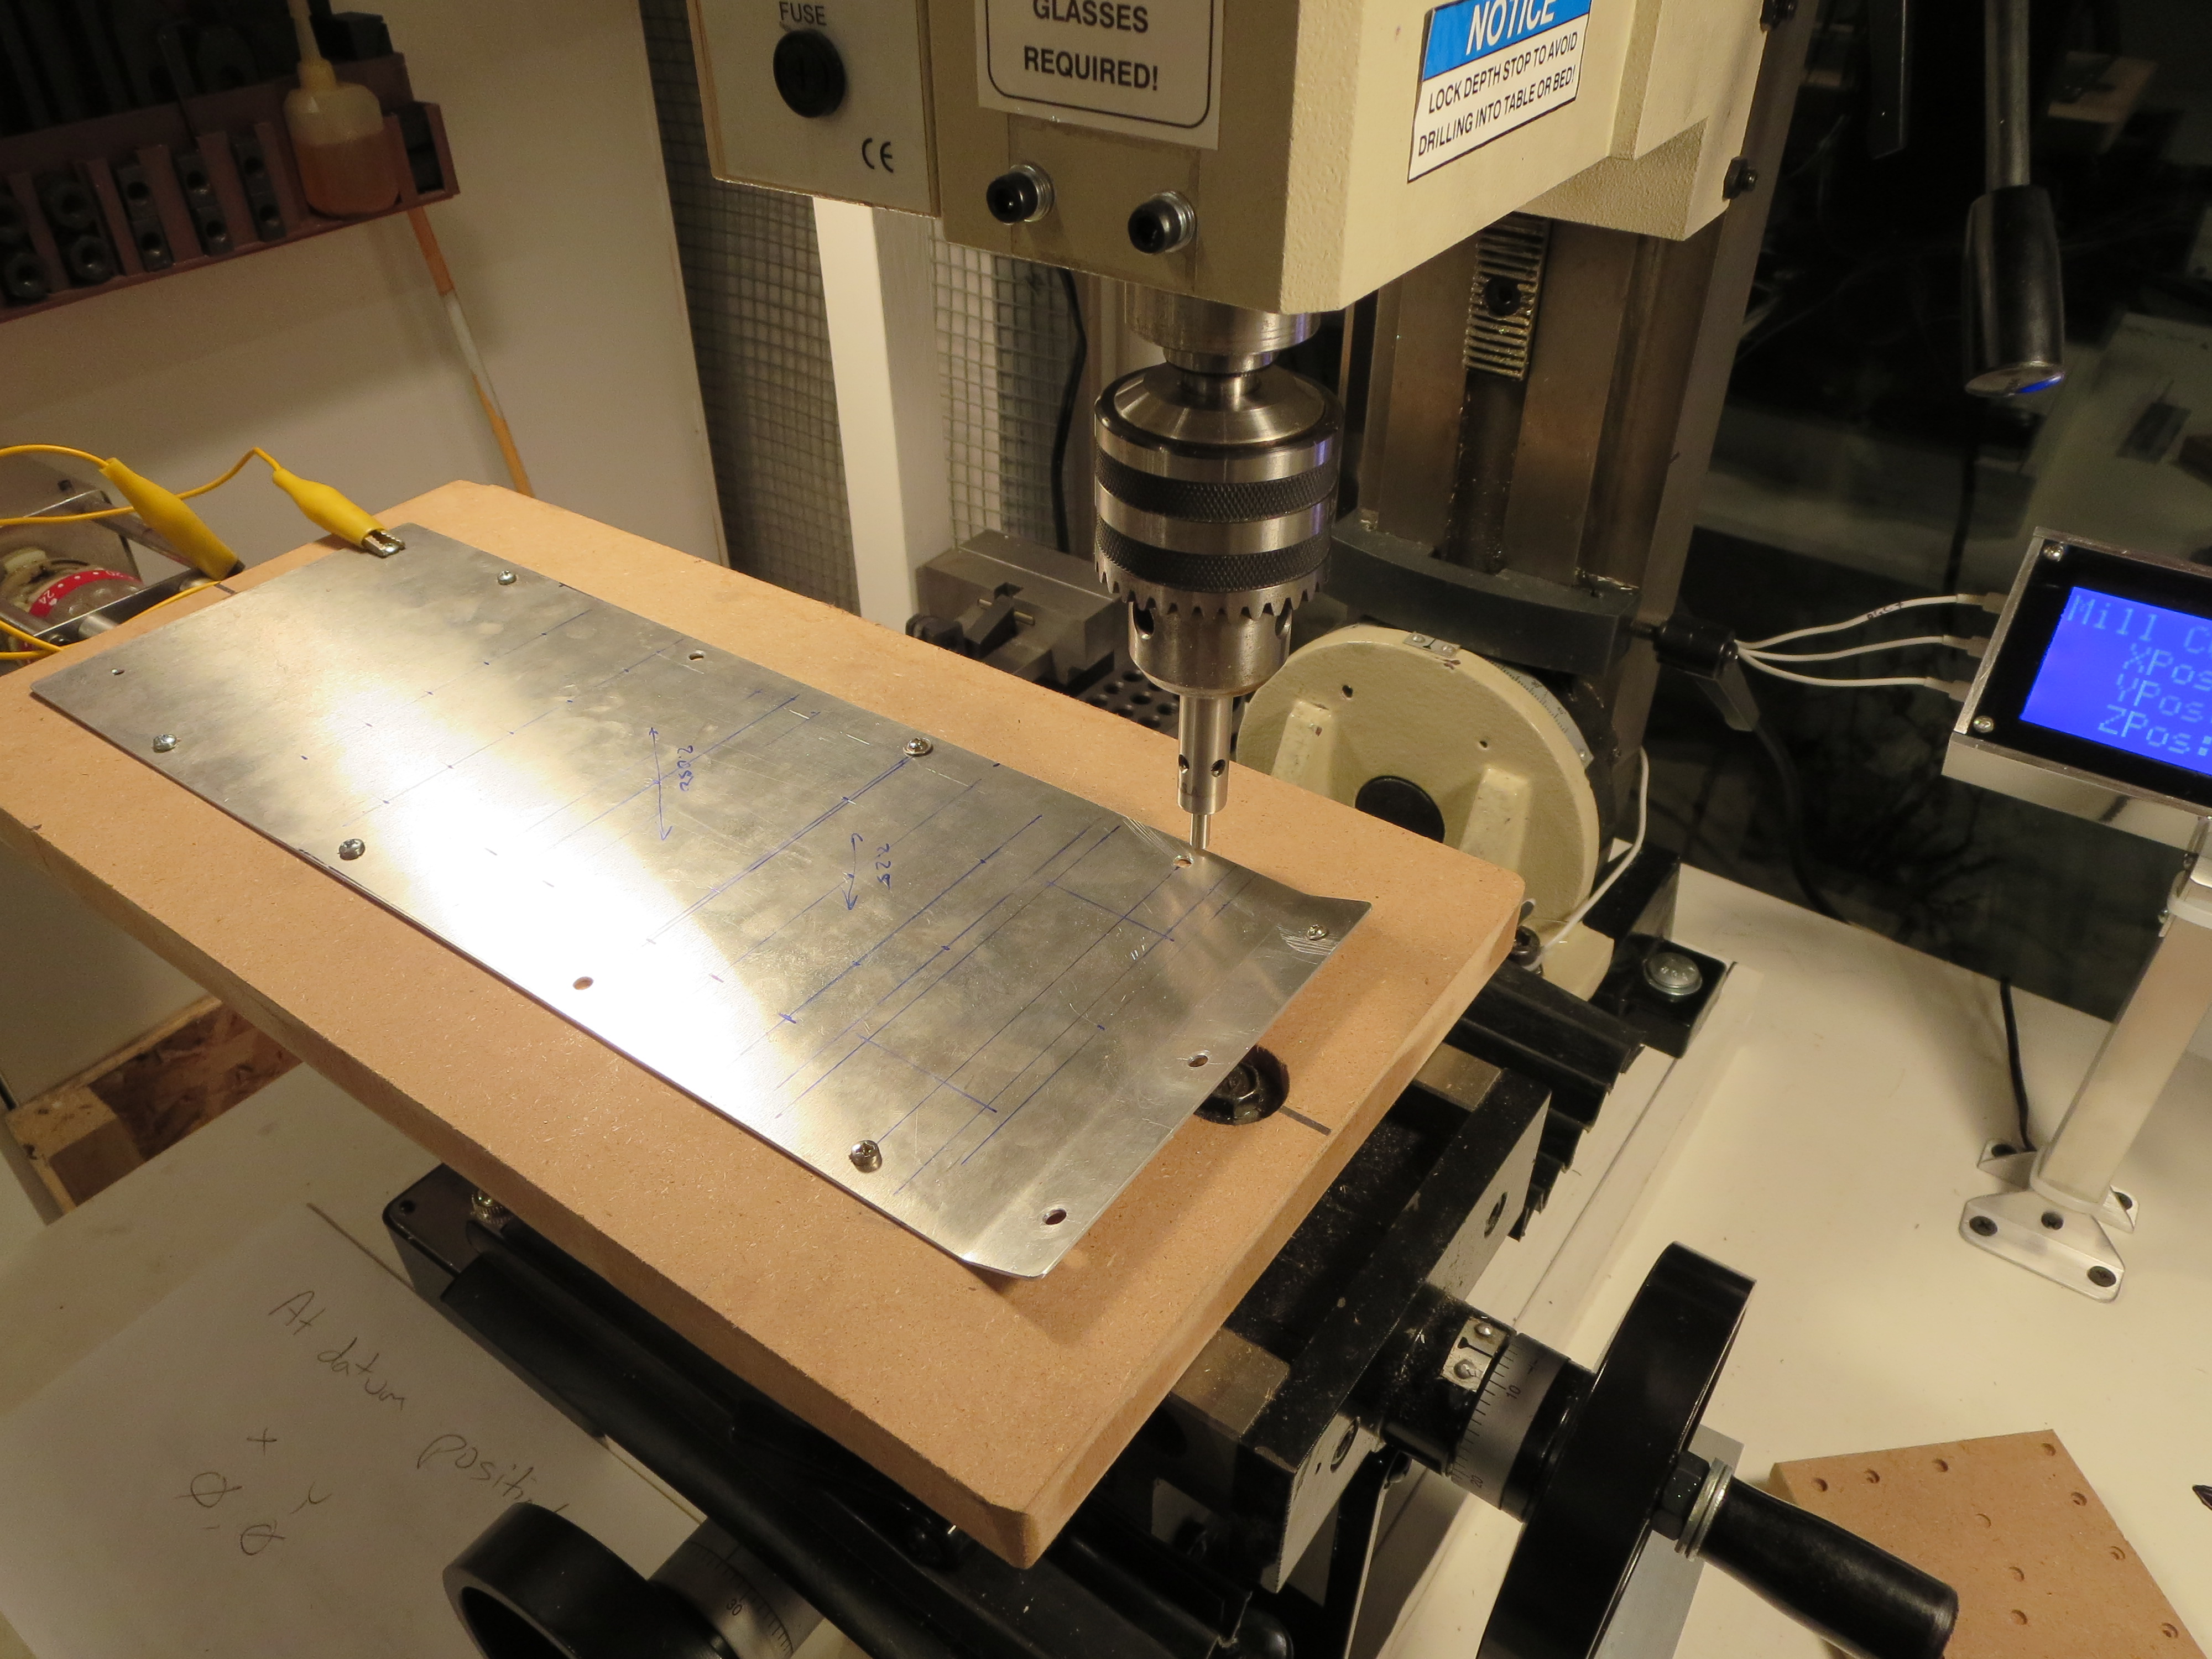
The blank queued up on the mill. Prior to this the blank had been cut and then fit into the instrument pod lower. The side mounting screws were drilled in assembly with the support strips in the pod. Perfect alignment prior to this drilling/milling operation.
On the mill I bolted a piece of MDF to the table (mounting bolt recessed, of course). Then the blank was trammed to the mill so the edge was in perfect parallel alignment with the quill. Very small wood screws are then screwed through the mounting holes to solidly affix is to the plate. The front mount hole and edge are the home reference.
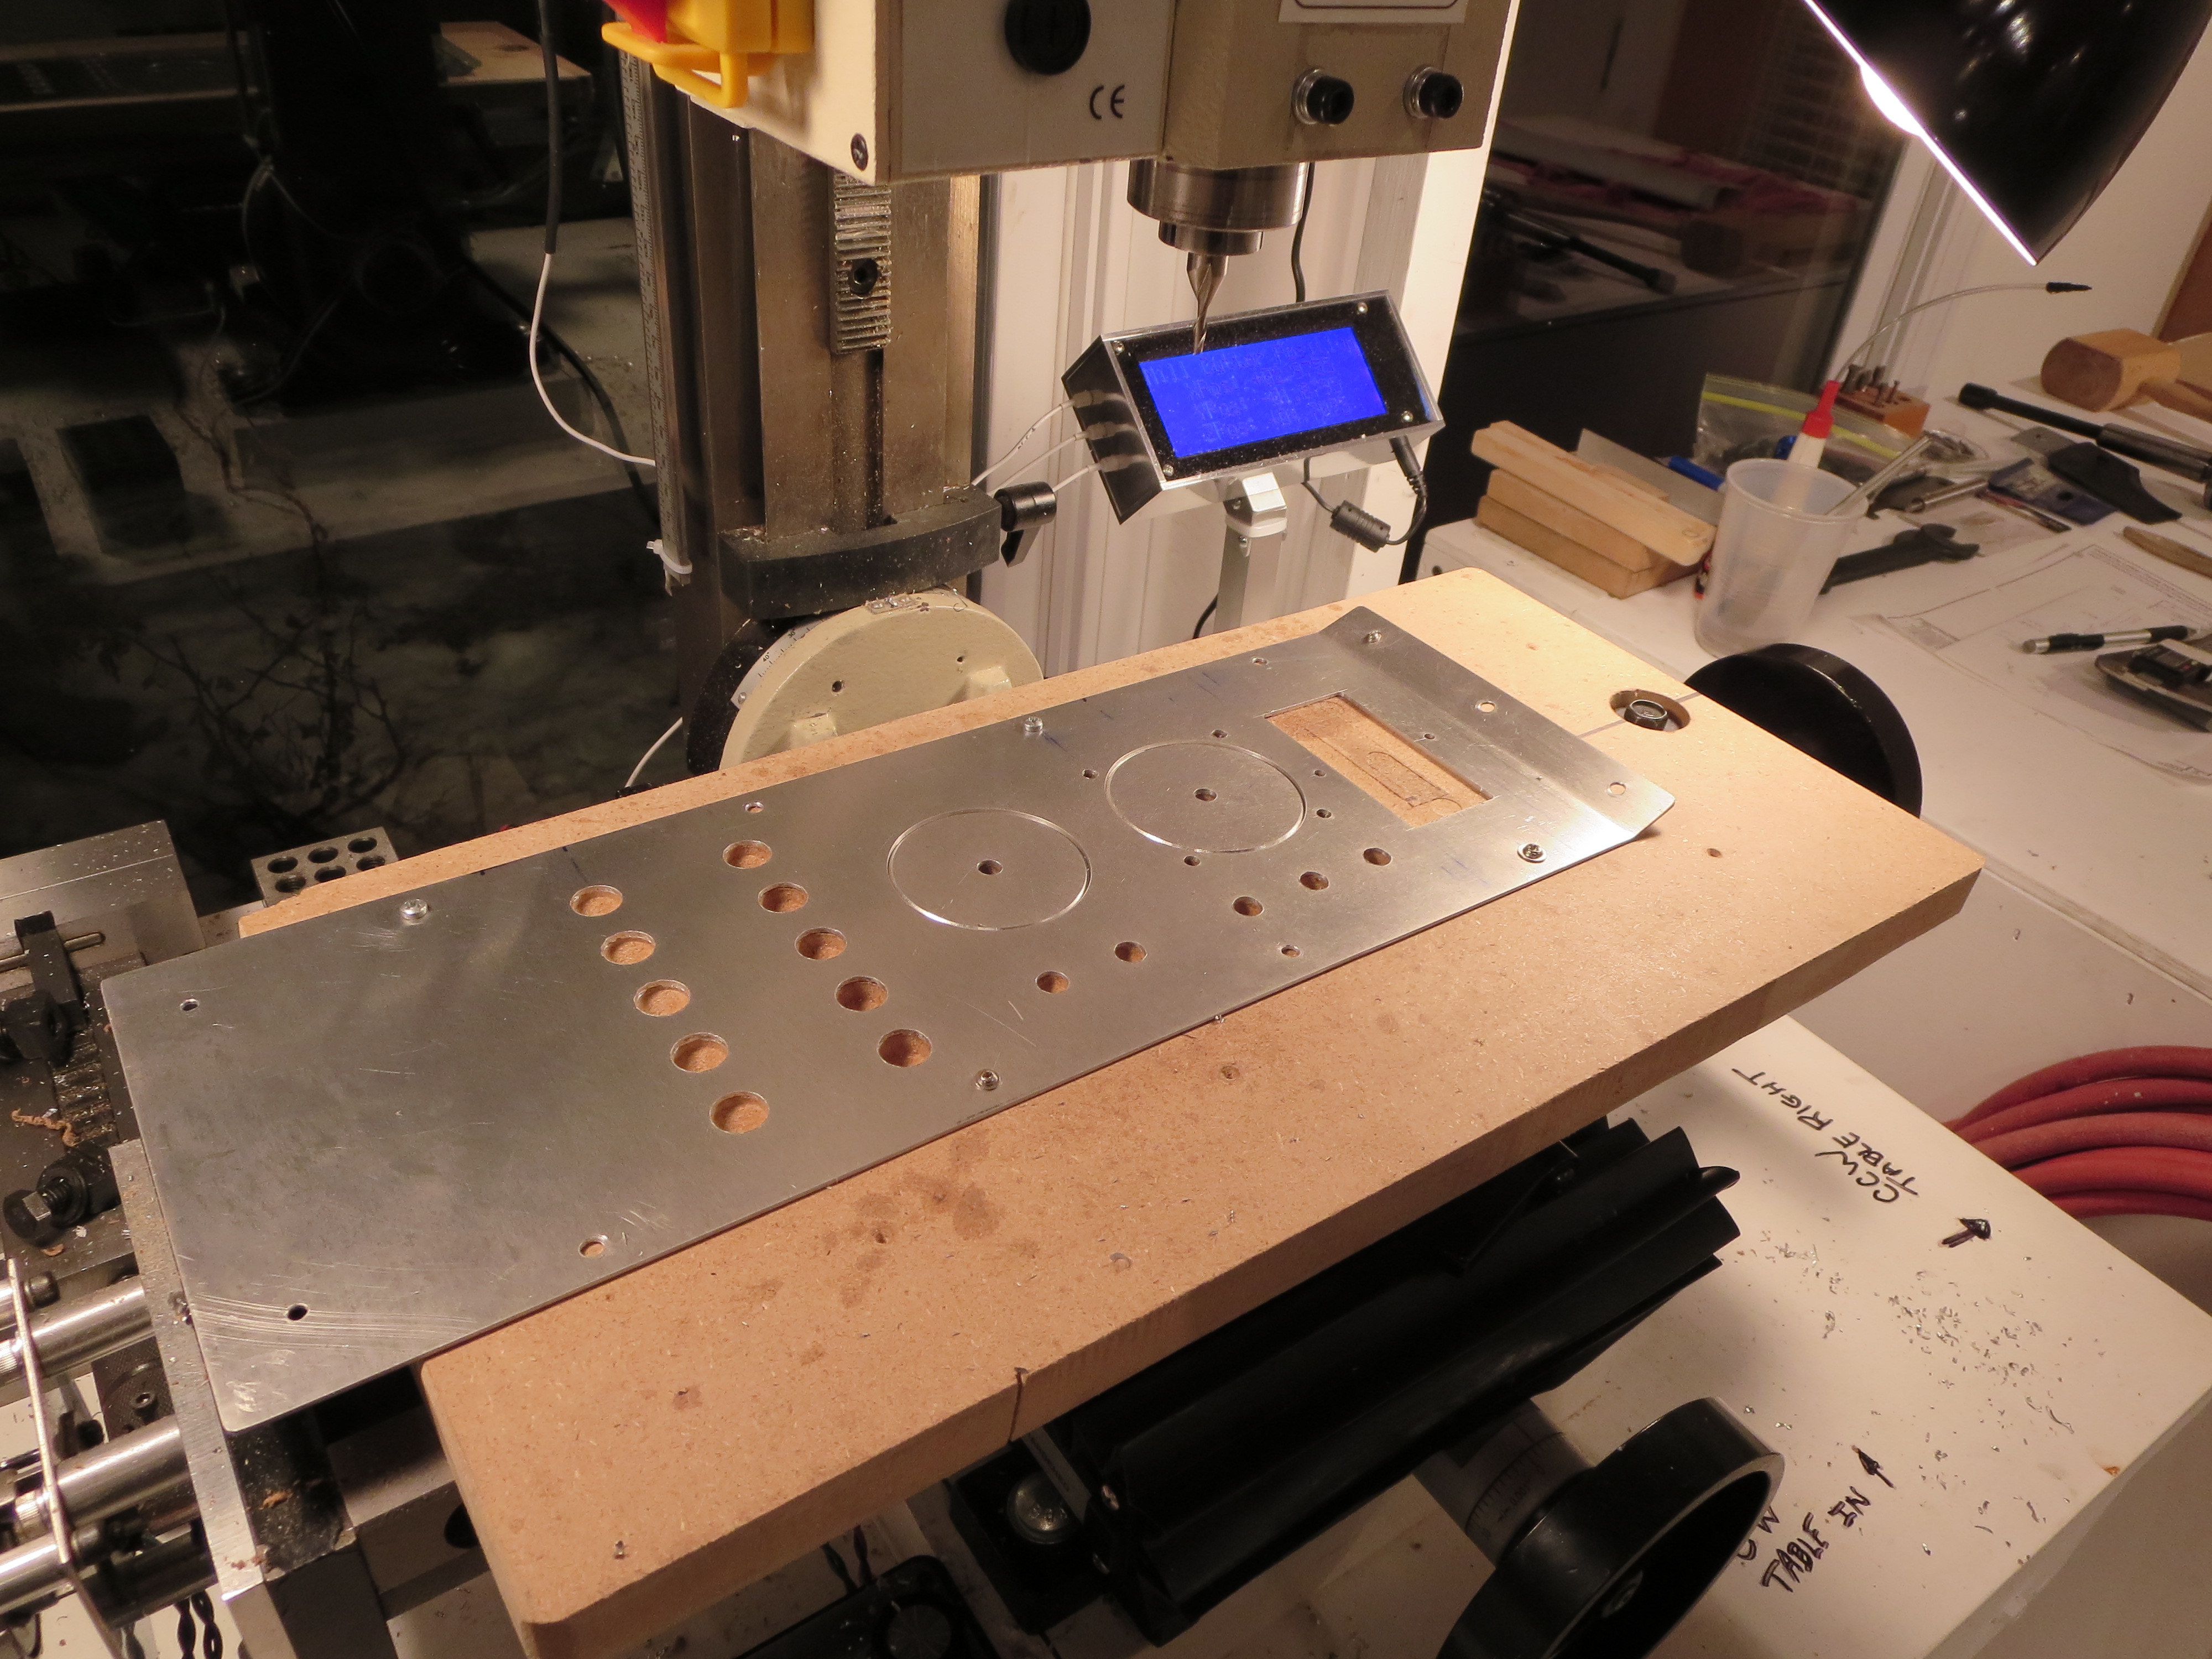
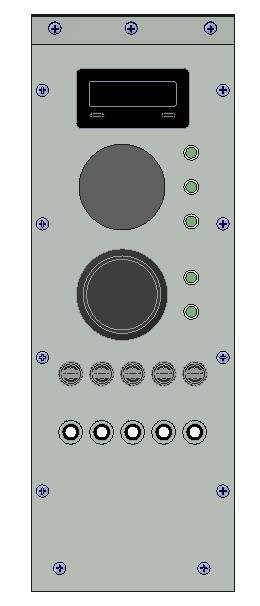
The Lower Panel machined. I love that little mill. Though time consuming, the accuracy is impressive. Digital readouts on each axis make repeatability and accurate positioning very easy. I used my hole jig for the circles, and milled out the tach square with a 3/8" end mill. The corners were finished with an 1.8" end mill. If needed I will file them down.
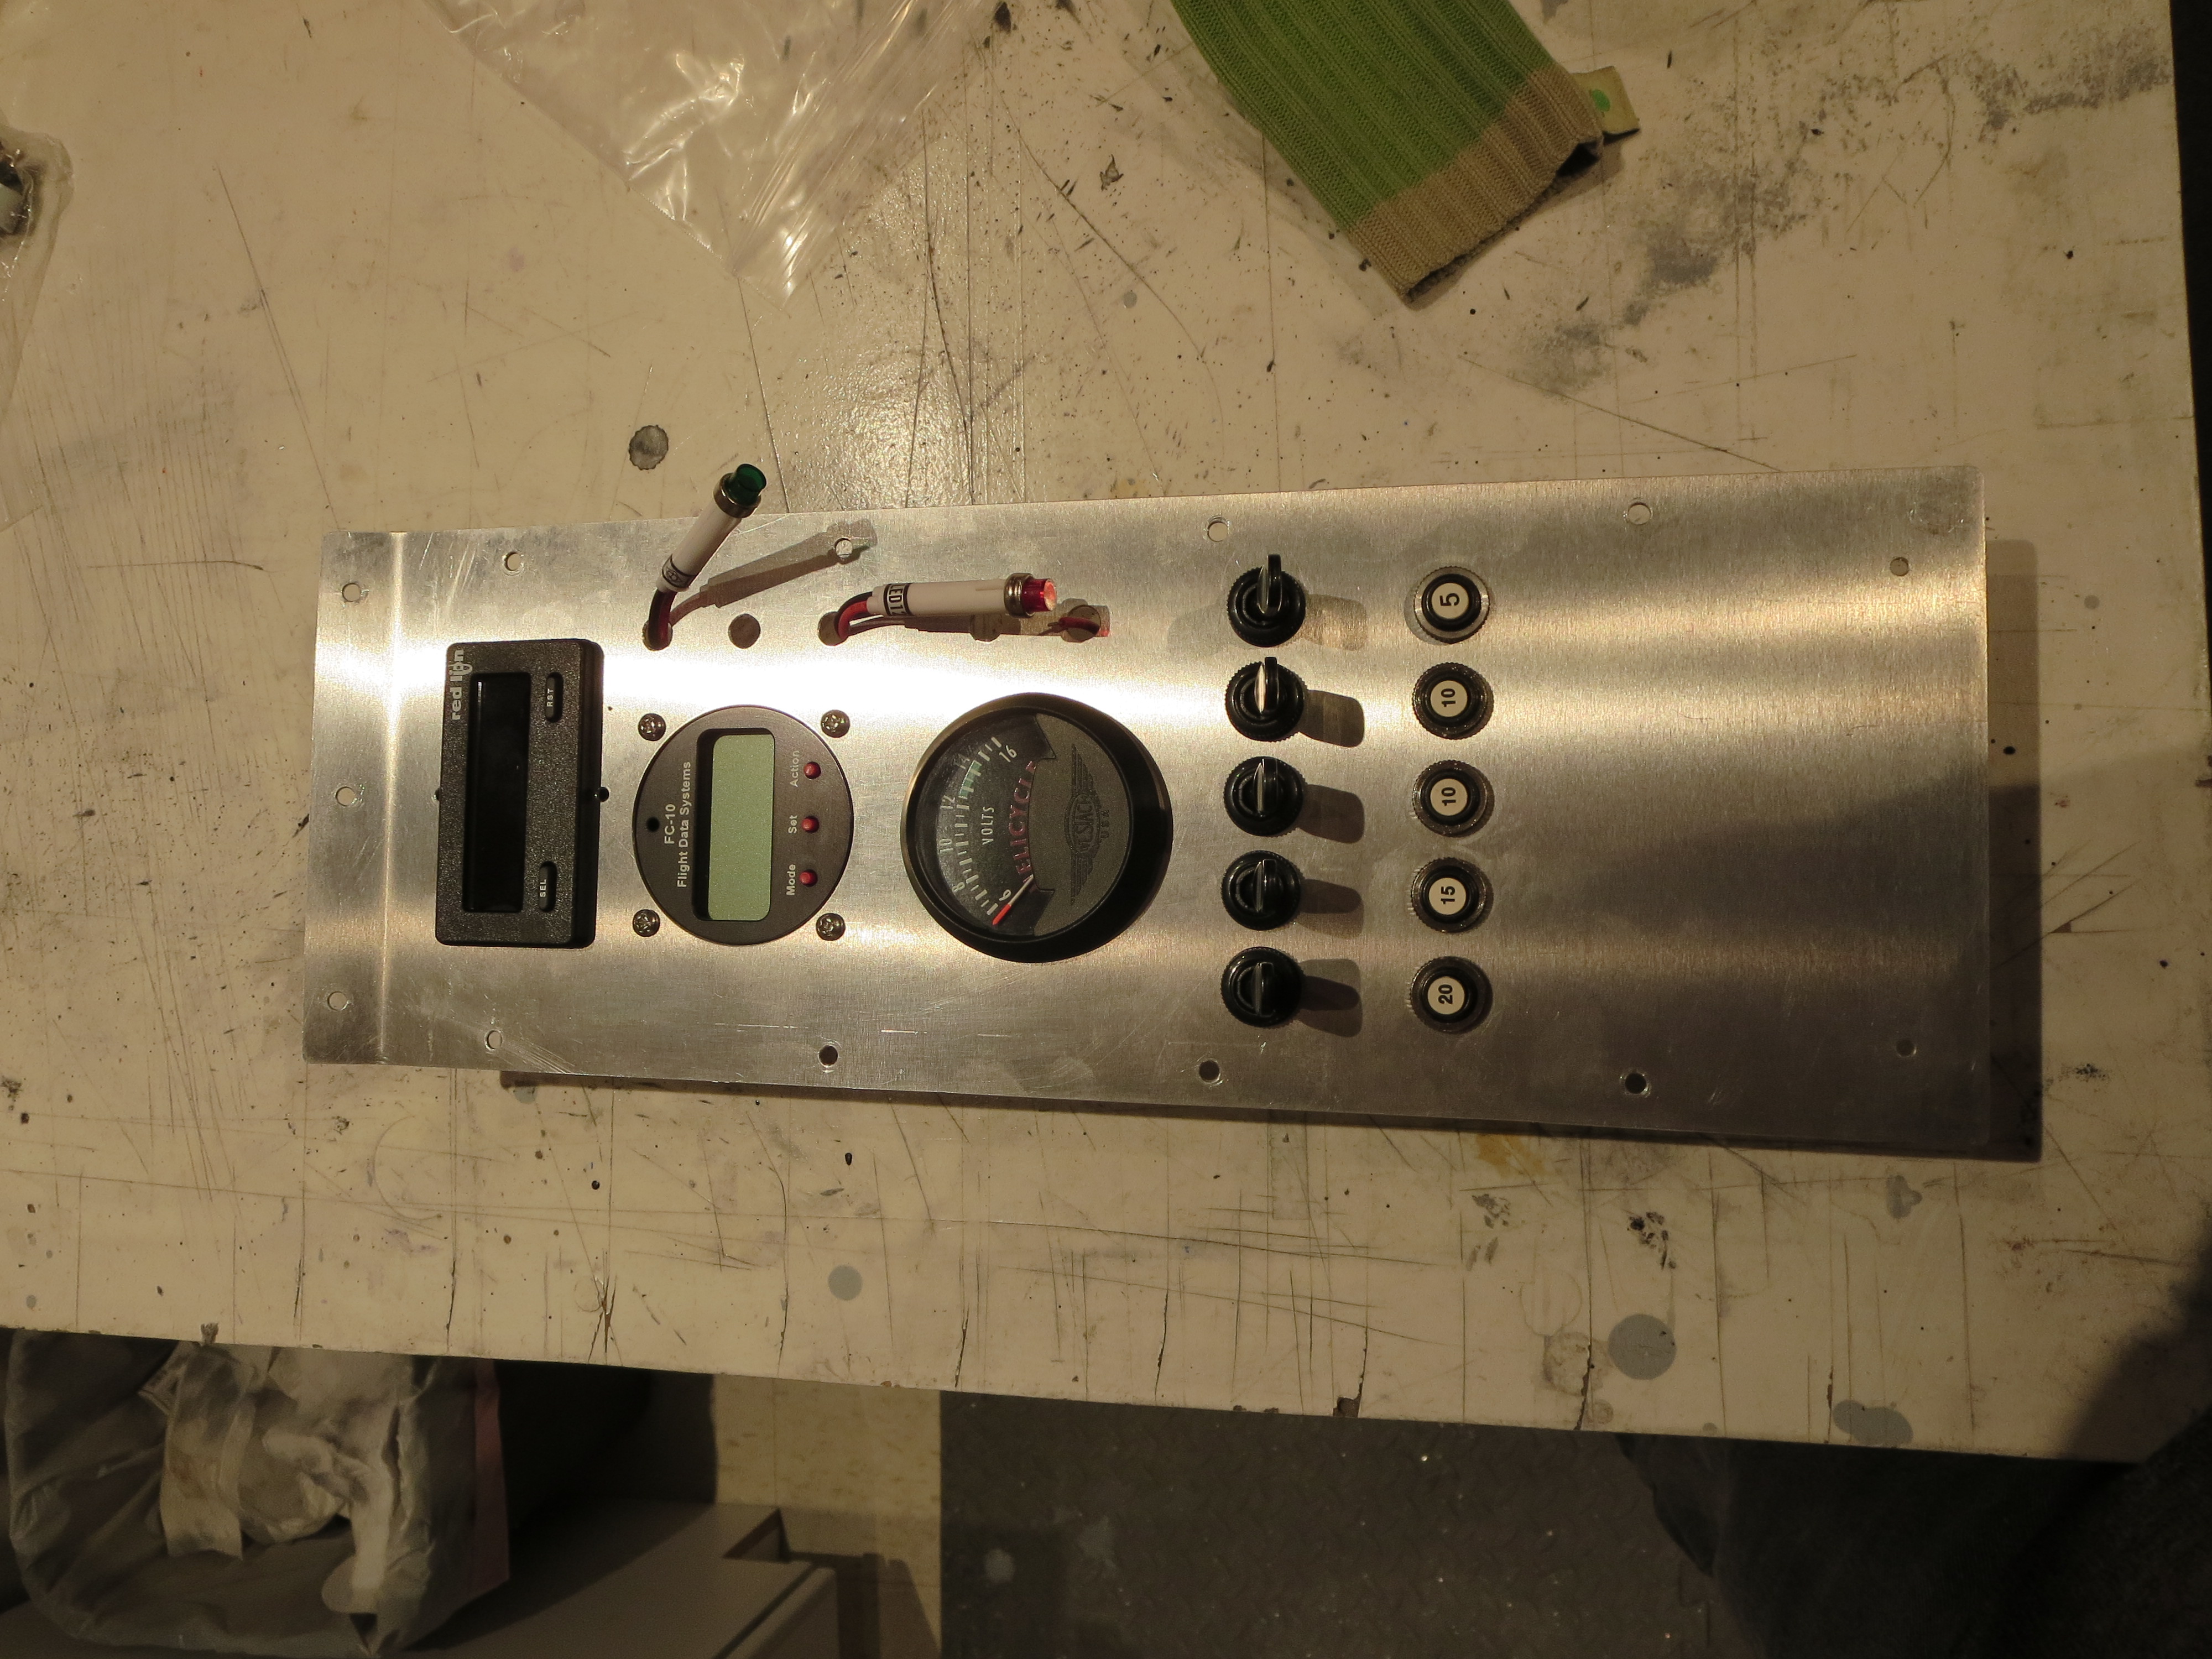
All the stuff preliminarily fitted. My holes for the indicator lights were a bit small and the fuel monitor hole needs some trimming, but by and large the fit is pretty good. All the holes are alignment nicely and very square.