
Cabin Exterior Painting
10/11/15 23:14 Filed in: All
And thus begins the sad story of my cabin painting…
I have primed a bunch of stuff with only one real problem (see my SP priming entry), then I painted my fins and seat pan. The fins came out super-nice as did the seat pan. I was feeling like there were a bunch of pansies out there on the web, saying that painting was so hard and such an art form. If you read some folks descriptions it sounds like some god-like skills are needed. All of my things came out well enough that I was thinking there was not much to it. How wrong I was.
To make it easy for myself I had chosen a single-stage 2-part polyurethane paint for the cabin. The color is plain white, just to avoid any of the shading issues I read so much about.
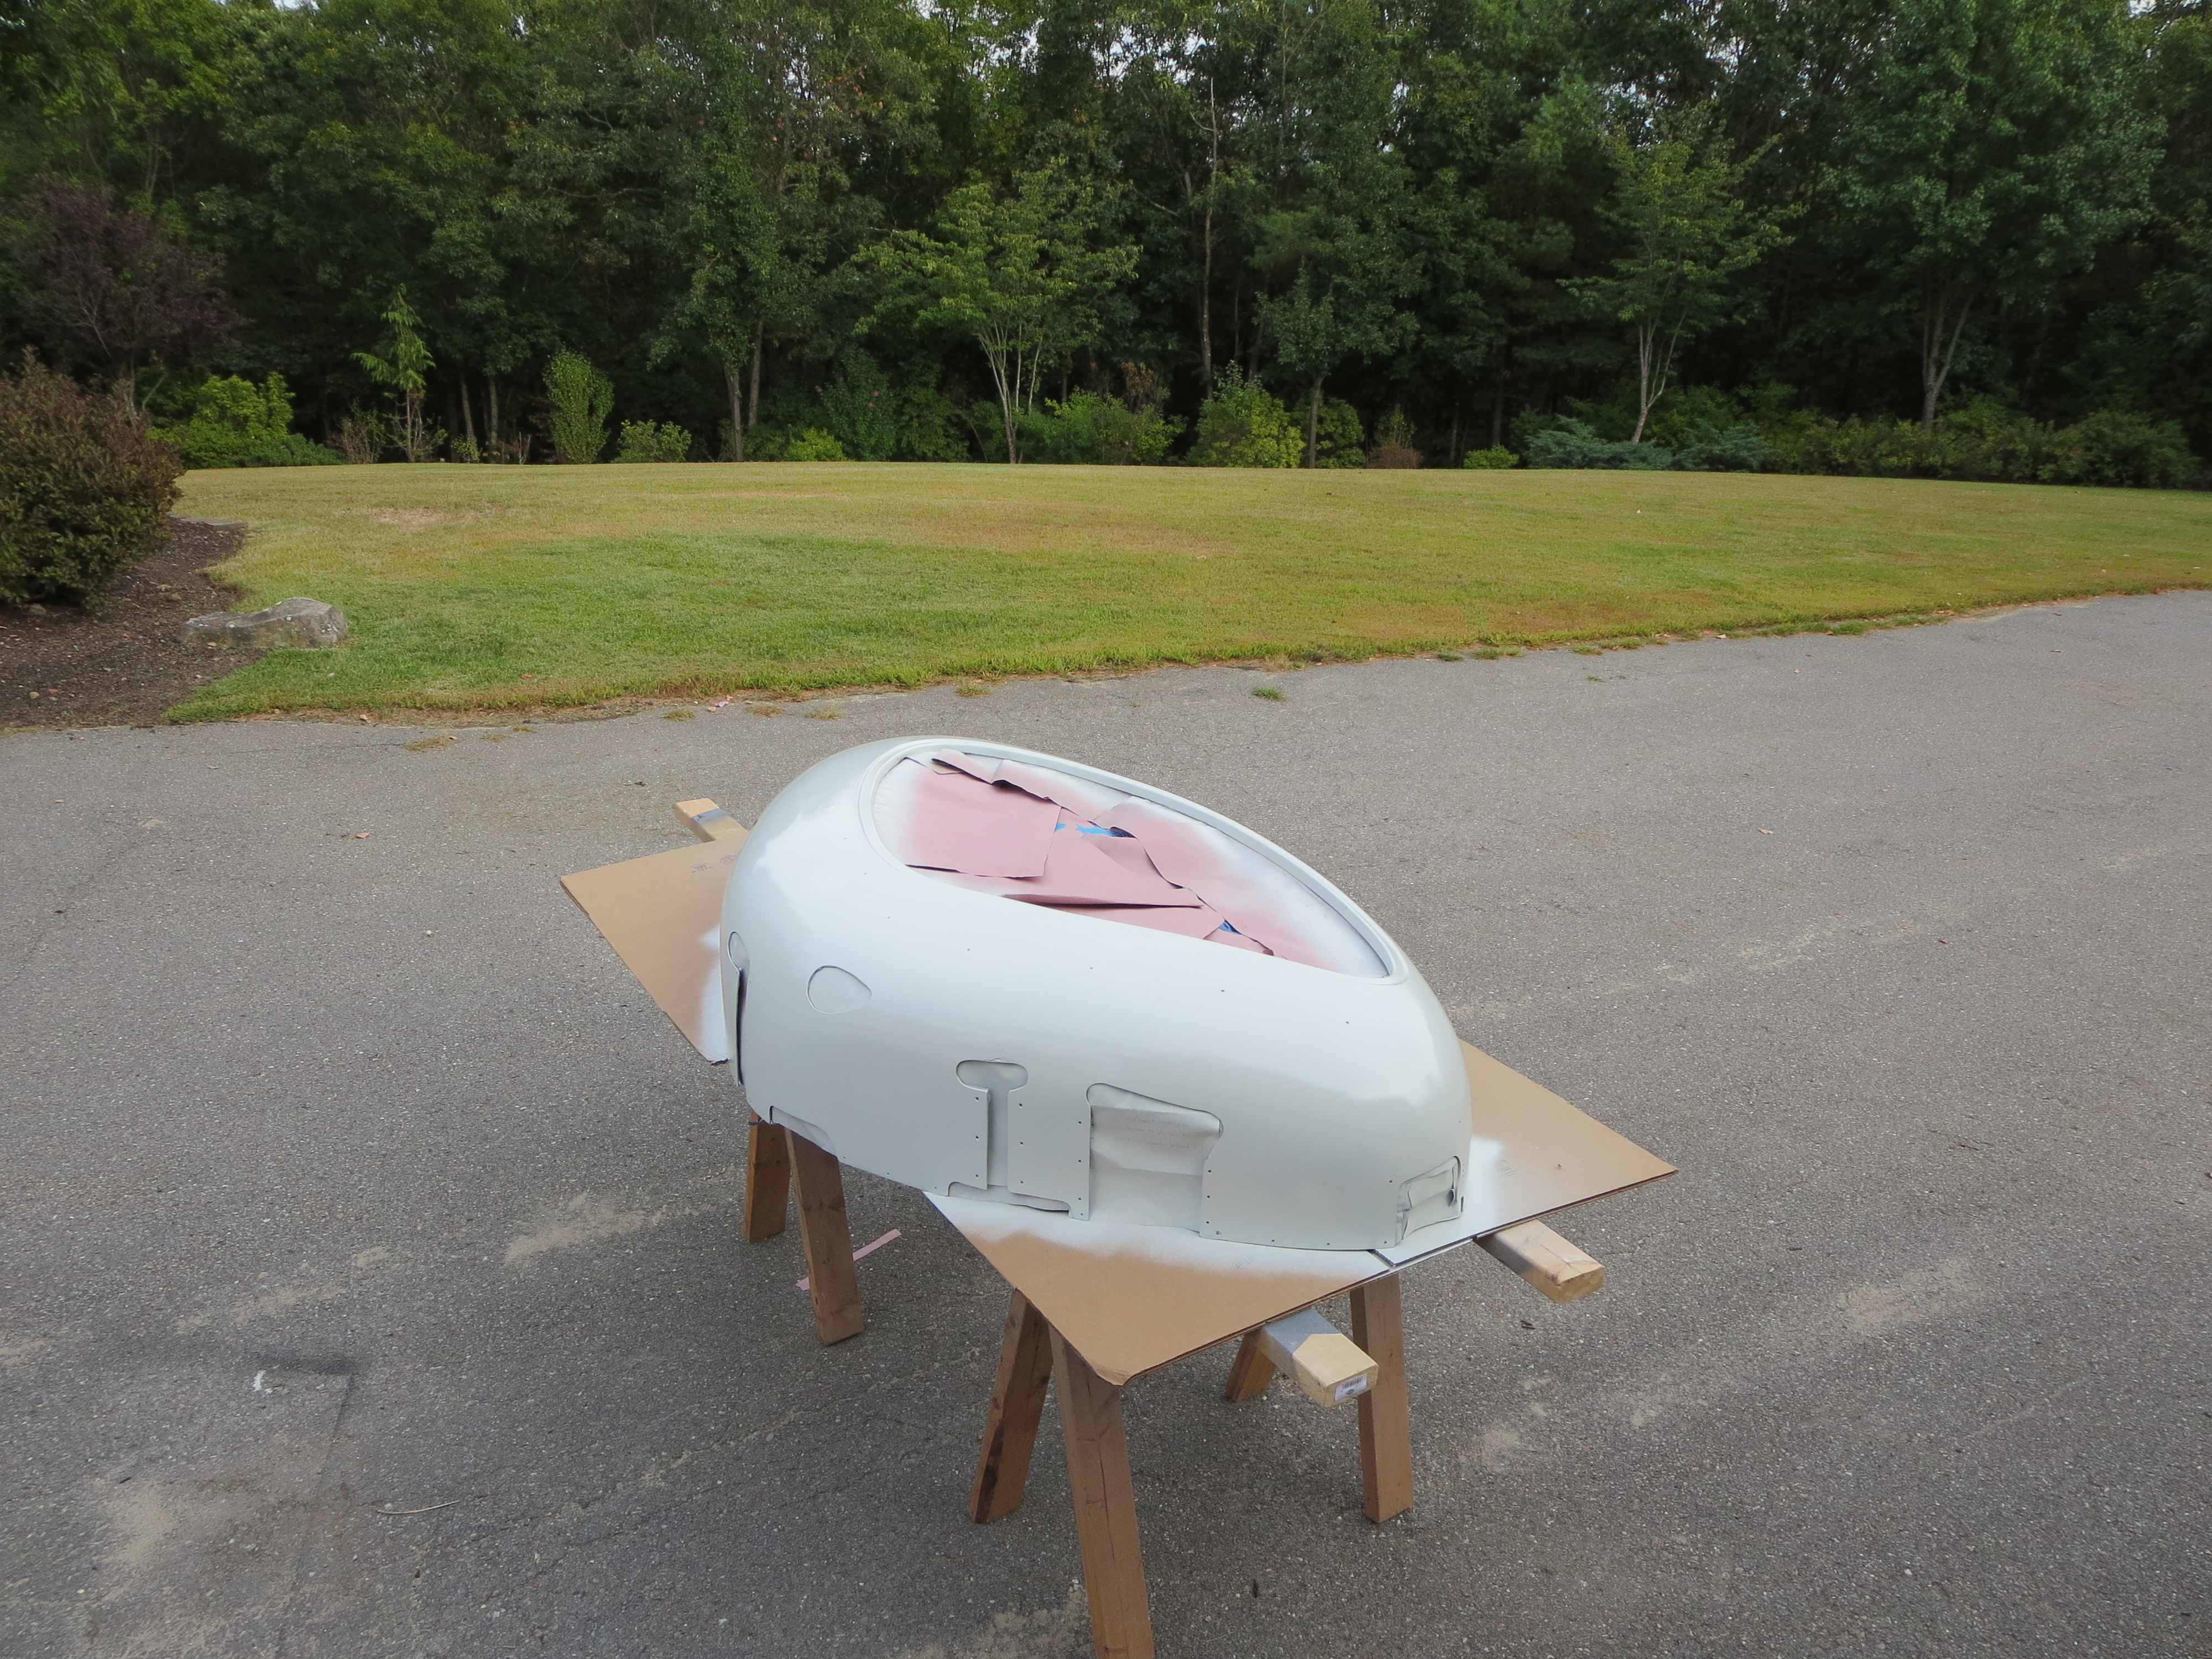
When I painted the fins I was impressed with how nicely the urethane paint "flowed-out", and leveled itself, creating a glass smooth surface. So I jumped in to the cabin exterior using the skills and techniques I thought were developed at this point. The surfaces were primed, wet-sanded, masked and cleaned well. No problems. I used the same gun that I used for the fins.
The first coat went on fairly light. It was mid-morning and the temps were in the 70's and the humidity was relatively low outside. There wasn't as much "flow-out" on the first coat as I would have liked, but it was a light first coat. I expected the second coat to flow out better.
Between coats there must have been something in the gun that I had missed during the previous cleaning that broke off and clogged one of the output holes on the nozzle. No problem, I had another of the exact same gun in the shop. I would just swap the paint, set the new gun exactly as I had the first and carry on. This was my mistake. I made a couple of test swipes on my practice piece that is always outside when I am painting. It was a little grainy, but basically OK - or so I thought. I figured it would flow out in a minute or two.
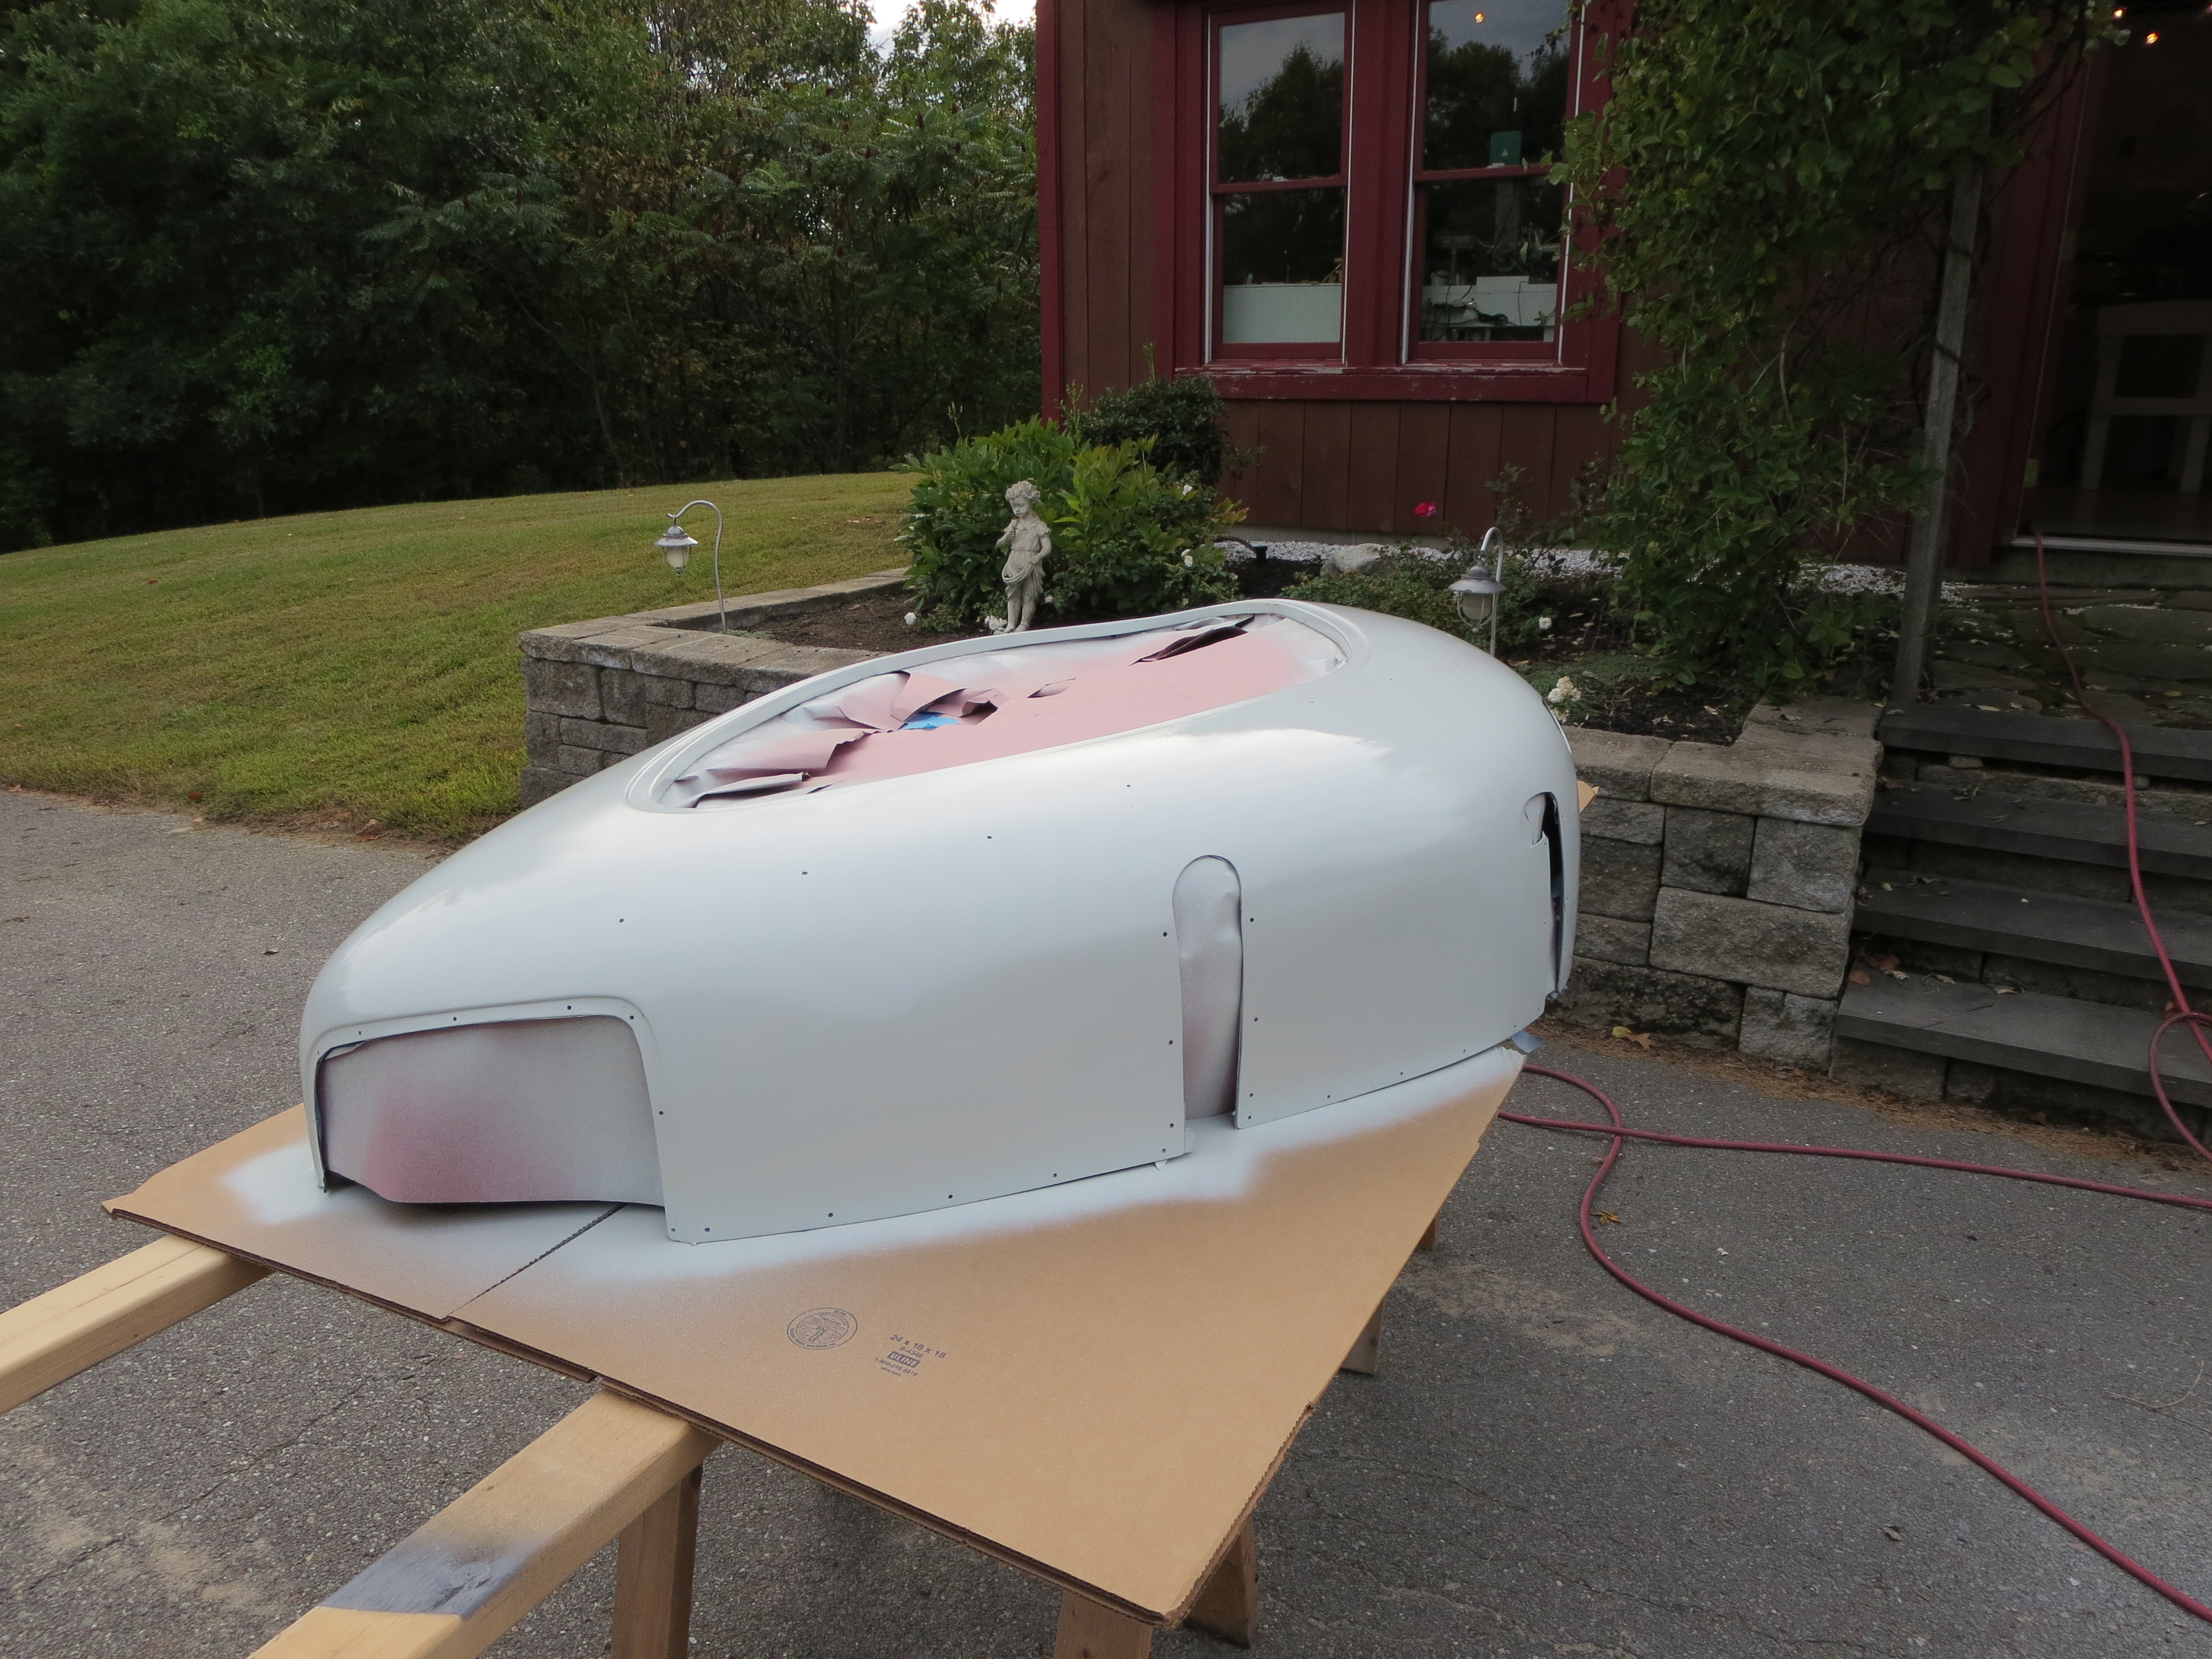
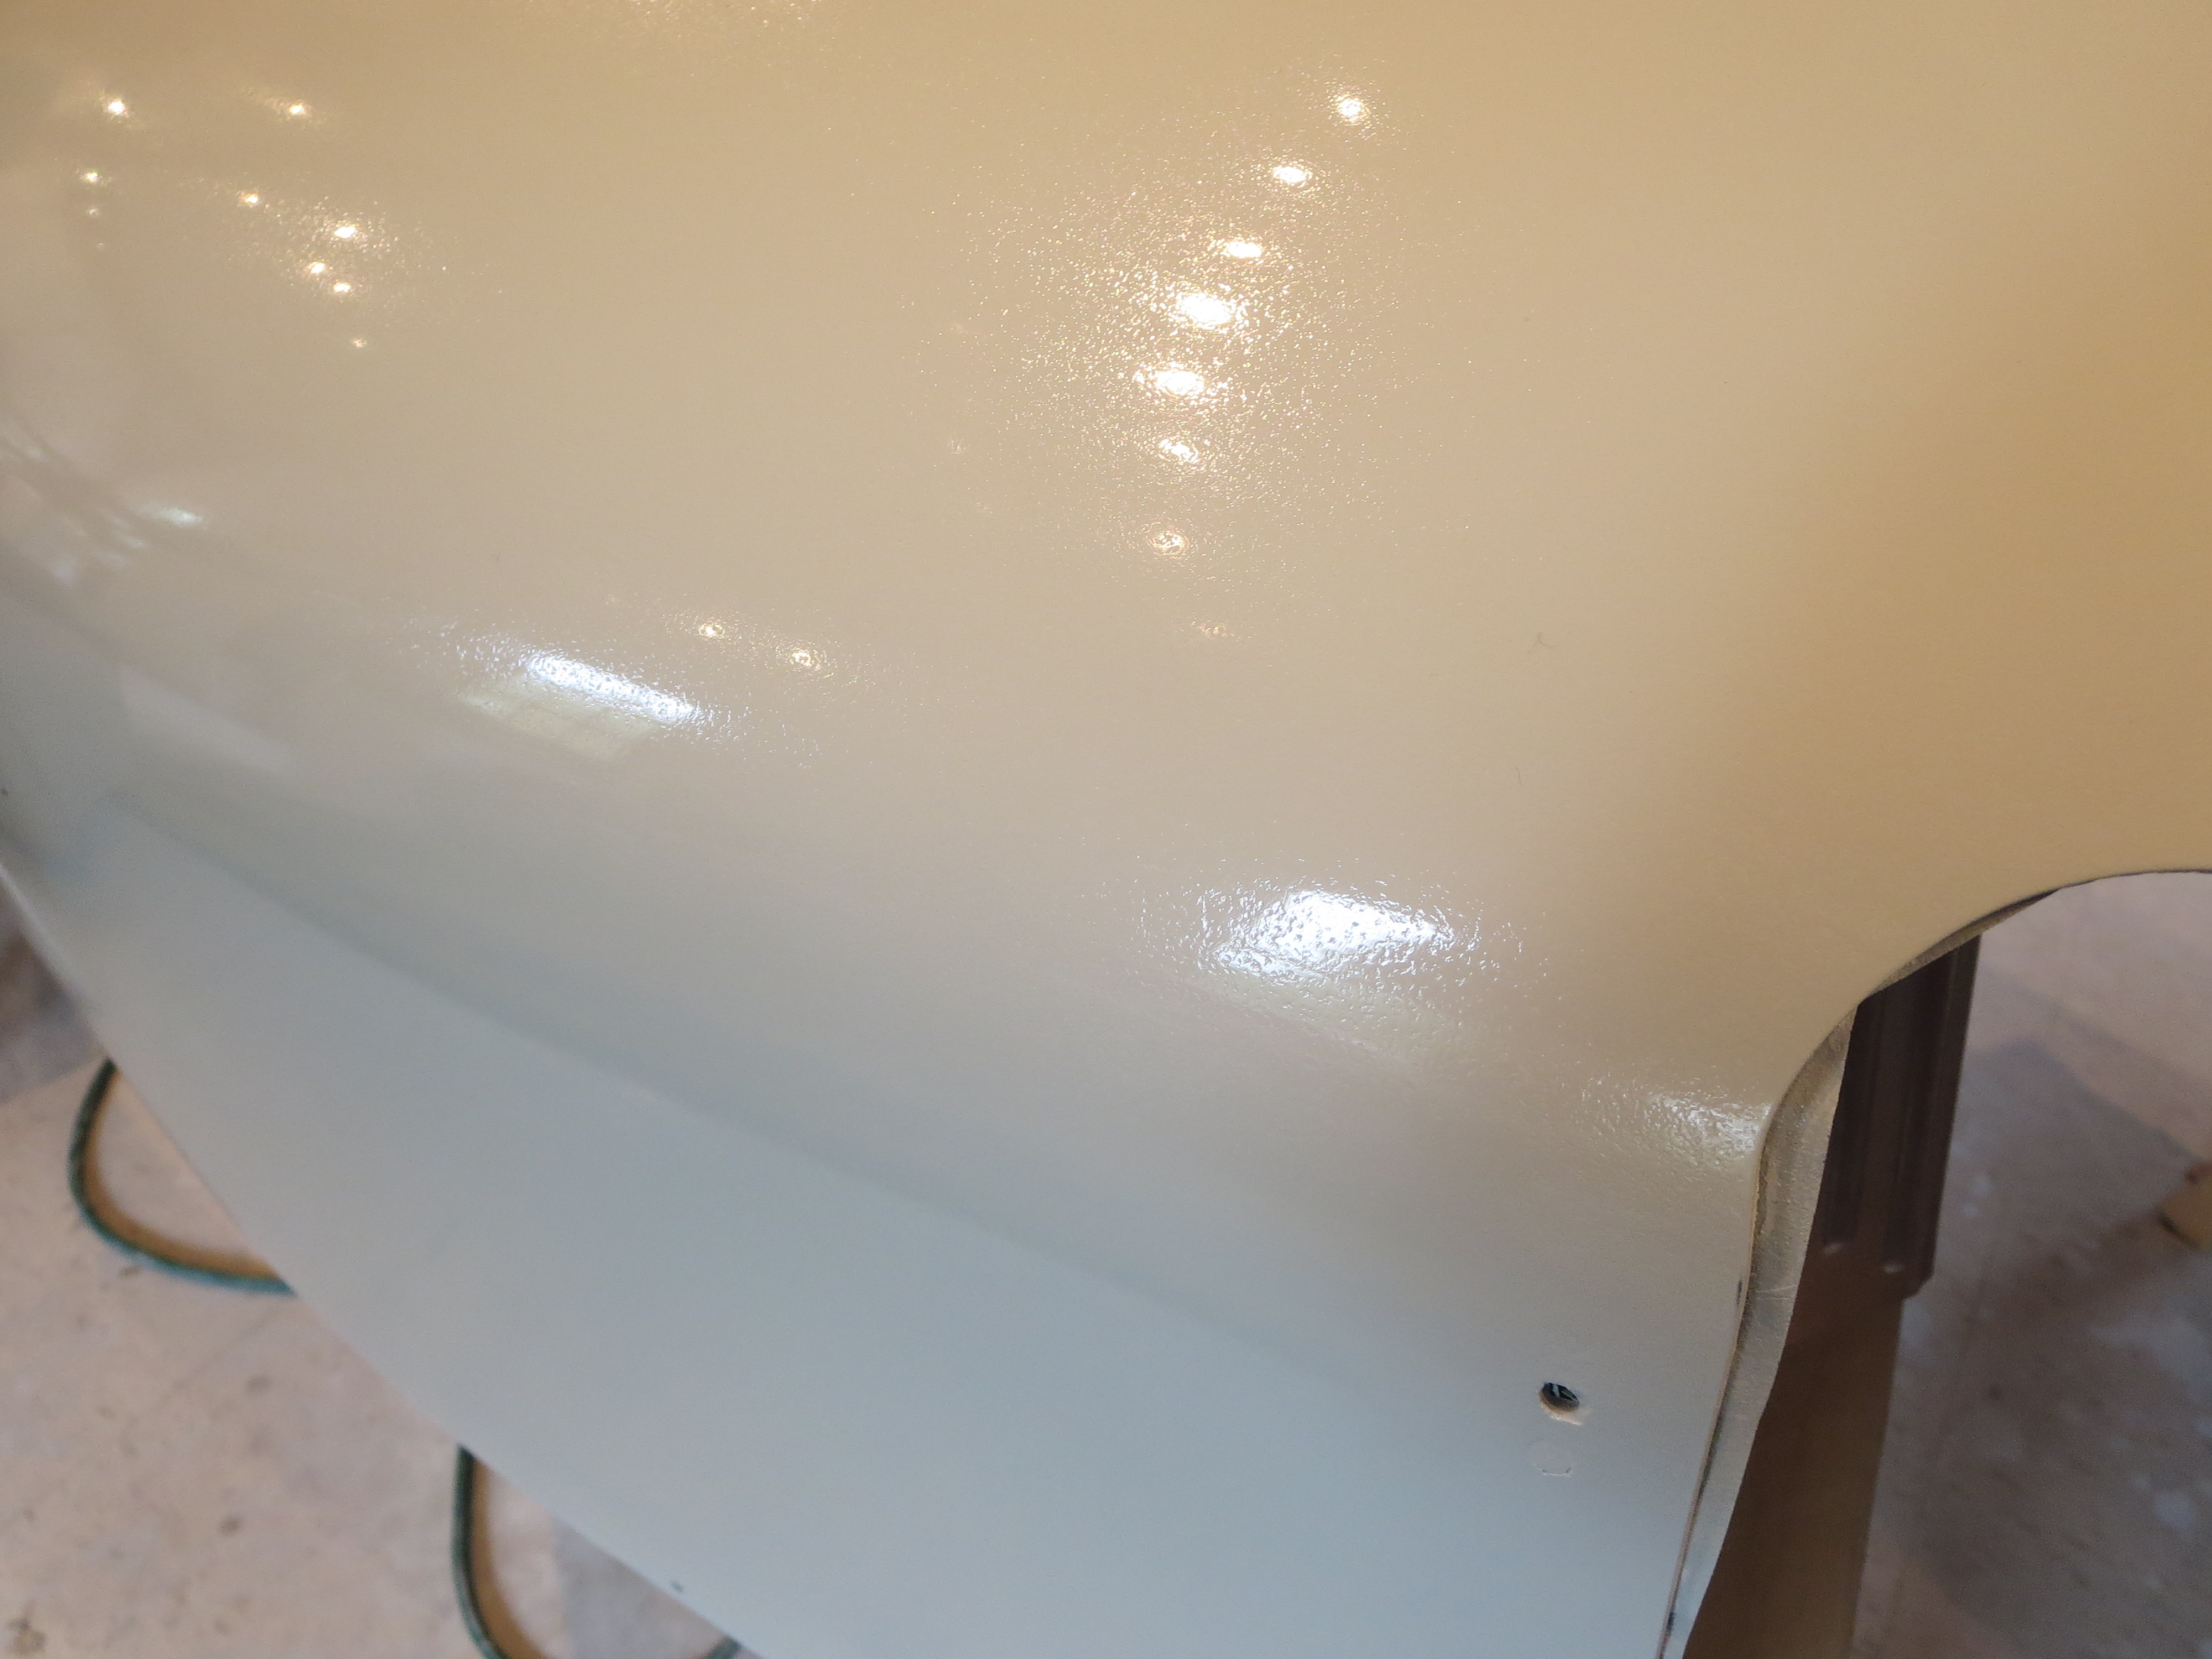
Coupled with that was the fact that is was later in the day, the sun was now out brightly, and the humidity was even lower than before. After I laid down the next coat (on both cabin half exteriors) I noticed that it was not flowing out as I had experienced in the past. OK. Not good. I increased the flow a tad to try to increase the quantity So it would flow better and "fill-in" the grain. What I learned later was that I should have lowered the pressure as what I was experiencing was dry-spray, not a flow problem. Too much air was effectively drying the paint on the way out of the gun causing a graininess. Nuts. Even though my second gun looked exactly the same and was the same model, the second gun was a newer gun and was very different internally (I learned later).
Decision time; Stop or continue? In that few seconds I decided to lay down as much paint as I had and sand it smooth later. It was either that, or stop, let it dry, sand it all off, reprime, and re-paint. Other factors at work were the fact that this was probably one of the last days I was going to get with a good temperature and warm enough outdoors to paint.
So there I was - I had two cabin halves with the surface texture of table salt. It really looked bad. Time to start sanding. I hoped that I had laid down enough paint so that I would not thin it too much.
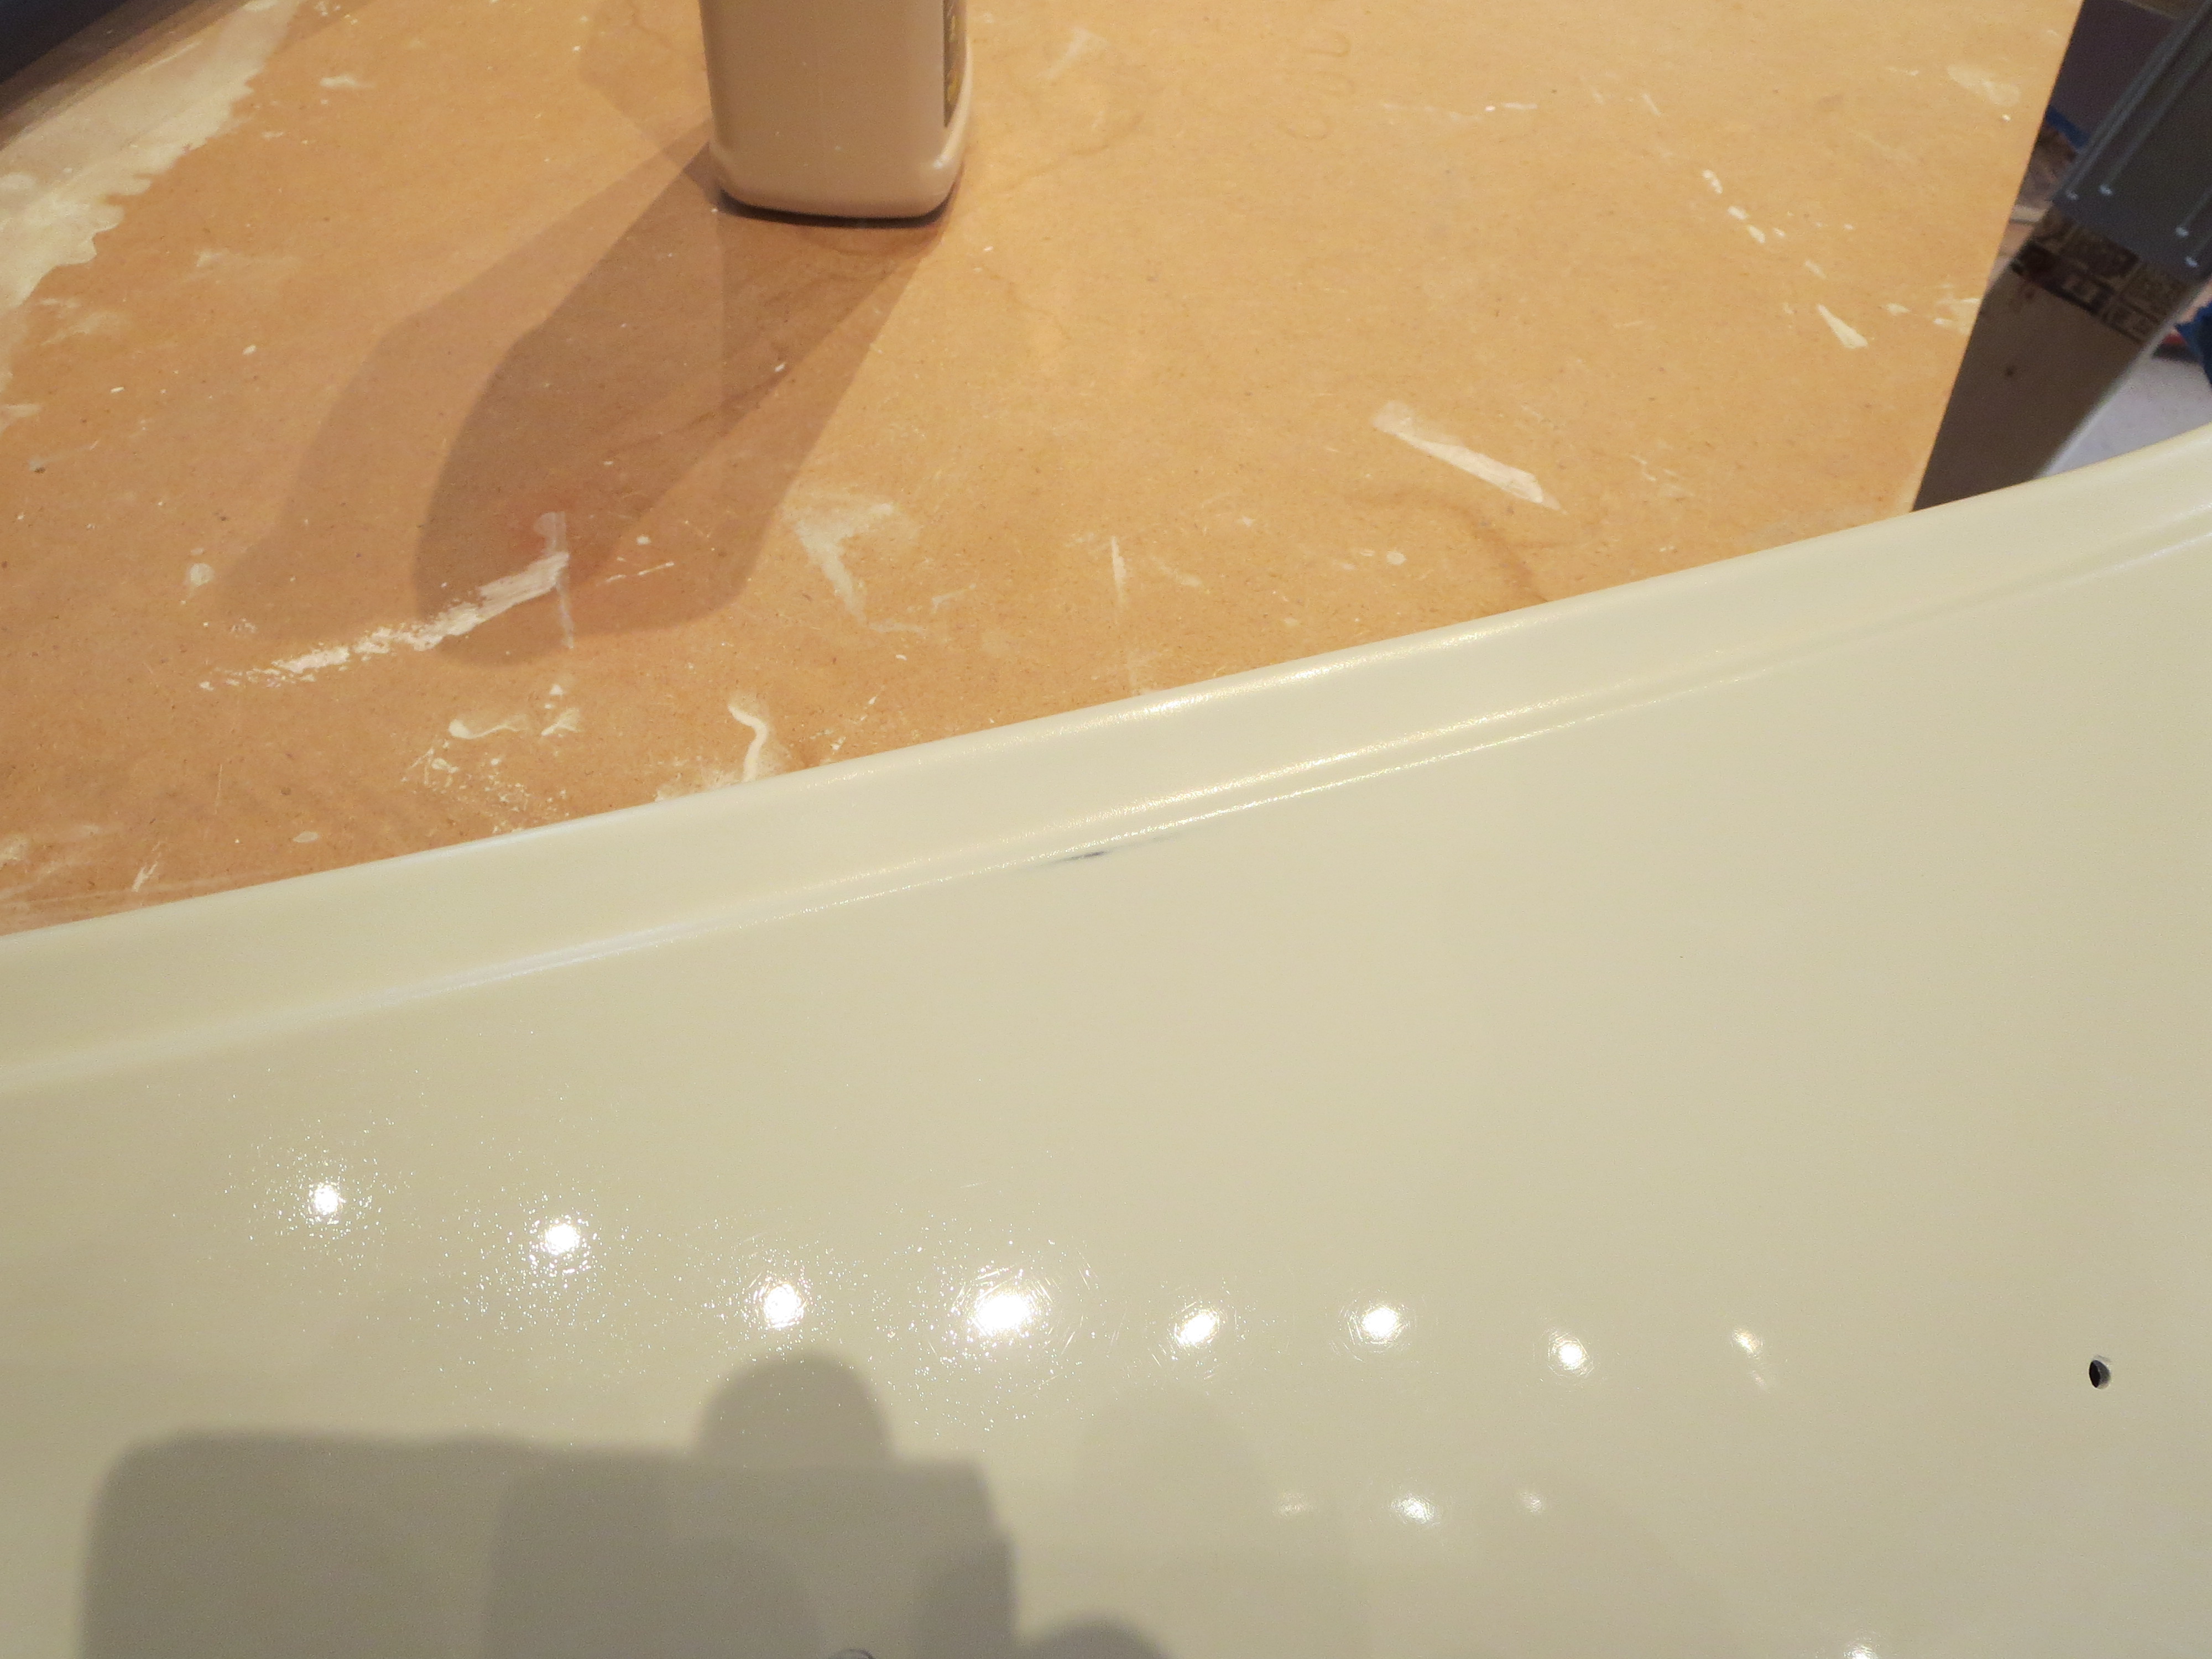
The next two weeks of evenings were spent with a spray bottle of water, sandpaper and dual-action orbital polisher. Start with 500 grit (yes 500 grit for real), wet sand, then work to 800, 1000, 1200, 1500, and then 2000. Follow that with a multiple passes of the polisher with an aggressive cutting compound. Wipe it all off, look at it with a bright light and repeat, starting with the coarse grit on up. Repeat. Repeat. Repeat.
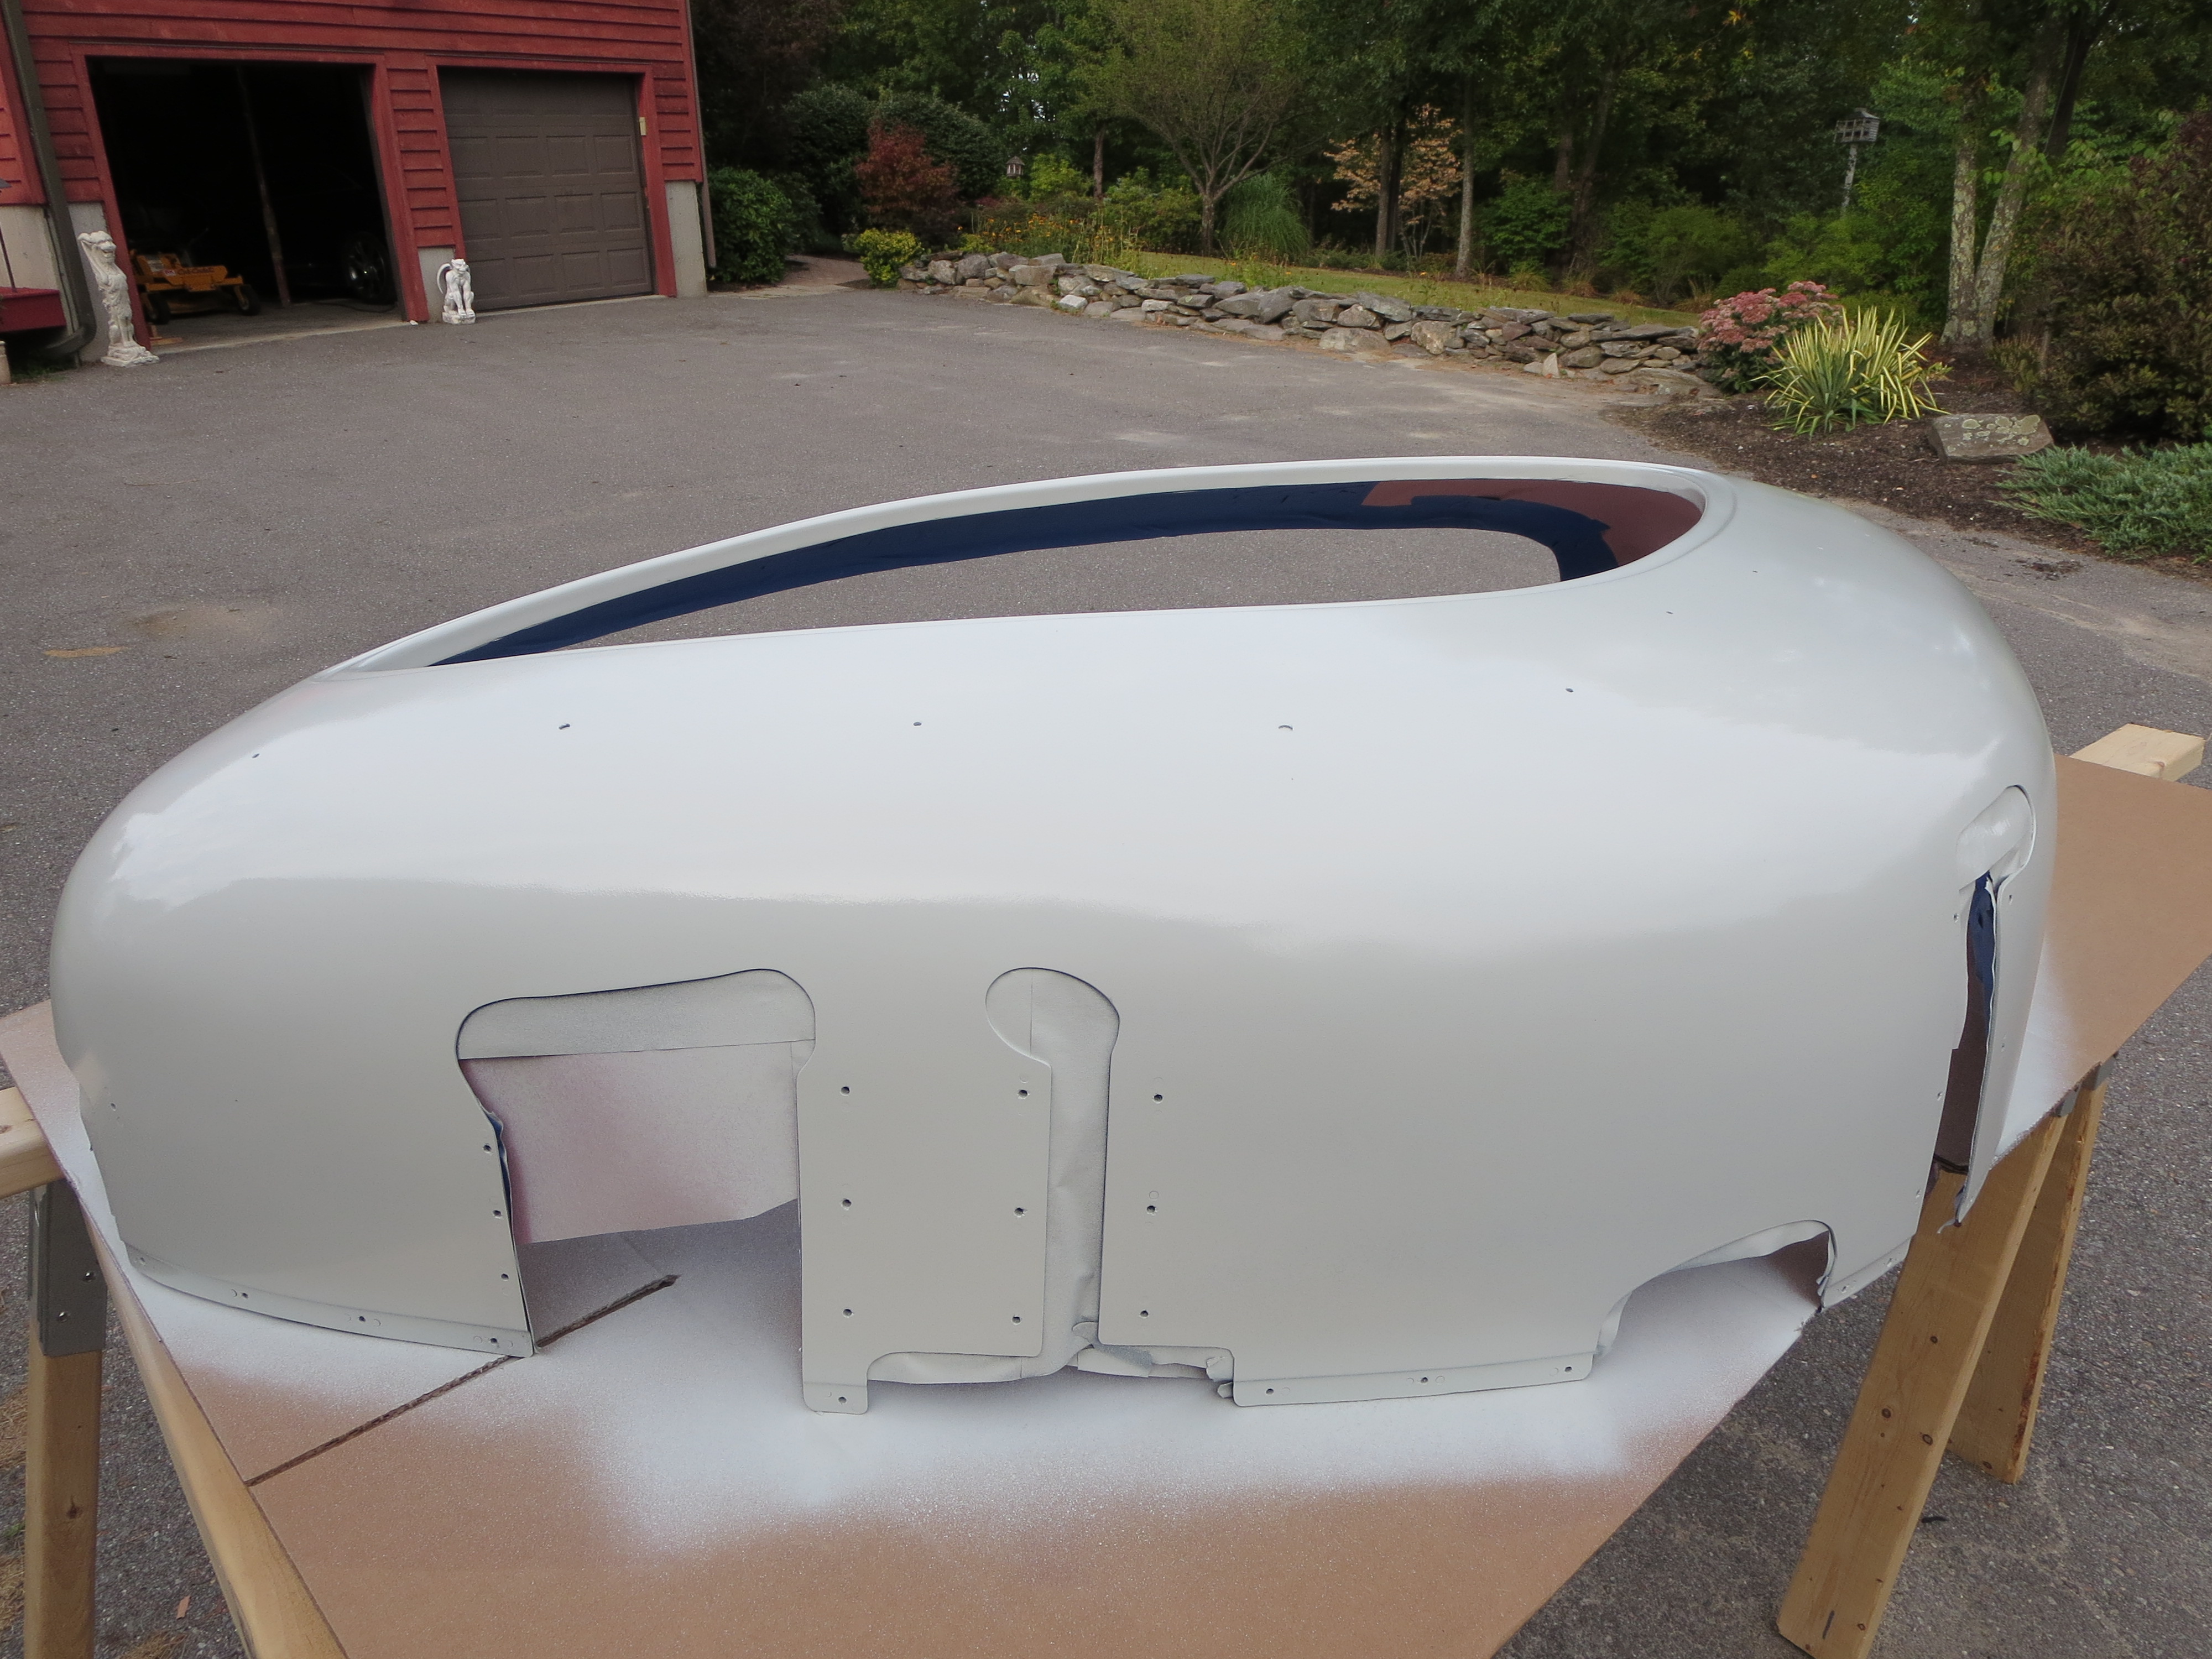
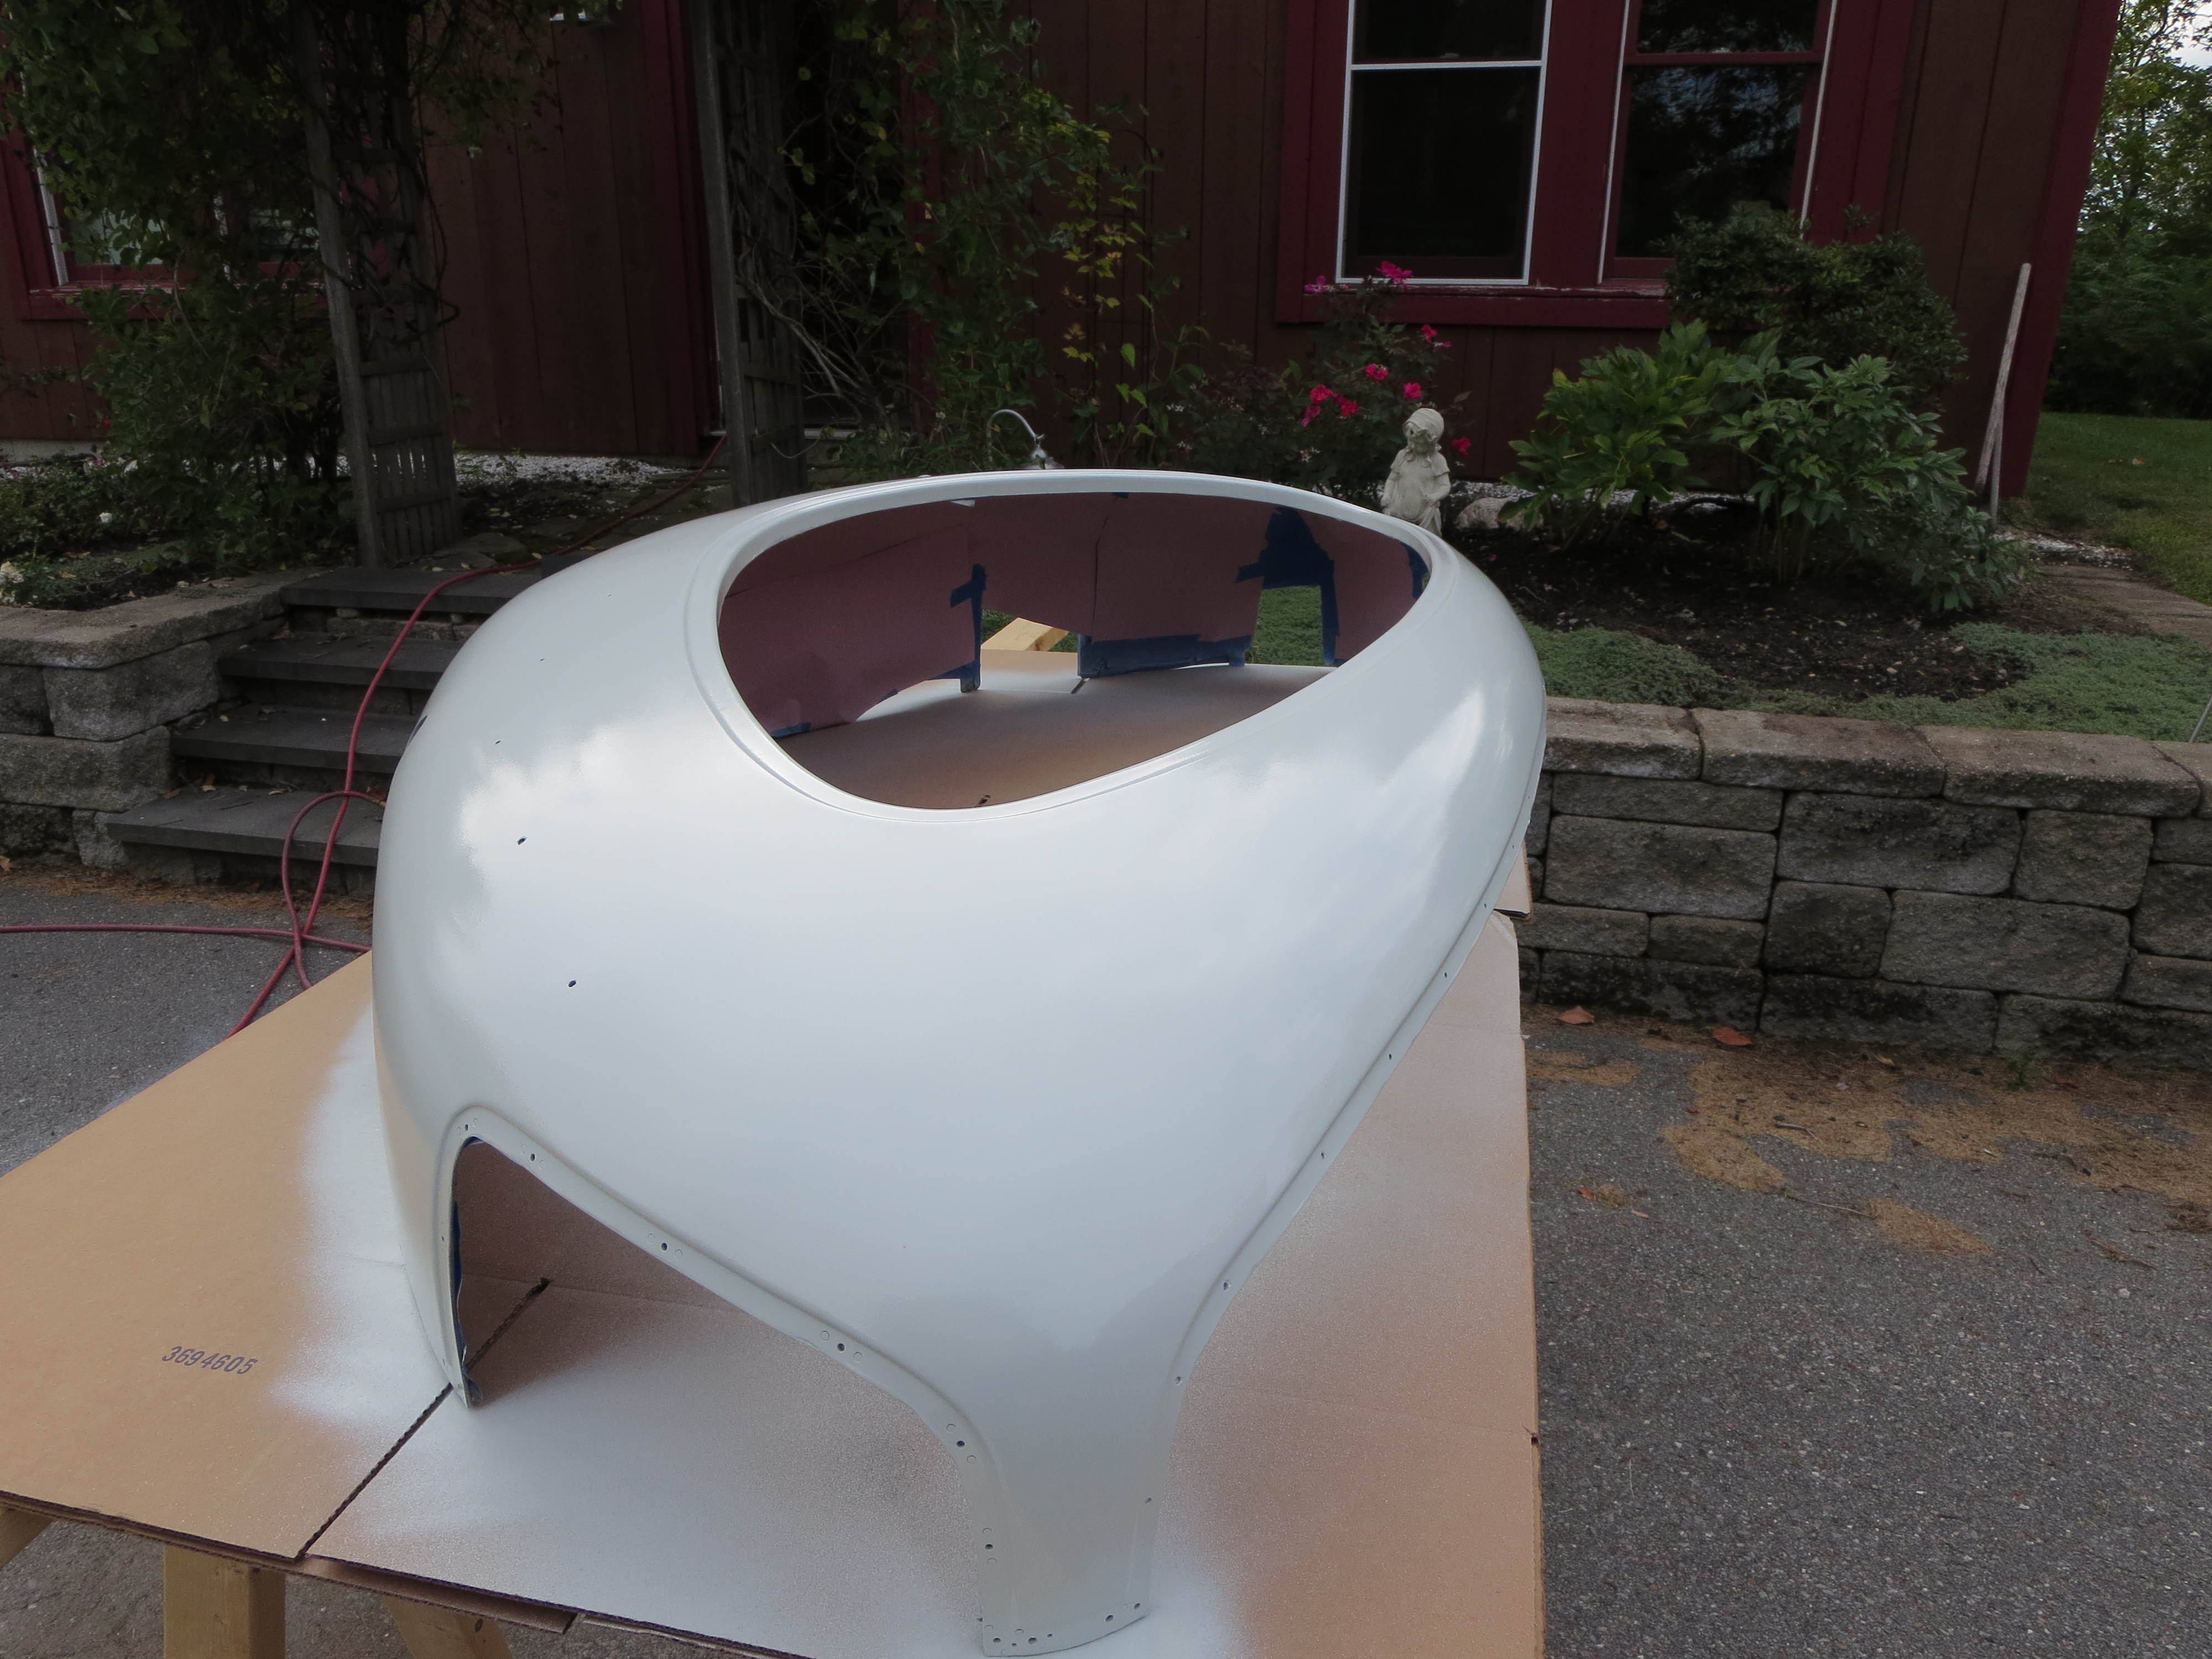
I learned an awful lot about how paint behaves. First or all, it is very possible to work with paint. If it was just some light orange peel, I am confident that I could have smoothed it out nicely, with labor, of course, but not too bad. The problem with my situation was depth. If you think of the surface in profile as a jagged series of little sawtooth mountains, it is easy to sand off the "peaks". However, once you have created "plateaus", you have a much larger surface area, the ever growing plateaus, to sand to work in to the "valleys". Initial progress is fast and noticeable, then it slows way down.
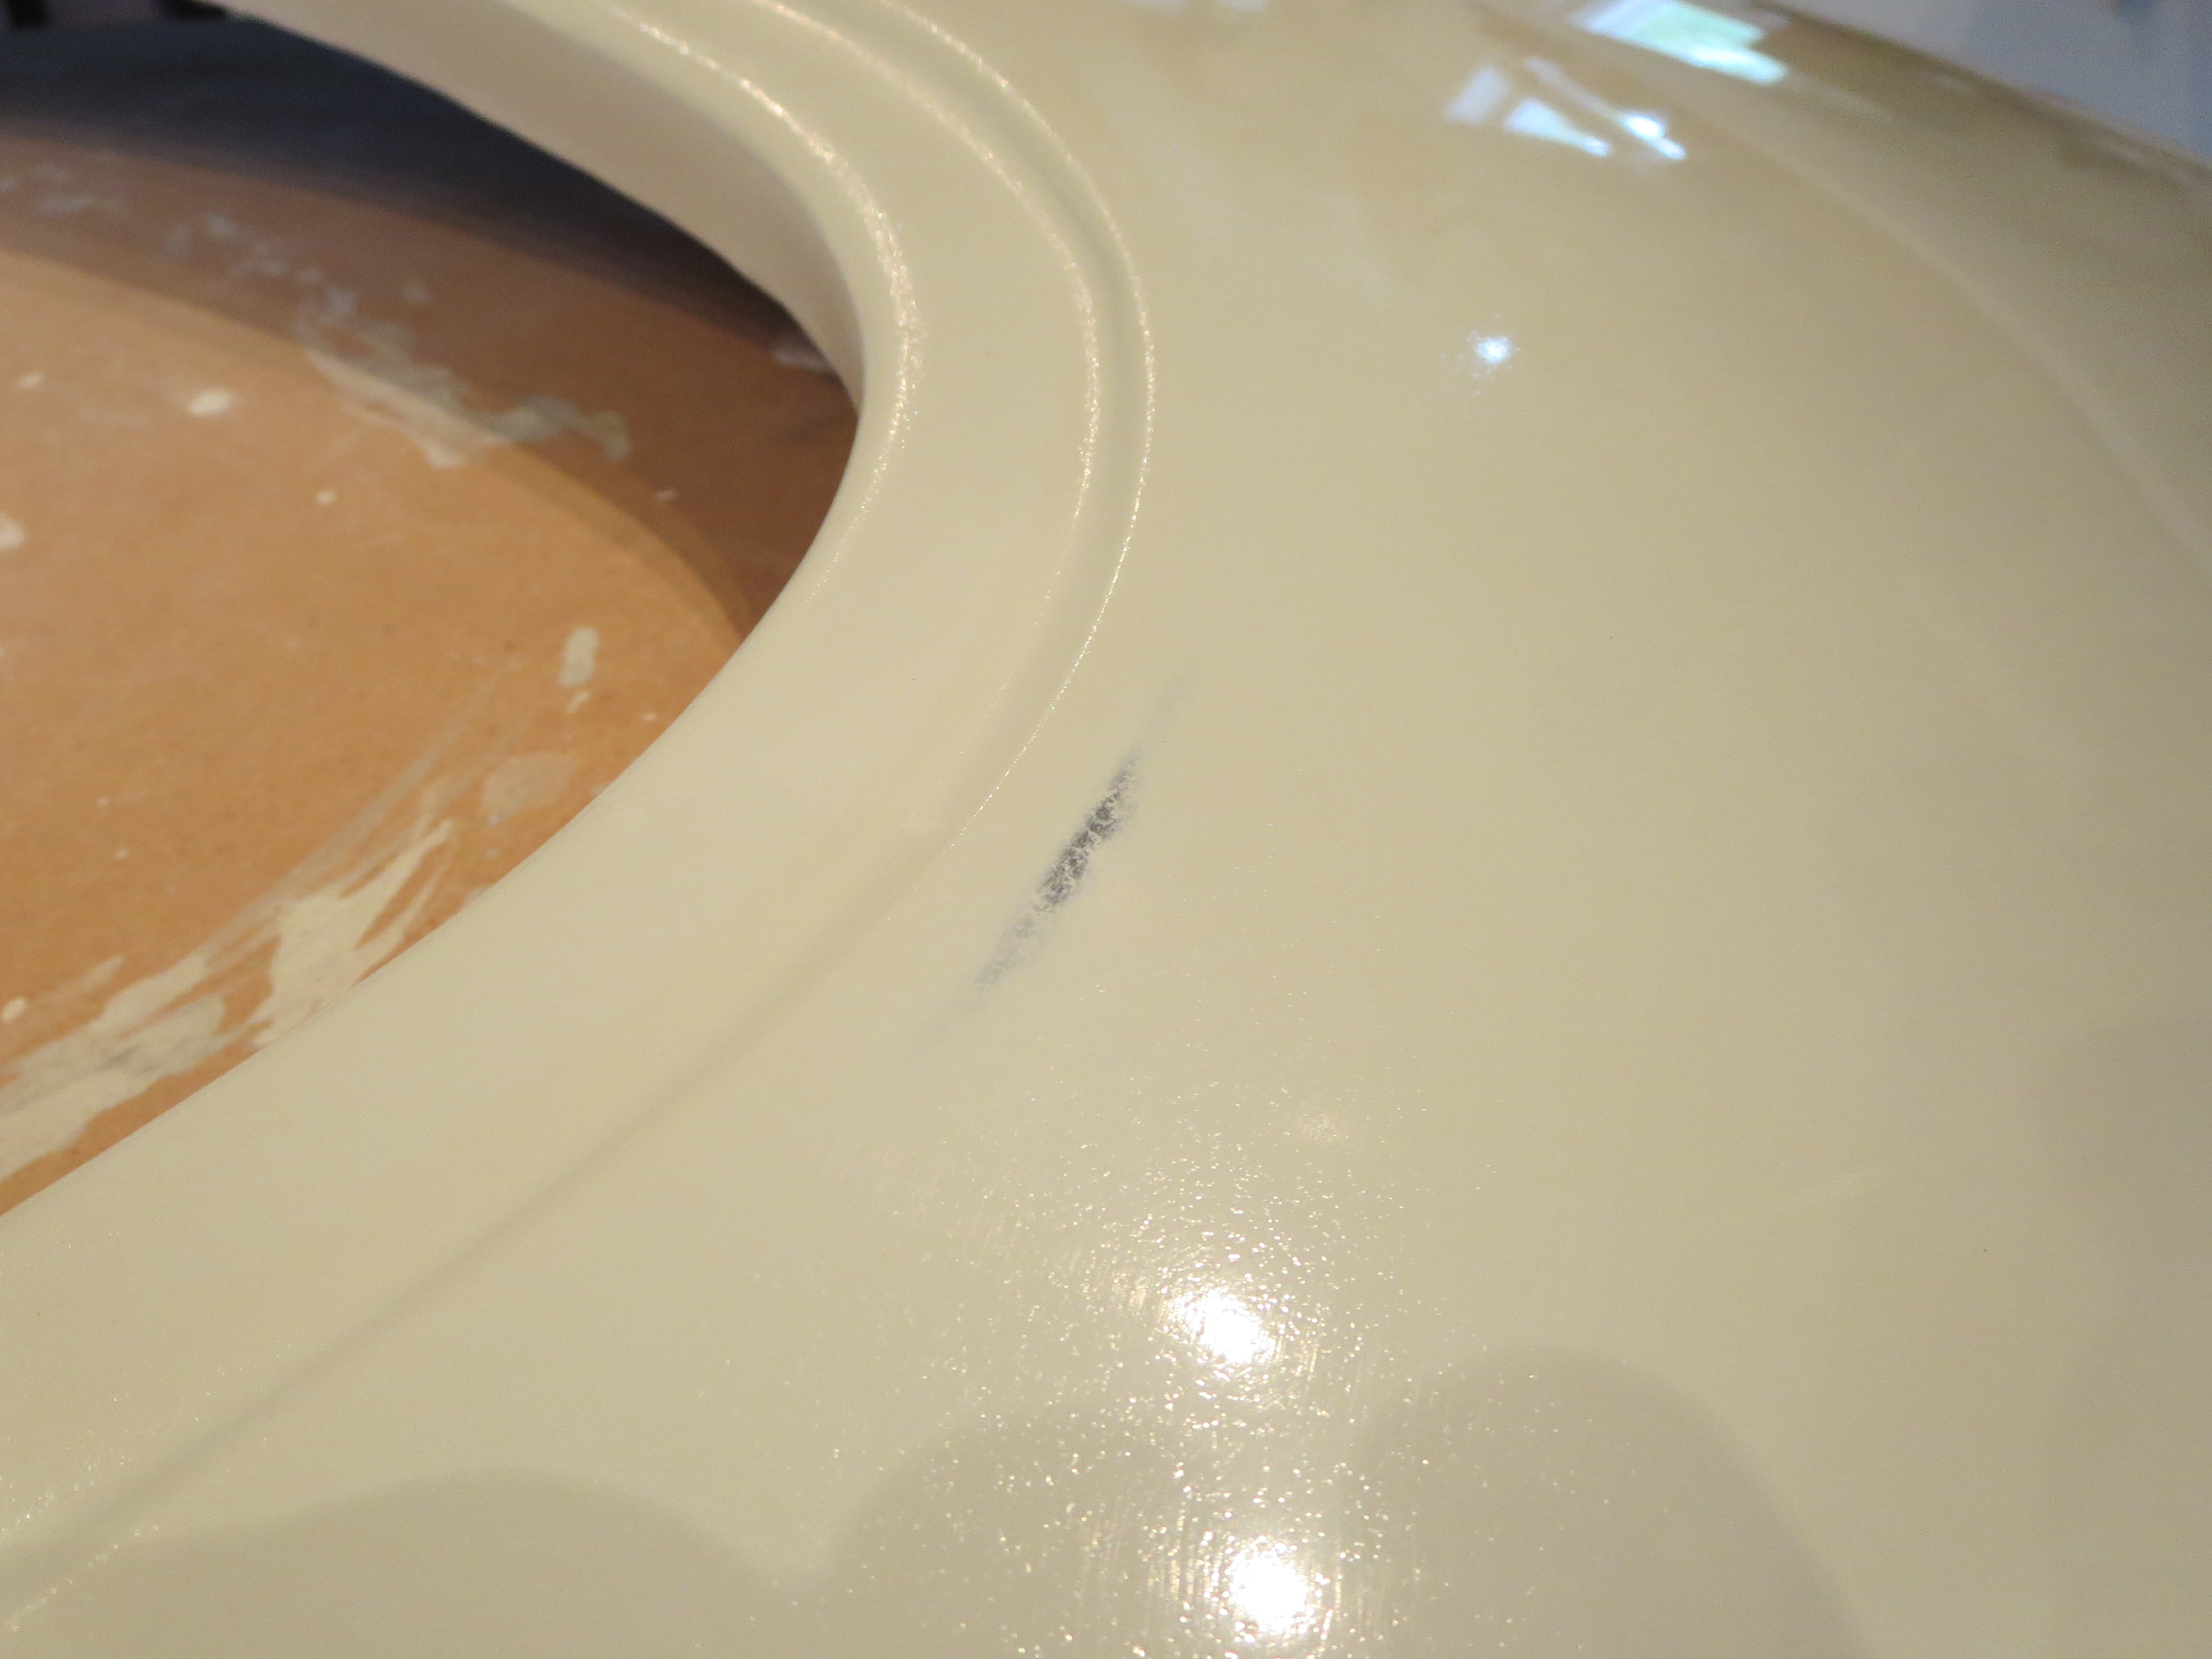
Coupled with that is that once you get close to the bottom of the valleys, the paint is getting very, very thin. There are couple of spots that thinned through. I am pretty sure that someday I will repaint the cabin, but I am not looking forward to it.
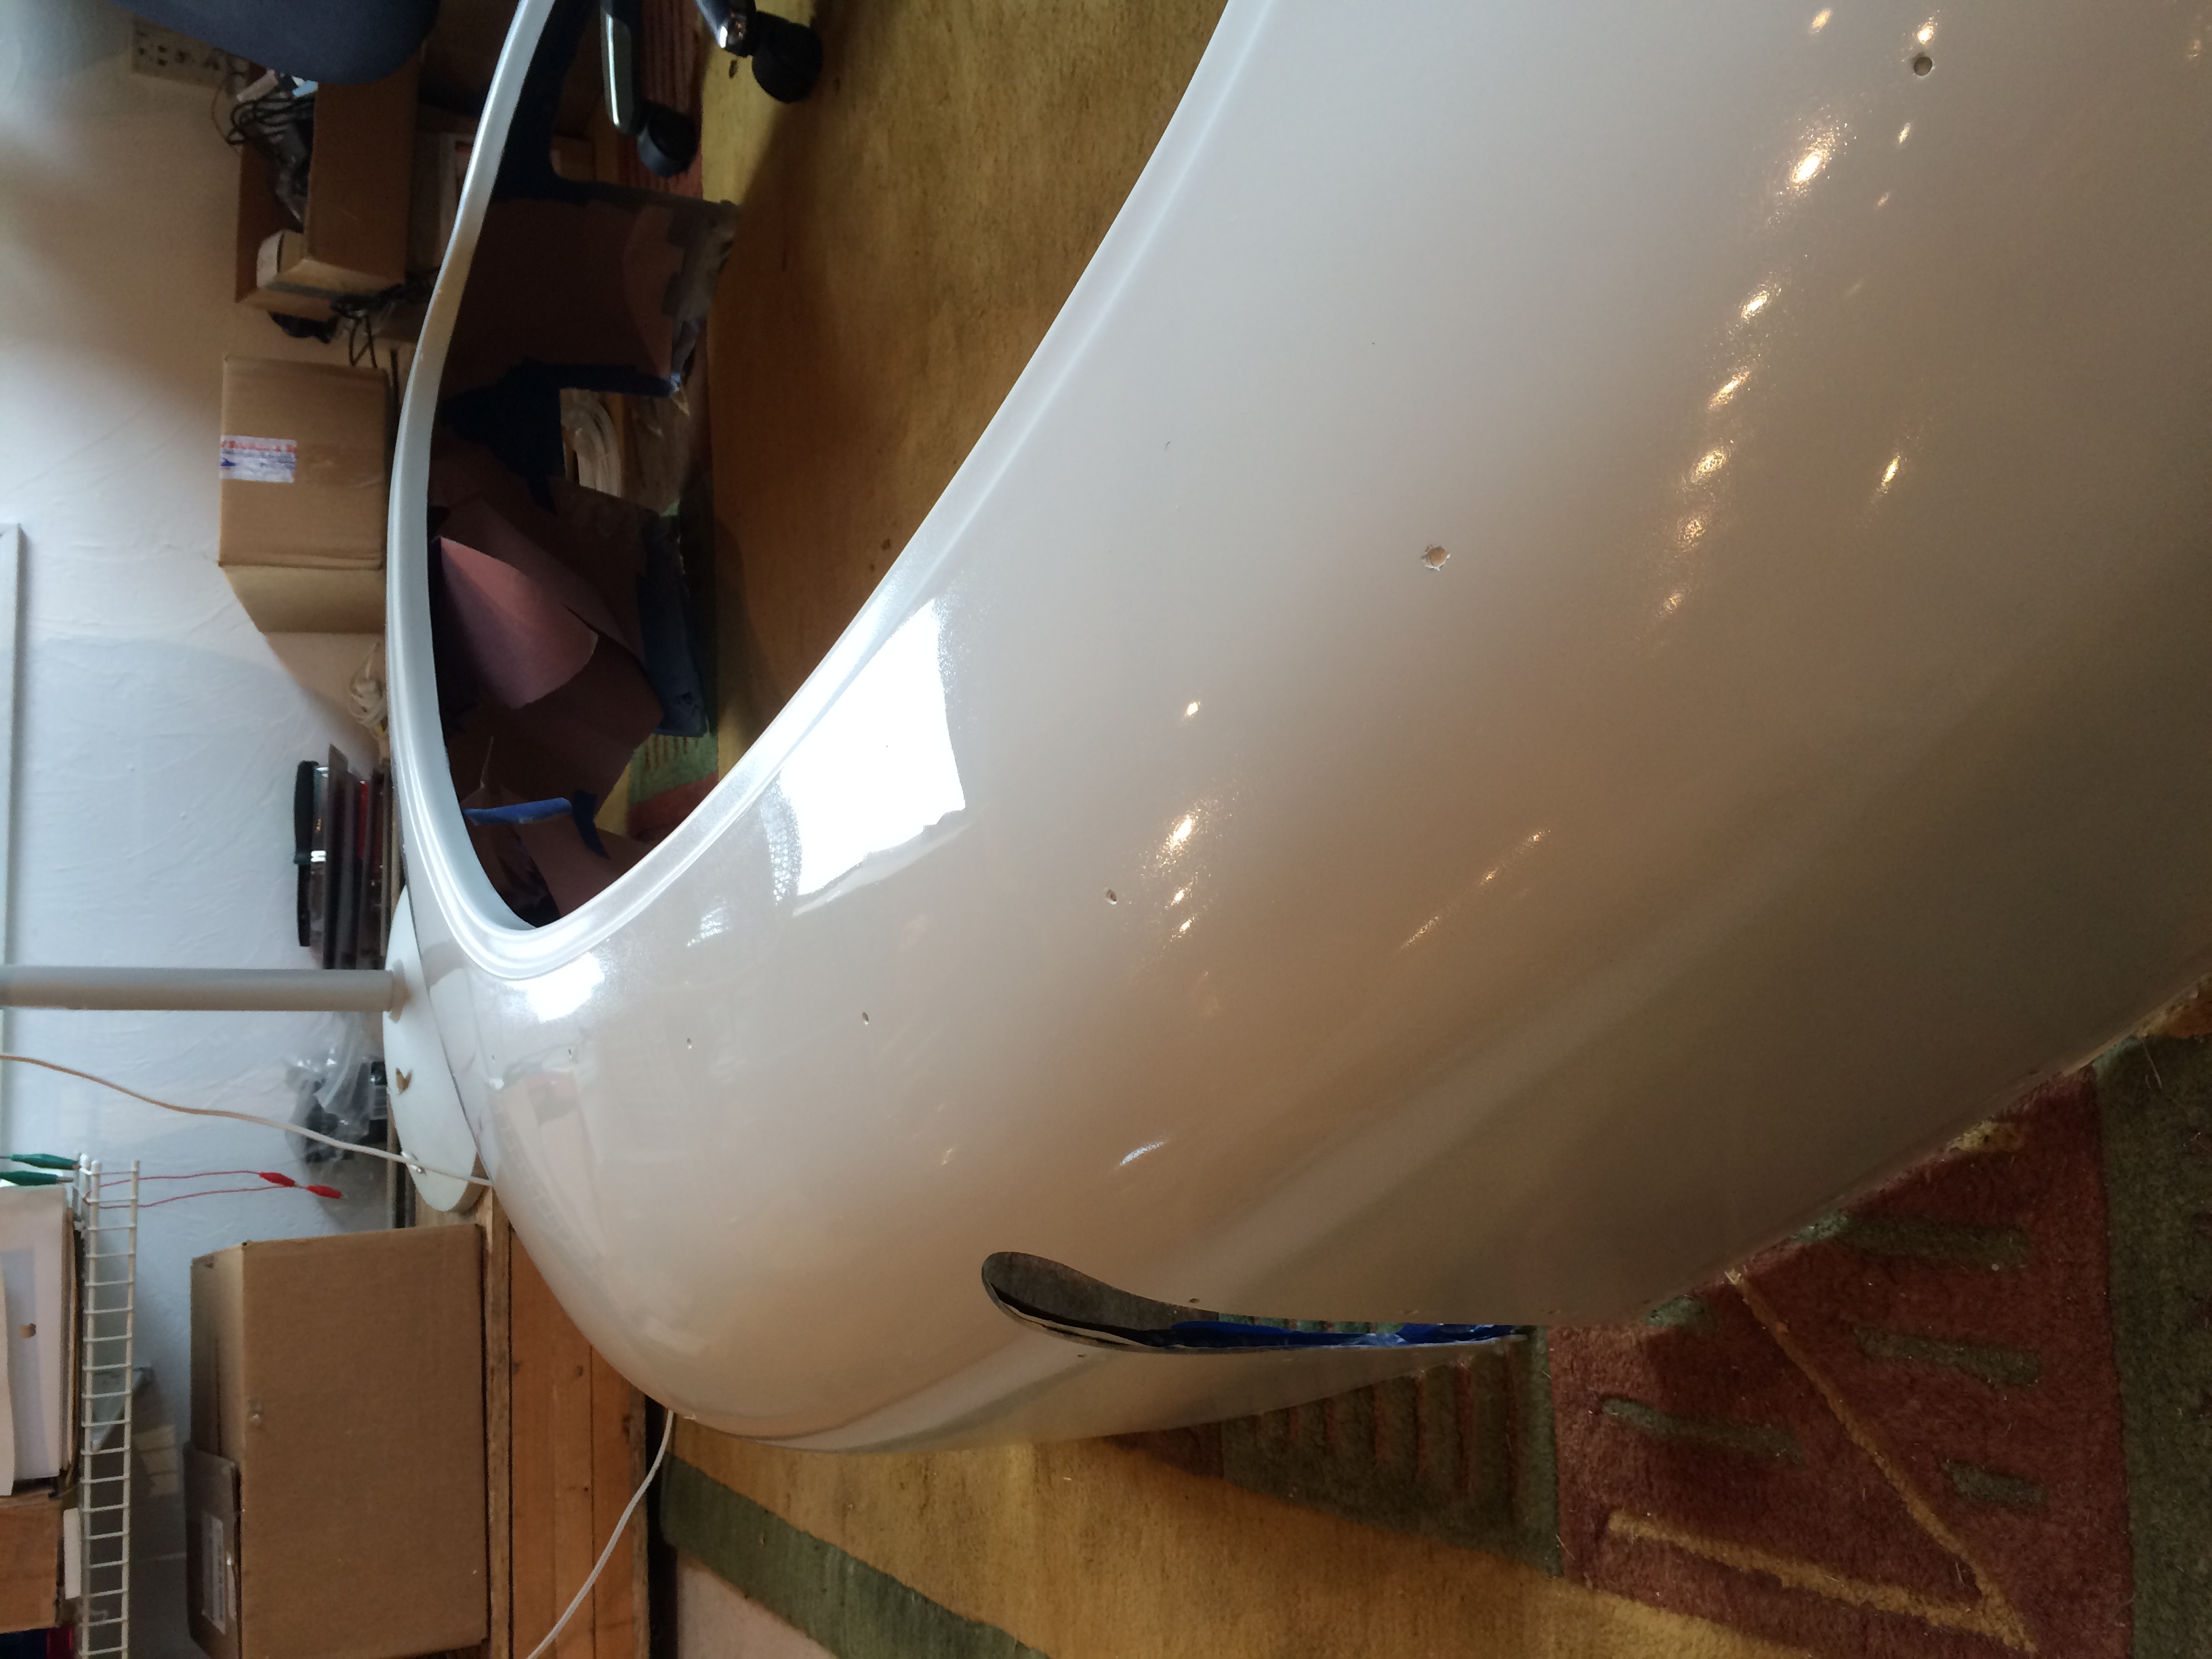
After all that, I got it to the 10-foot stage, From 10 feet away it looks OK. Closer and you start to notice the problems. I thinned it too much in 4 places. The lip around the door was impossible to smooth. I am at the point where I could spend 3 or 4 times longer than I have and it might improve, but it will never be perfect. I have decided to call the effort, continue on, and if it really bothers me down the line I will repaint the bird when it is down some winter. This is a learning experience. My next helicopter will be perfect.