
Shapeoko 2 CNC Router
07/06/14 12:05 Filed in: All
Been a while since a blog entry. Not much going on the Helicycle, but plenty of other things.
For my birthday I got a Shapeoko CNC router. Shown is the basic stock configuration. I only purchased the mechanical kit (no motors or electronics). The first thing to do was assemble it as shown and then evaluate where it was strong and weak prior to modifications.

My goal with the machine is to be able to fabricate complex brackets out of (up to ) 1/4" Al plate. I thought about a real CNC mill, but was not willing to invest the time or cash at this point for a big machine. Turns out that was probably a good idea. This is a neat machine, but it may fall short of my goal. Still, it is a great way to learn CNC without a massive investment and to figure out a tool flow and develop experience that would be far more expensive to do with a bigger machine. I will ultimately end up probably with a CNC version of the Grizzly G0704, but that is a longer term thing.
Here is my own modified end product:
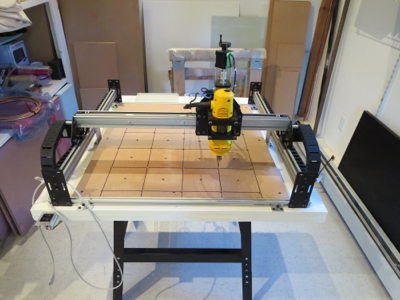
Modifications include:
1) Longer X and Y travel by 50% (up to 750mm from 500mm) doubling work surface area
2) Stiffening Y travel with mid-span brackets
3) Stiffening X by bracing dual extrusions together. Reduces torsional twist.
4) NEMA 24 motor upgrades on X and Y axes
6) Dewalt DW660 router for cutting. This thing is a beast. Very, very loud, though.

The table is a Harbor Freight $29 tool table. I buy less and less stuff from HF because of their marginal quality, but sometime they have just the thing. The base is layered MDF up to 1.75" think. The sheets are screwed and glued, but prior to that I shimmed them the best I could for flatness. The wasteboard is 0.75" thick.
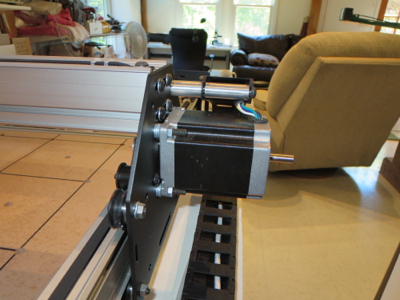
The Y-axis motors are NEMA 24 upgrades. a little shimming and careful attention to build order in order to fit it all together. Some quick lathed mounts for the drag chain.
 Whipped up a couple of braces for Y-axis support. Simple angle and plate machined up on my mill. Riveted with aircraft project leftovers. Nice to have the tools and materials at hand. The longer Y-Axis needs support in the middle and this also keeps the fore and aft direction from flexing.
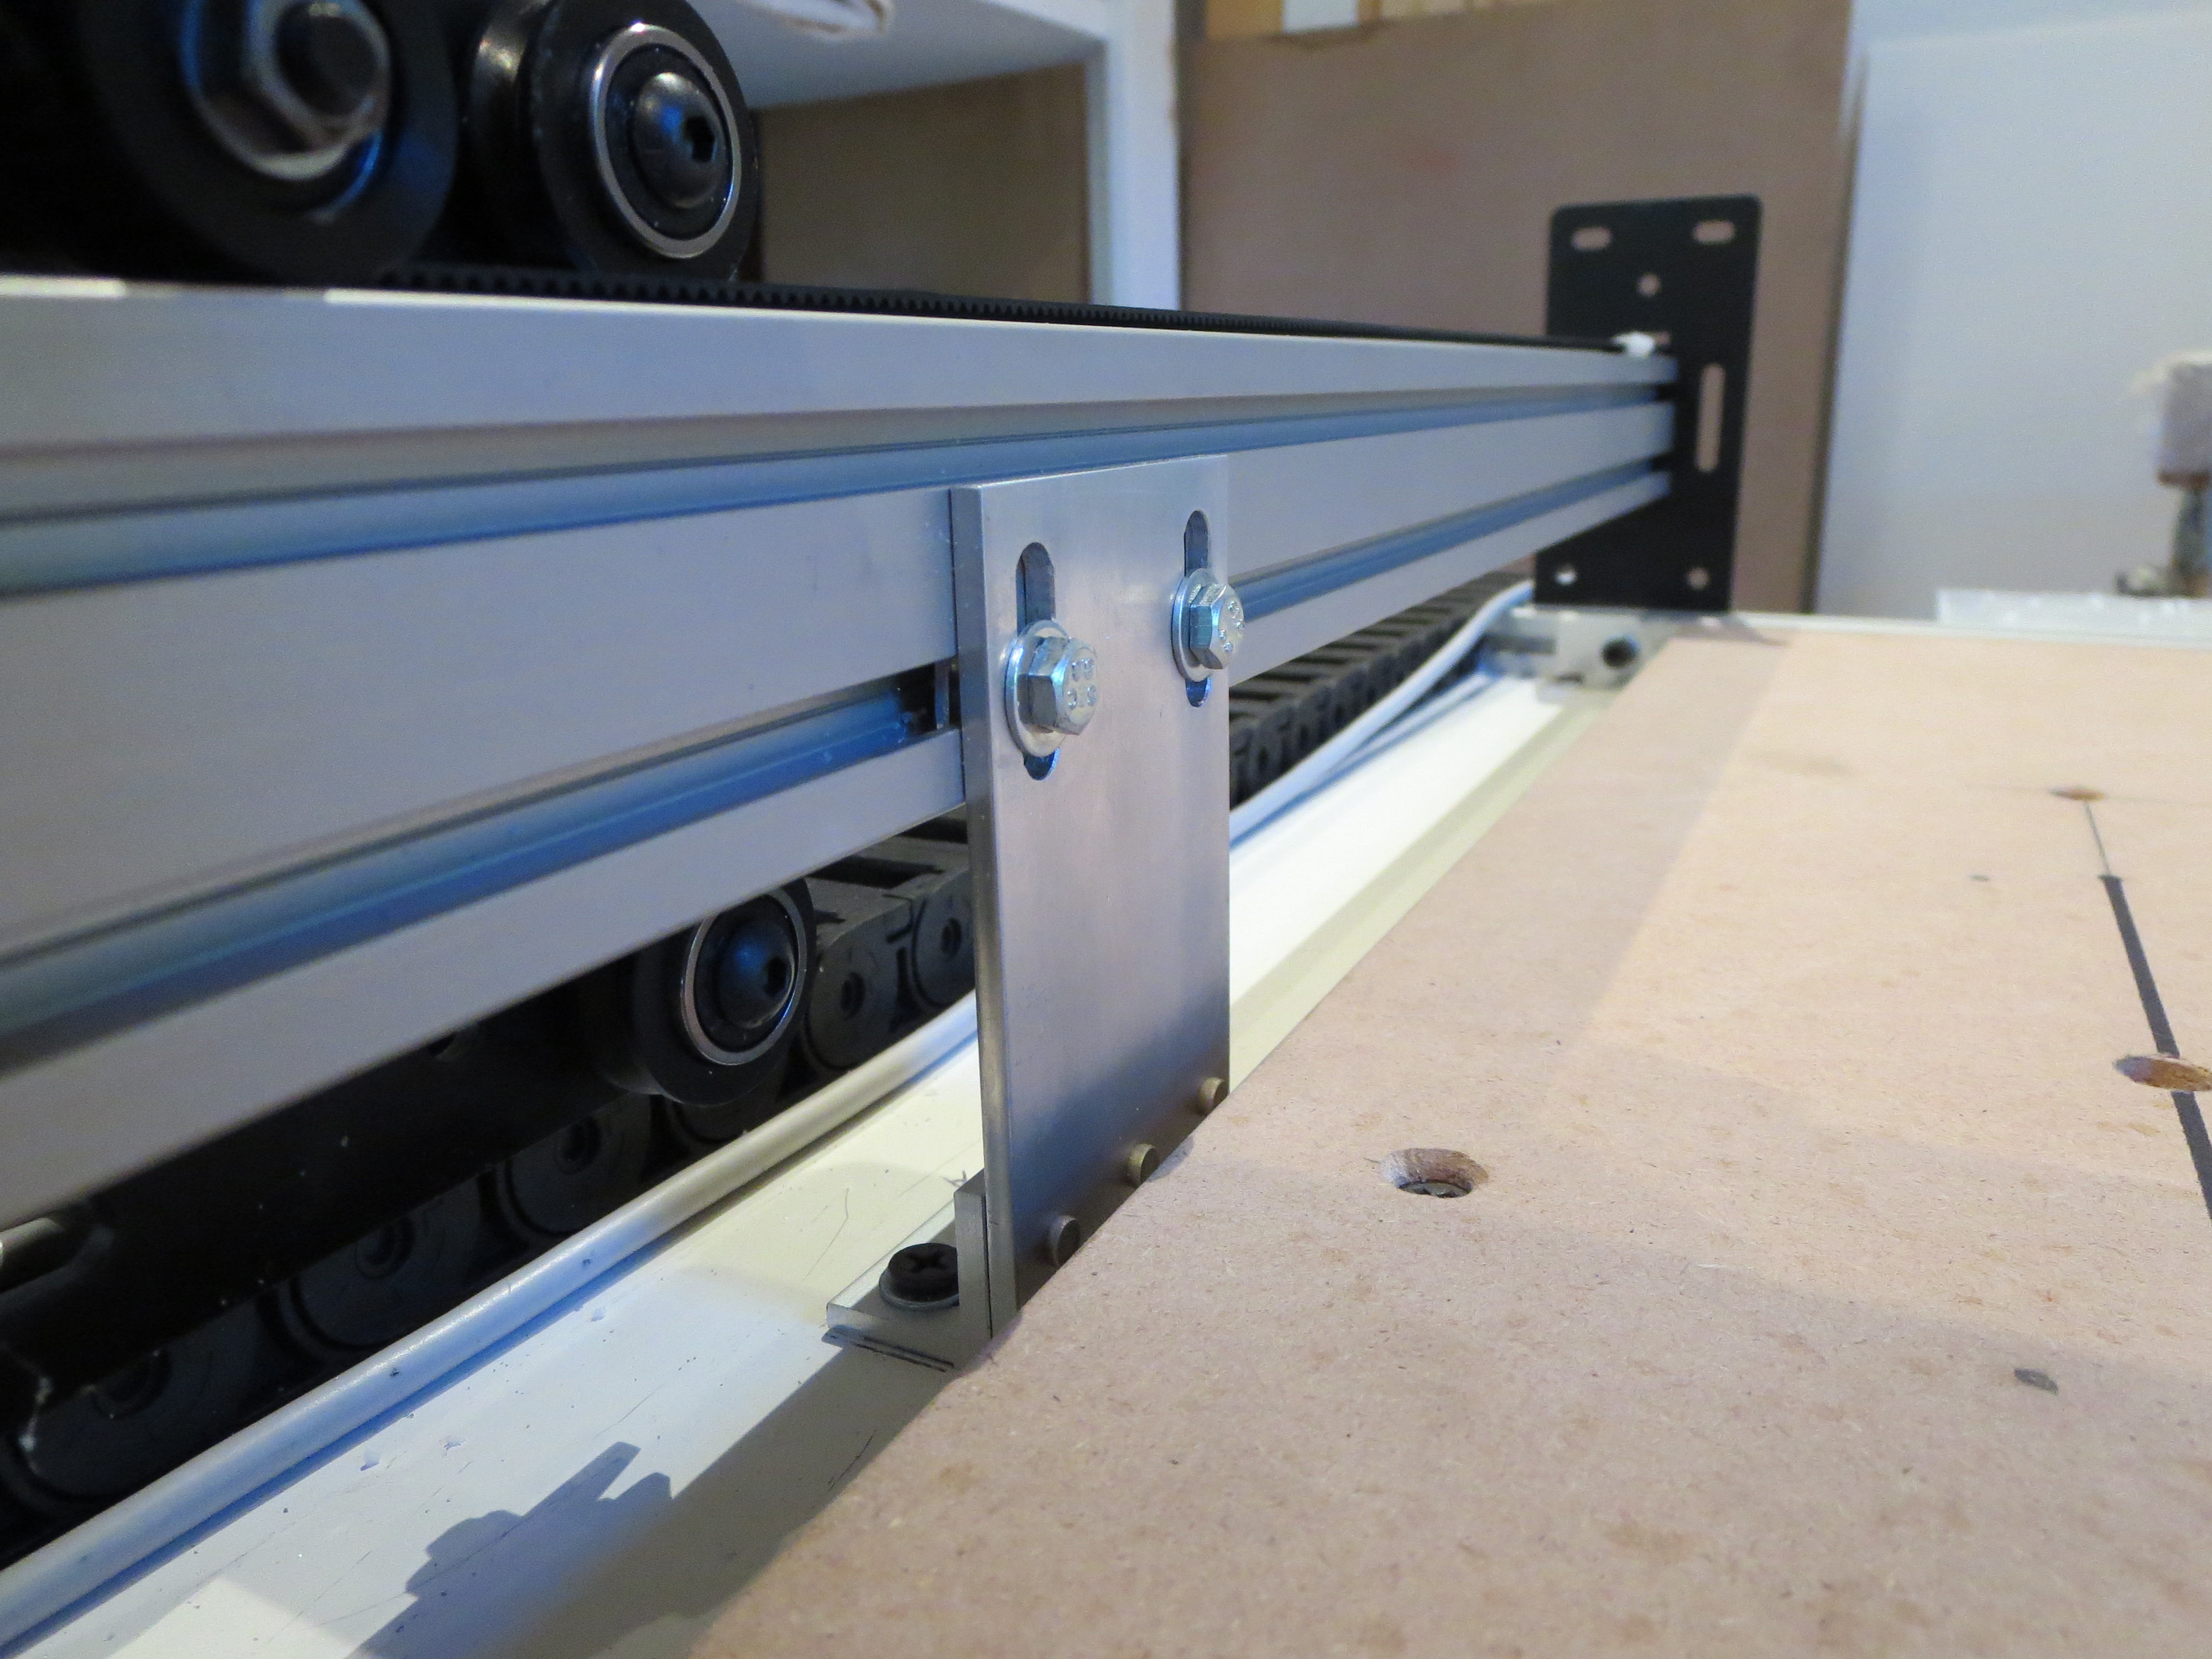
 The stock configuration only has the pair of extrusions only attached at the ends. To keep the extrusions from flexing relative to each other, I first built up the carriage, fitted it, and measured and fabricated proper thickness shims to affix them together. This really stiffened up the carriage in the vertical dimension.
It is important to build it up before measuring for the shims as the width can't be determined accurately until the thing is fit together to find the "natural" width of the carriage rollers.
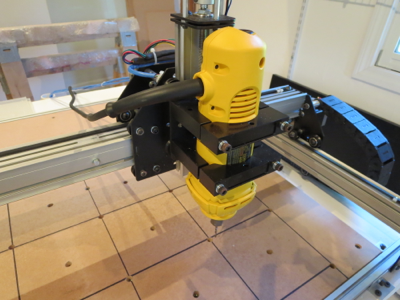
The DW660 router is much heavier than the stock spindle and needs good bracing. The wires from the X-axis and router will be dressed better when I get a smaller drag chain. Works for now.
Electronics bolted to MDF plate in the back of the machine. Protected by the table top, so I didn't feel the need to make a full case.
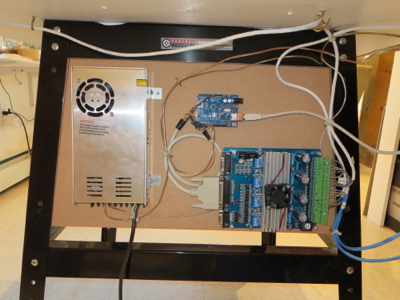
The motors and controller were purchased off ebay for about $200 from wantaimotor.com. Wow. Lots of capability for short money. It all worked, but was not at ALL documented and the limited docs that were provided were WRONG. A lot of web searching and reverse engineering needed to figure out pinouts, voltage levels, and controls. The controller is an Arduio UNO ($10 on ebay) running GRBL. Doesn't get much cheaper for CNC control.
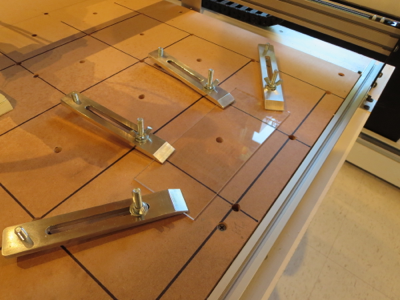 Made some hold-down brackets on the mill. The washboard has an array of T-Nuts installed flush from the bottom. Screw the threaded rod from the top into the wastboard, slip over the hold-down, adjust the carriage bolts for the right angle, and then spin the wing nuts to tighten. Simple and effective.
My tool flow is:
Spaceclaim (running under Windows VM on my MAC) - 3D and 2D modeling of parts and brackets. Export is DXF (2D) or STL (3D)
or
Adobe Illustrator (running OS-X on MAC ) for art drawings and 2-D text for engraving. Export is DXF
CAMBAM (running on Windows-VM on MAC)for tool path generation. http://www.cambam.info
Universal G-Code sender (running OS-X on MAC) for controlling the machine (free)
So all-in I had to buy CAMBAM for about $180. The rest was free or something I had already.
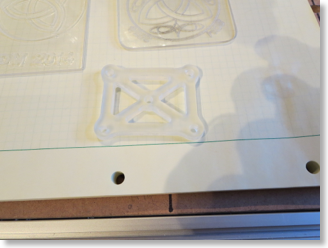
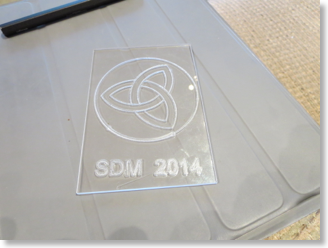
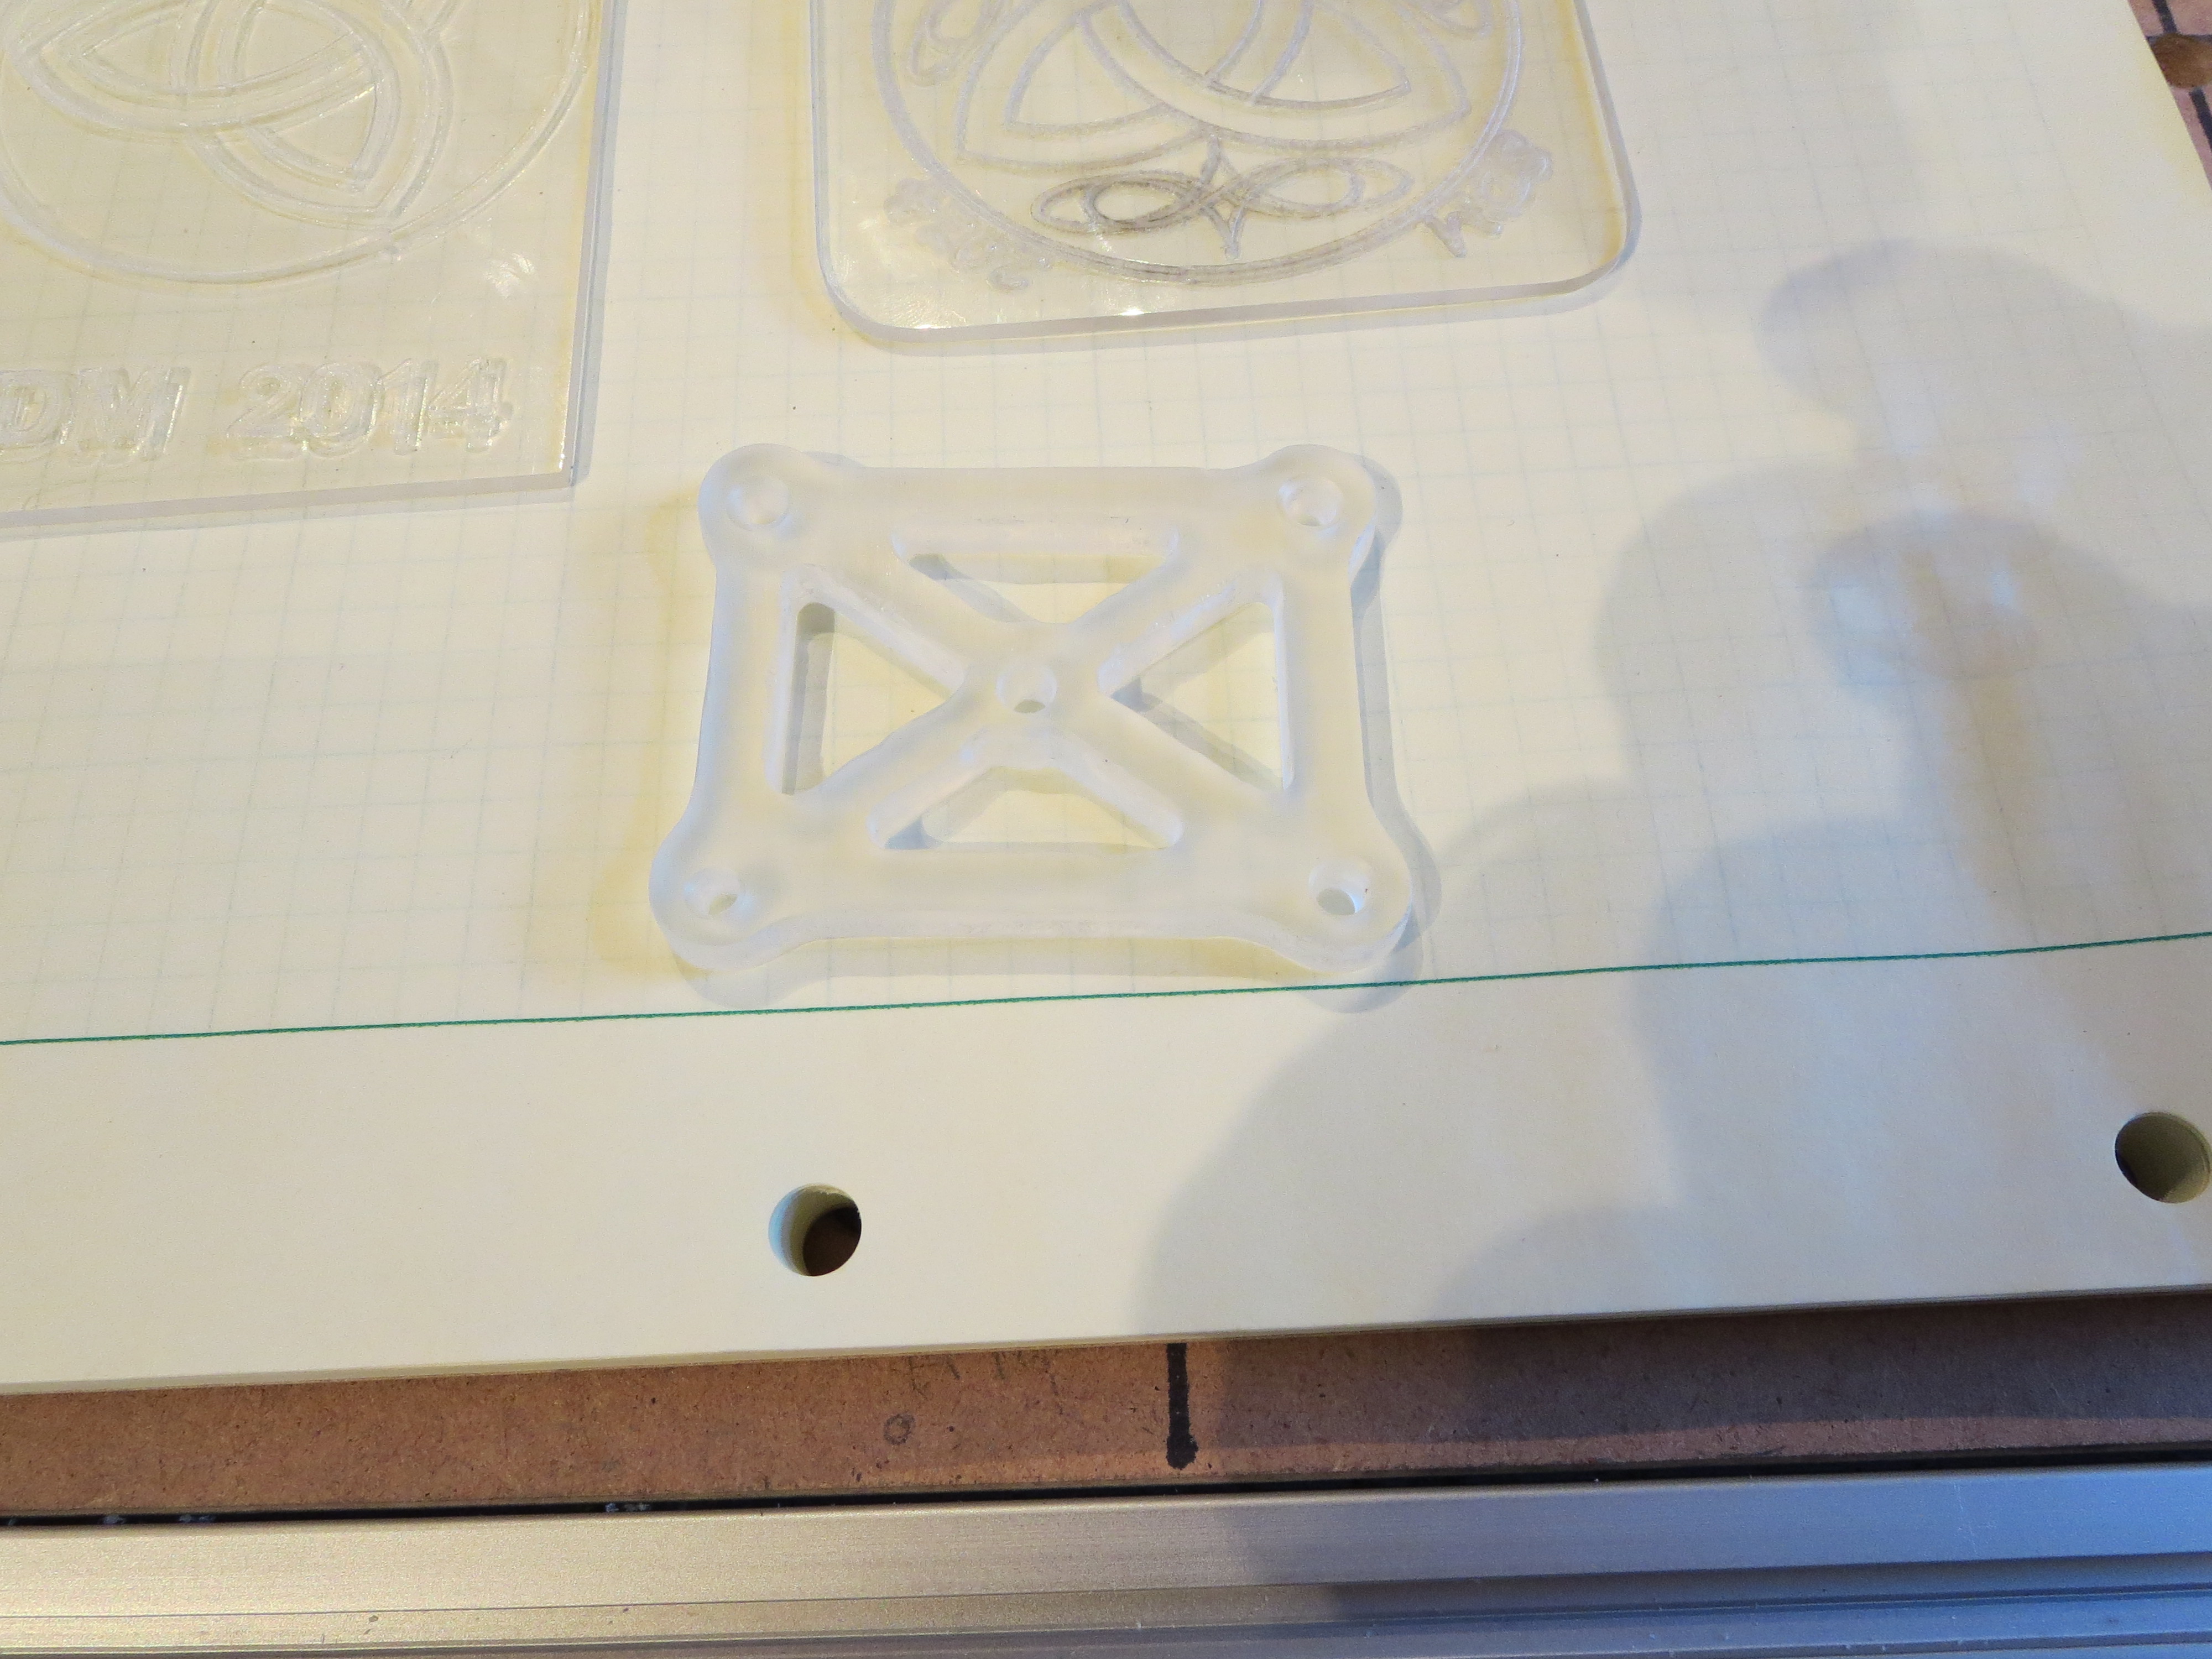
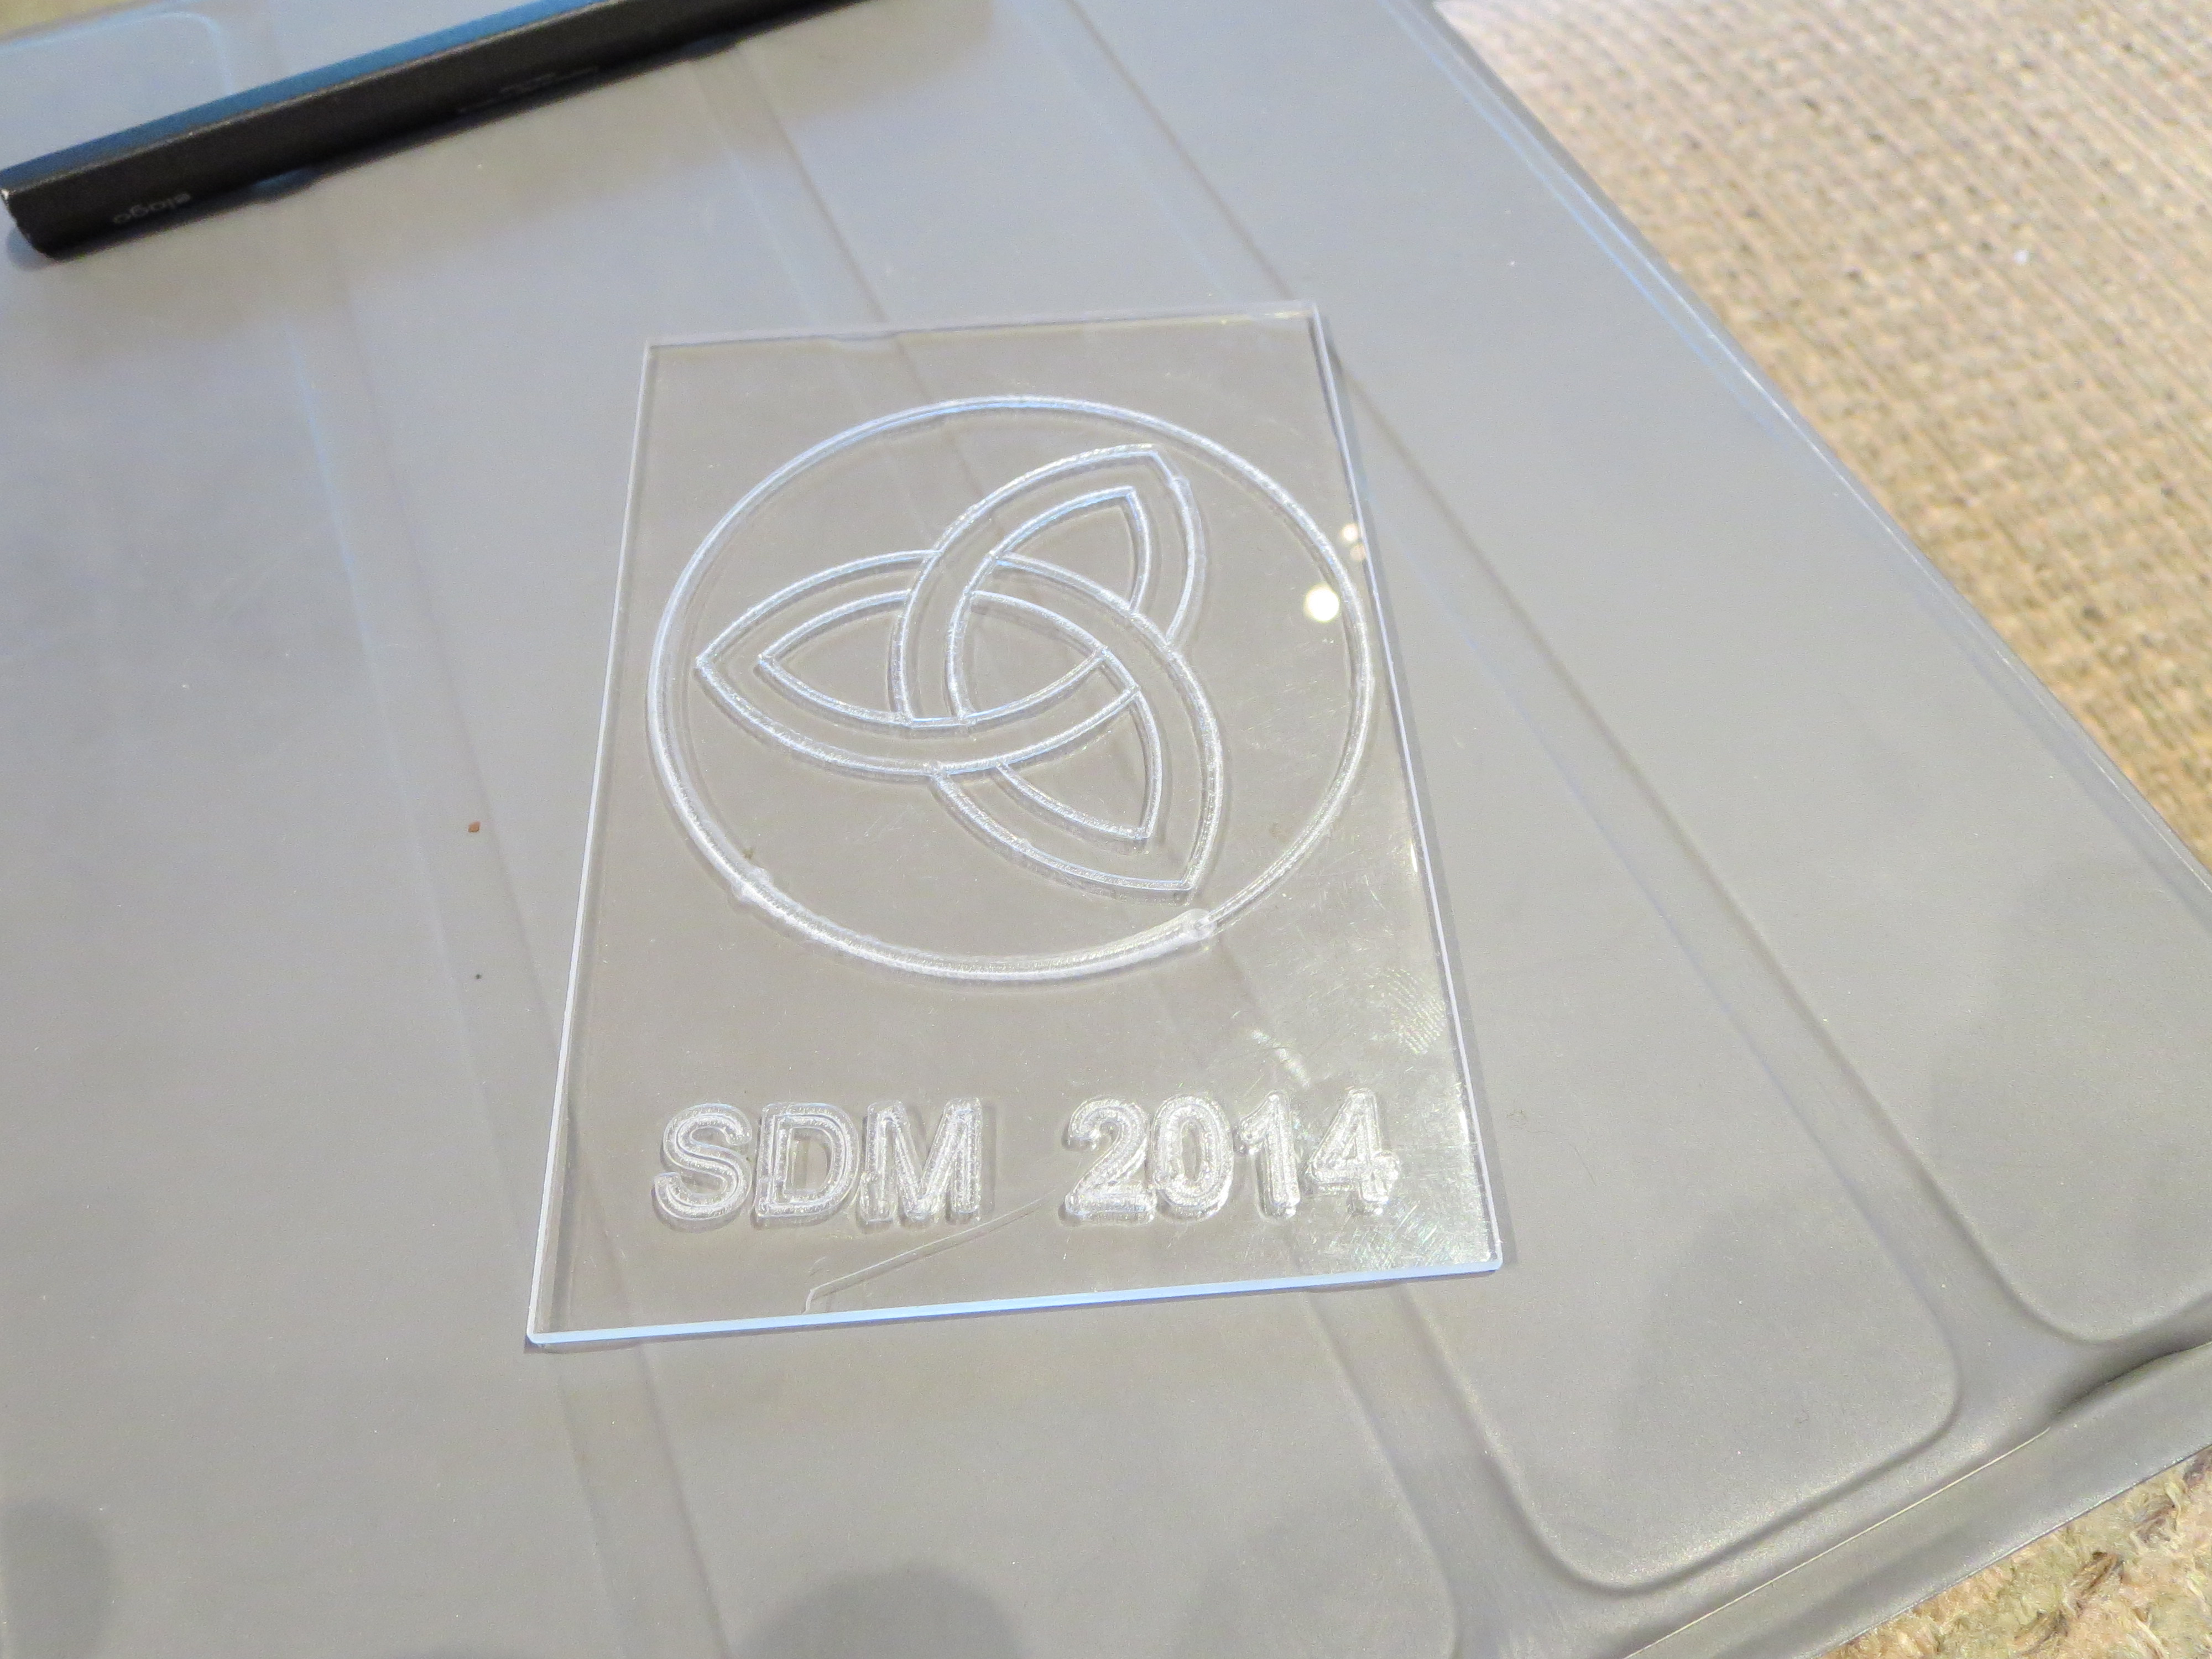
Here are some early examples in some plexi scraps I had lying around. Obviously I have to work on tooling and feeds for better results. Cutting plexi is weird in that you have to be careful. If you cut too fast it "fragments" at the cutter. Too slowly and the plexi melts and build up on the cutter, affecting the accuracy of the line.
Conclusions:
For engraving this will be great. For milling soft stuff it's probably fine - haven't done much there yet. For aluminum it is weak. It is just not stiff or strong enough, even with my modifications, to accurately cut thicker plate. I will experiment with speeds and tooling to see if something acceptable can be determined.
The machine works great for what it is. I can see perhaps cutting outlines and lightening hold in brackets, then moving the piece to the mill for accurate cutting of holes. It is very satisfying to see it run repeatably and position accurately; hypnotic almost. I have learned a lot and when I do get to the construction of a man-sized mill it will go much more smoothly. I have purchased a 2W laser from ebay to try my hand at laser etching. That'll add a whole new level of danger to the shop.
My total investment is about $700 and a month and a half of weekend spare time. I think of it as a self-taught course in CNC machining. From that perspective it seems pretty cost effective. It's now just another tool in the shop. Like the Mill - it was a project that once done will become a very useful tool. Time to get back to the Helicycle.
For my birthday I got a Shapeoko CNC router. Shown is the basic stock configuration. I only purchased the mechanical kit (no motors or electronics). The first thing to do was assemble it as shown and then evaluate where it was strong and weak prior to modifications.
My goal with the machine is to be able to fabricate complex brackets out of (up to ) 1/4" Al plate. I thought about a real CNC mill, but was not willing to invest the time or cash at this point for a big machine. Turns out that was probably a good idea. This is a neat machine, but it may fall short of my goal. Still, it is a great way to learn CNC without a massive investment and to figure out a tool flow and develop experience that would be far more expensive to do with a bigger machine. I will ultimately end up probably with a CNC version of the Grizzly G0704, but that is a longer term thing.
Here is my own modified end product:

Modifications include:
1) Longer X and Y travel by 50% (up to 750mm from 500mm) doubling work surface area
2) Stiffening Y travel with mid-span brackets
3) Stiffening X by bracing dual extrusions together. Reduces torsional twist.
4) NEMA 24 motor upgrades on X and Y axes
6) Dewalt DW660 router for cutting. This thing is a beast. Very, very loud, though.
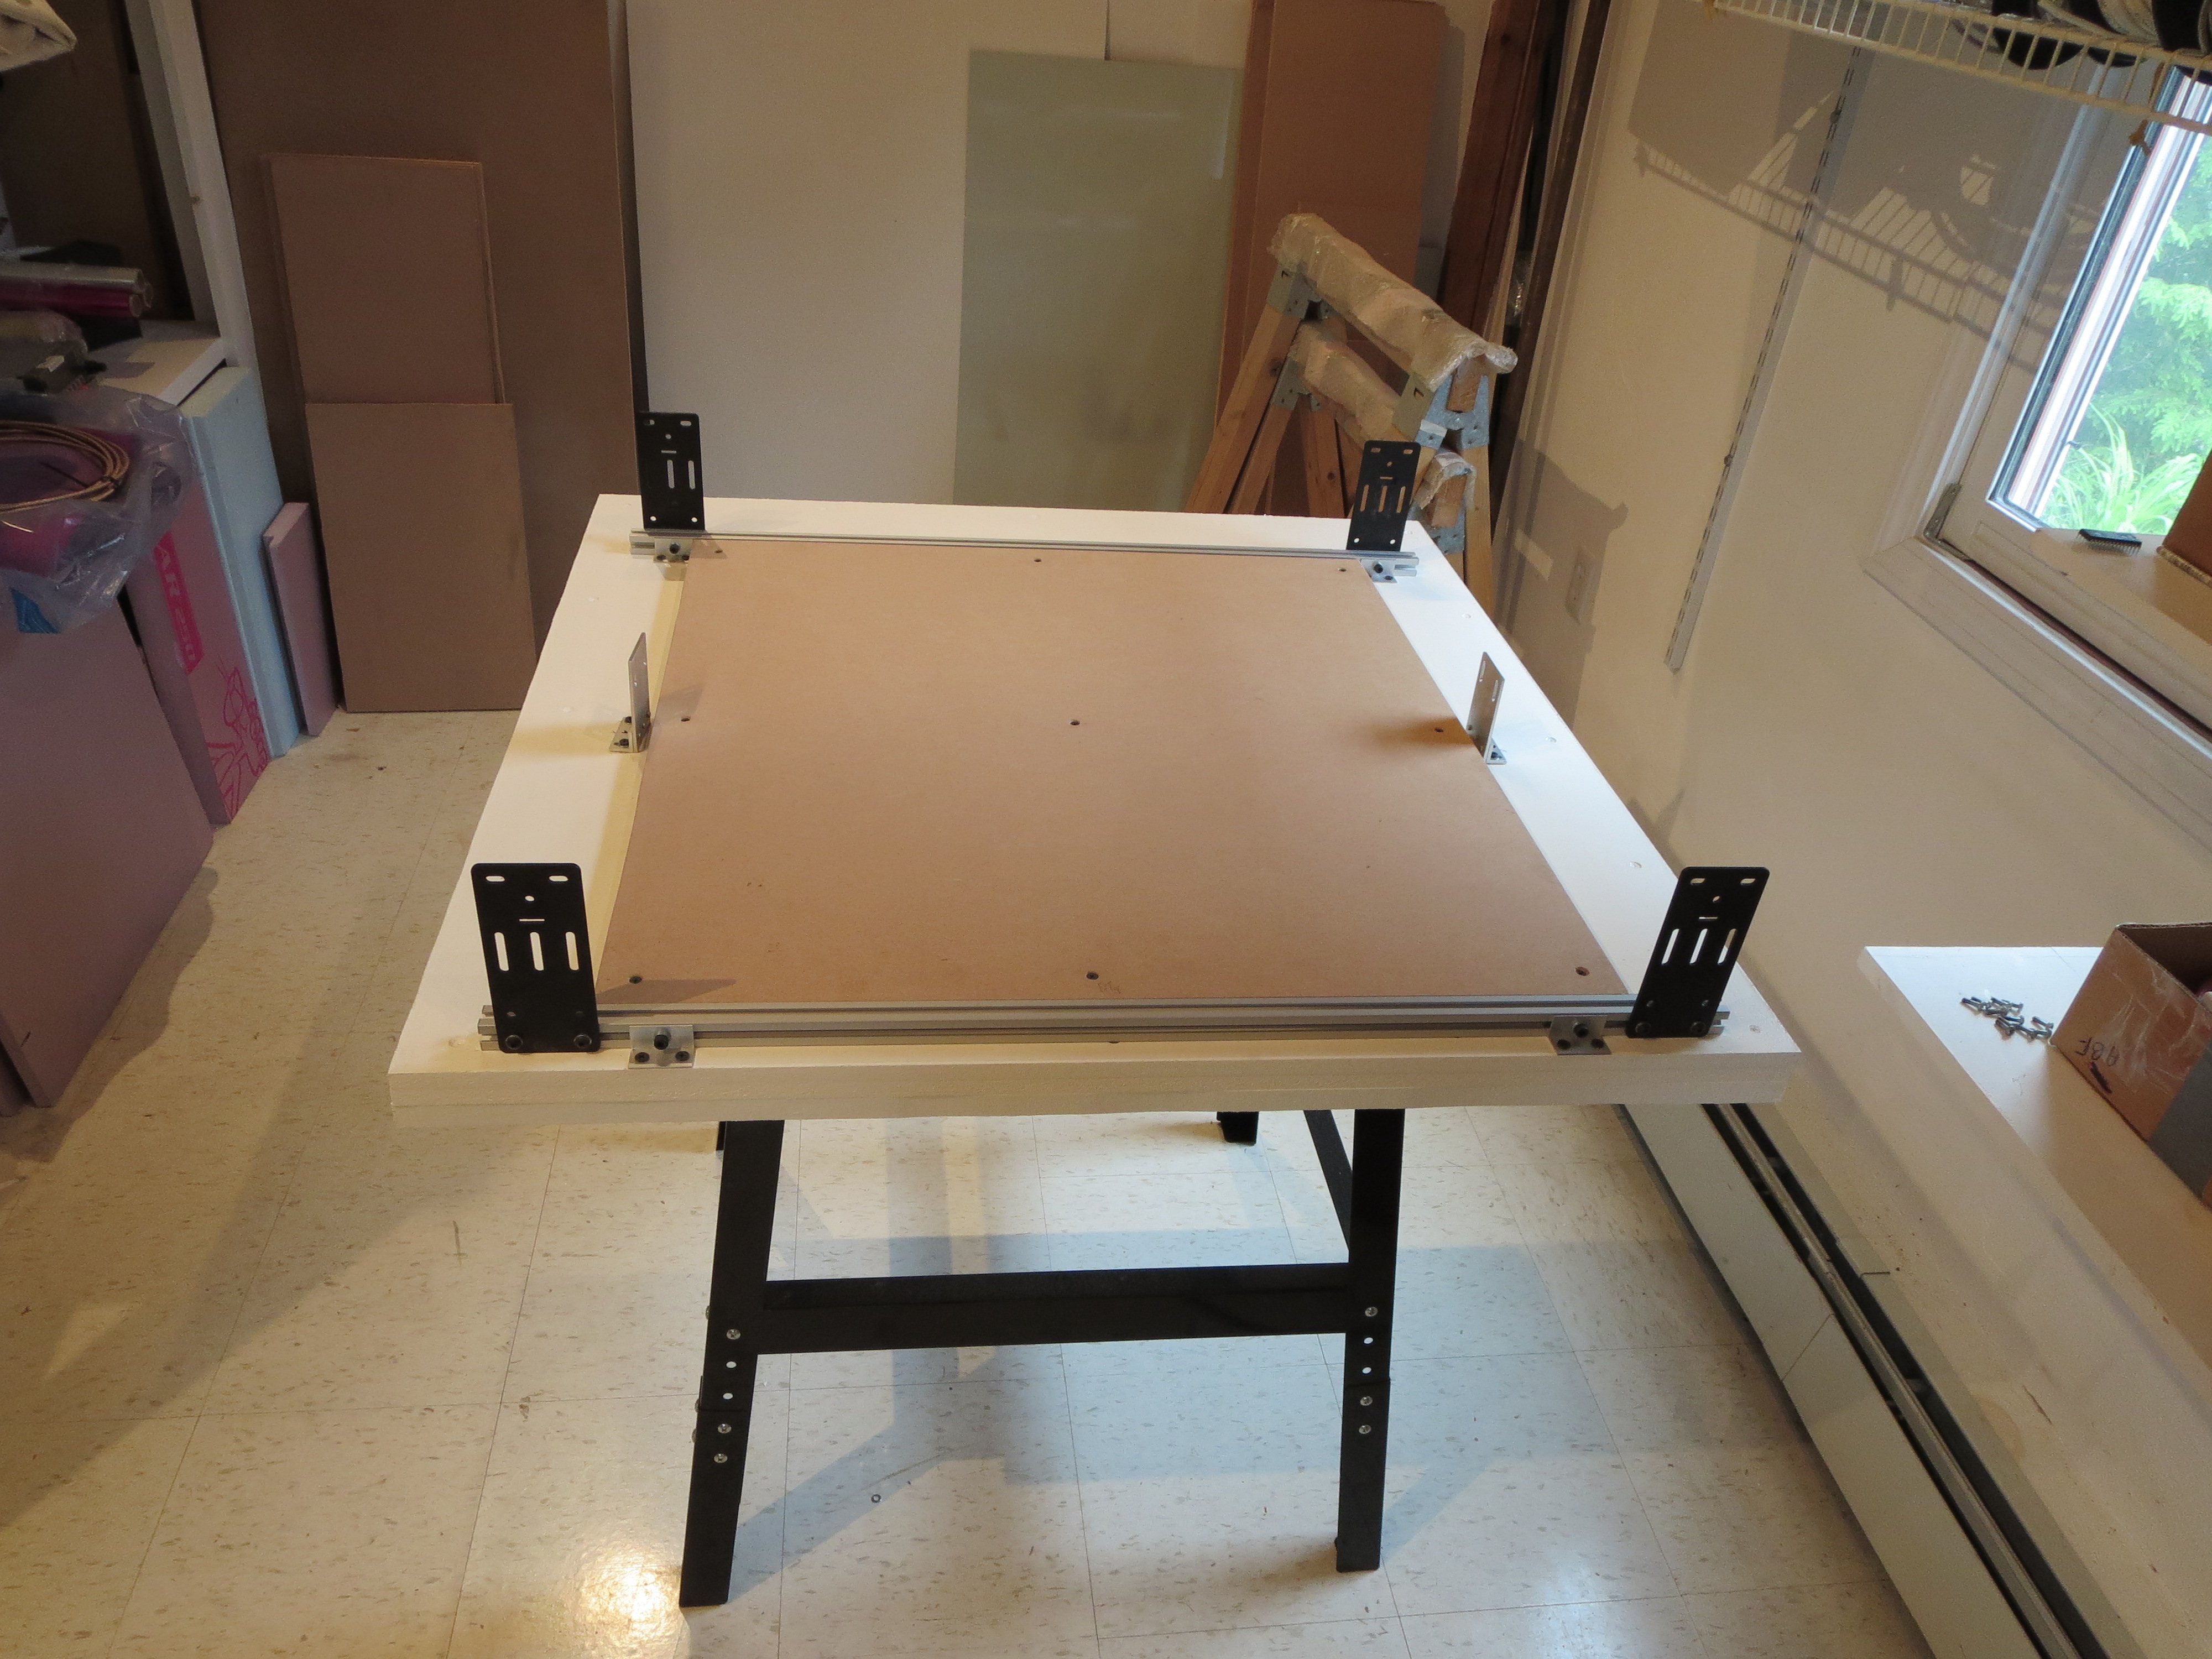
The table is a Harbor Freight $29 tool table. I buy less and less stuff from HF because of their marginal quality, but sometime they have just the thing. The base is layered MDF up to 1.75" think. The sheets are screwed and glued, but prior to that I shimmed them the best I could for flatness. The wasteboard is 0.75" thick.

The Y-axis motors are NEMA 24 upgrades. a little shimming and careful attention to build order in order to fit it all together. Some quick lathed mounts for the drag chain.
 Whipped up a couple of braces for Y-axis support. Simple angle and plate machined up on my mill. Riveted with aircraft project leftovers. Nice to have the tools and materials at hand. The longer Y-Axis needs support in the middle and this also keeps the fore and aft direction from flexing.
 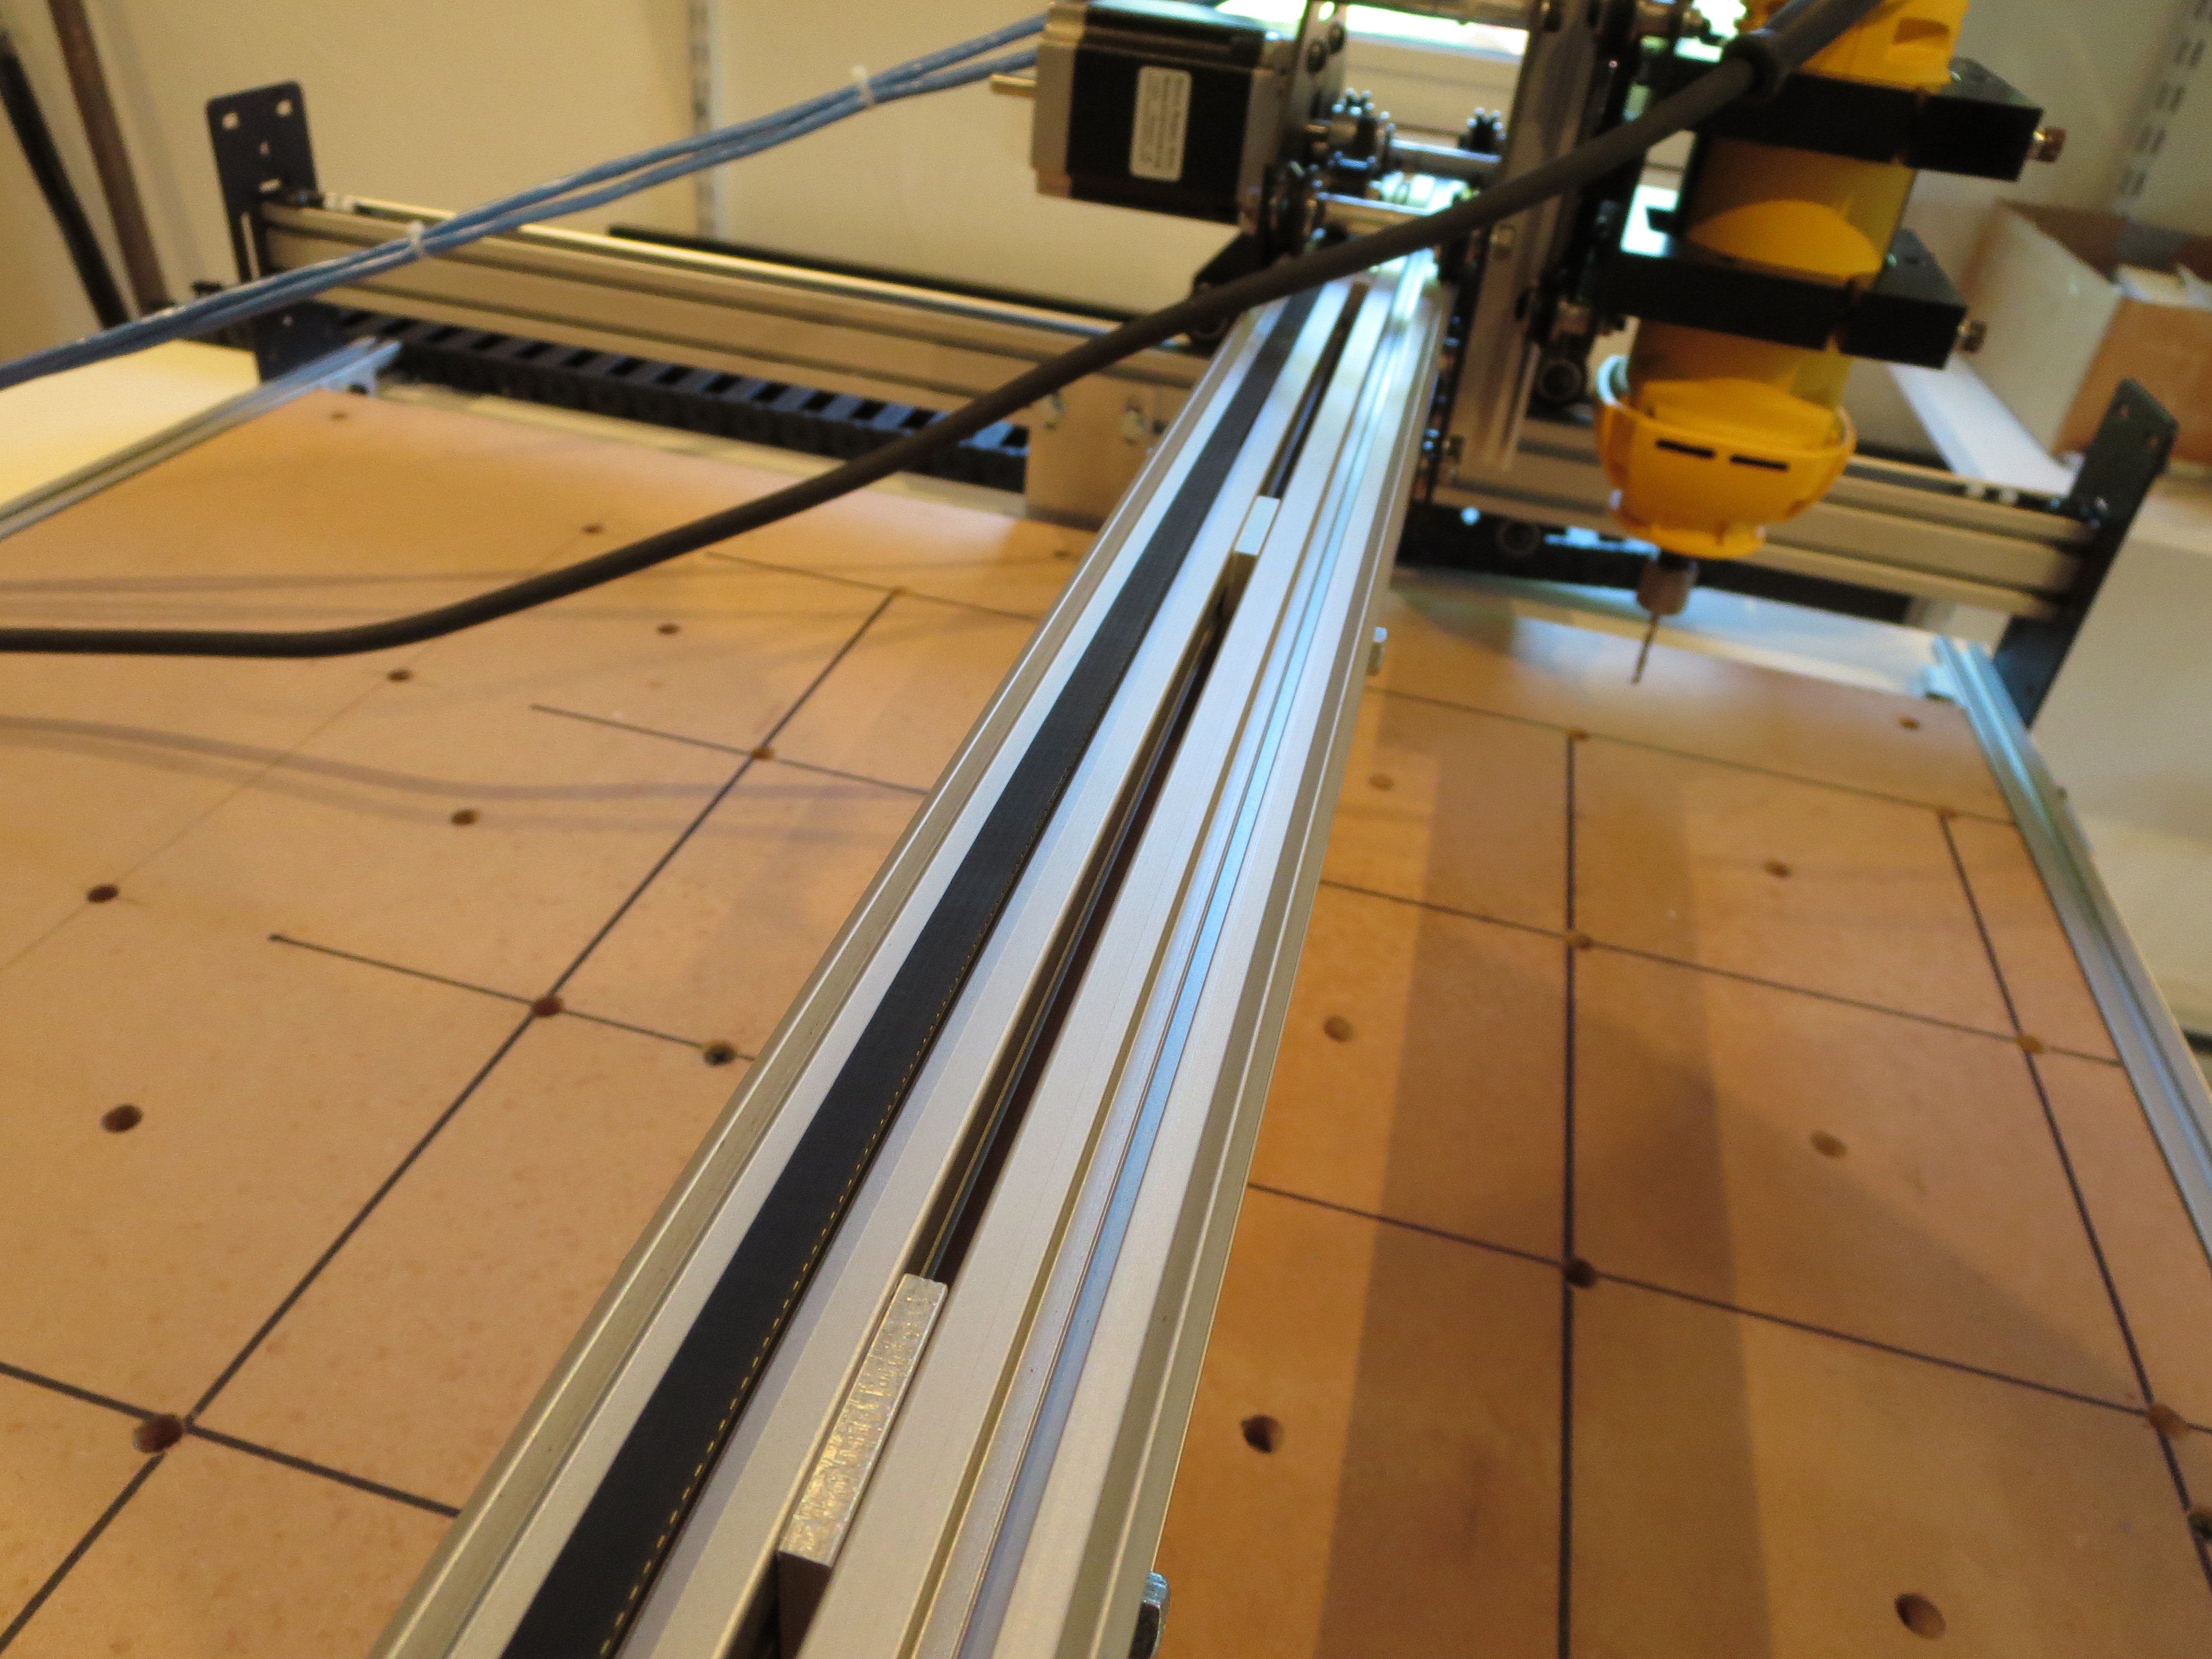 The stock configuration only has the pair of extrusions only attached at the ends. To keep the extrusions from flexing relative to each other, I first built up the carriage, fitted it, and measured and fabricated proper thickness shims to affix them together. This really stiffened up the carriage in the vertical dimension.
It is important to build it up before measuring for the shims as the width can't be determined accurately until the thing is fit together to find the "natural" width of the carriage rollers.

The DW660 router is much heavier than the stock spindle and needs good bracing. The wires from the X-axis and router will be dressed better when I get a smaller drag chain. Works for now.
Electronics bolted to MDF plate in the back of the machine. Protected by the table top, so I didn't feel the need to make a full case.

The motors and controller were purchased off ebay for about $200 from wantaimotor.com. Wow. Lots of capability for short money. It all worked, but was not at ALL documented and the limited docs that were provided were WRONG. A lot of web searching and reverse engineering needed to figure out pinouts, voltage levels, and controls. The controller is an Arduio UNO ($10 on ebay) running GRBL. Doesn't get much cheaper for CNC control.
 Made some hold-down brackets on the mill. The washboard has an array of T-Nuts installed flush from the bottom. Screw the threaded rod from the top into the wastboard, slip over the hold-down, adjust the carriage bolts for the right angle, and then spin the wing nuts to tighten. Simple and effective.
My tool flow is:
Spaceclaim (running under Windows VM on my MAC) - 3D and 2D modeling of parts and brackets. Export is DXF (2D) or STL (3D)
or
Adobe Illustrator (running OS-X on MAC ) for art drawings and 2-D text for engraving. Export is DXF
CAMBAM (running on Windows-VM on MAC)for tool path generation. http://www.cambam.info
Universal G-Code sender (running OS-X on MAC) for controlling the machine (free)
So all-in I had to buy CAMBAM for about $180. The rest was free or something I had already.
Here are some early examples in some plexi scraps I had lying around. Obviously I have to work on tooling and feeds for better results. Cutting plexi is weird in that you have to be careful. If you cut too fast it "fragments" at the cutter. Too slowly and the plexi melts and build up on the cutter, affecting the accuracy of the line.
Conclusions:
For engraving this will be great. For milling soft stuff it's probably fine - haven't done much there yet. For aluminum it is weak. It is just not stiff or strong enough, even with my modifications, to accurately cut thicker plate. I will experiment with speeds and tooling to see if something acceptable can be determined.
The machine works great for what it is. I can see perhaps cutting outlines and lightening hold in brackets, then moving the piece to the mill for accurate cutting of holes. It is very satisfying to see it run repeatably and position accurately; hypnotic almost. I have learned a lot and when I do get to the construction of a man-sized mill it will go much more smoothly. I have purchased a 2W laser from ebay to try my hand at laser etching. That'll add a whole new level of danger to the shop.
My total investment is about $700 and a month and a half of weekend spare time. I think of it as a self-taught course in CNC machining. From that perspective it seems pretty cost effective. It's now just another tool in the shop. Like the Mill - it was a project that once done will become a very useful tool. Time to get back to the Helicycle.