
TR Gearbox Prep
12/30/11 23:39 Filed in: All
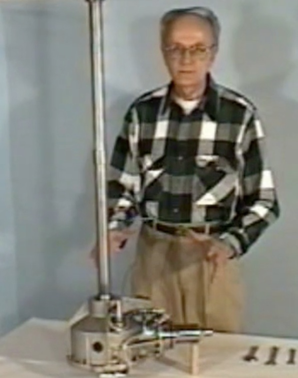
OK. Time for the serious stuff; Mounting the main transmission, tail rotor shaft and tail rotor gearbox. Once the main transmission is mounted, the tail rotor shaft can be fabricated and aligned. That’ll go a really long way to making the whole thing start to look like a helicopter. To date the bits go on, then they come off, so anytime my kids stop by the shop it looks like I am back a square one.

Baby Steps: I masked off the important bits of the rail rotor gearbox. That’s just PVC with hot glue around the bearings. The the exterior got a sandblast with 220 grit glass, blown off, and rinsed with acetone.
Those are cheap HW store 1/4-28 bolts since they’ll get blasted too.
I ordered a gallon of the Allisyn ProGear21 75W-90W oil today. Holy crap! $60/gallon.
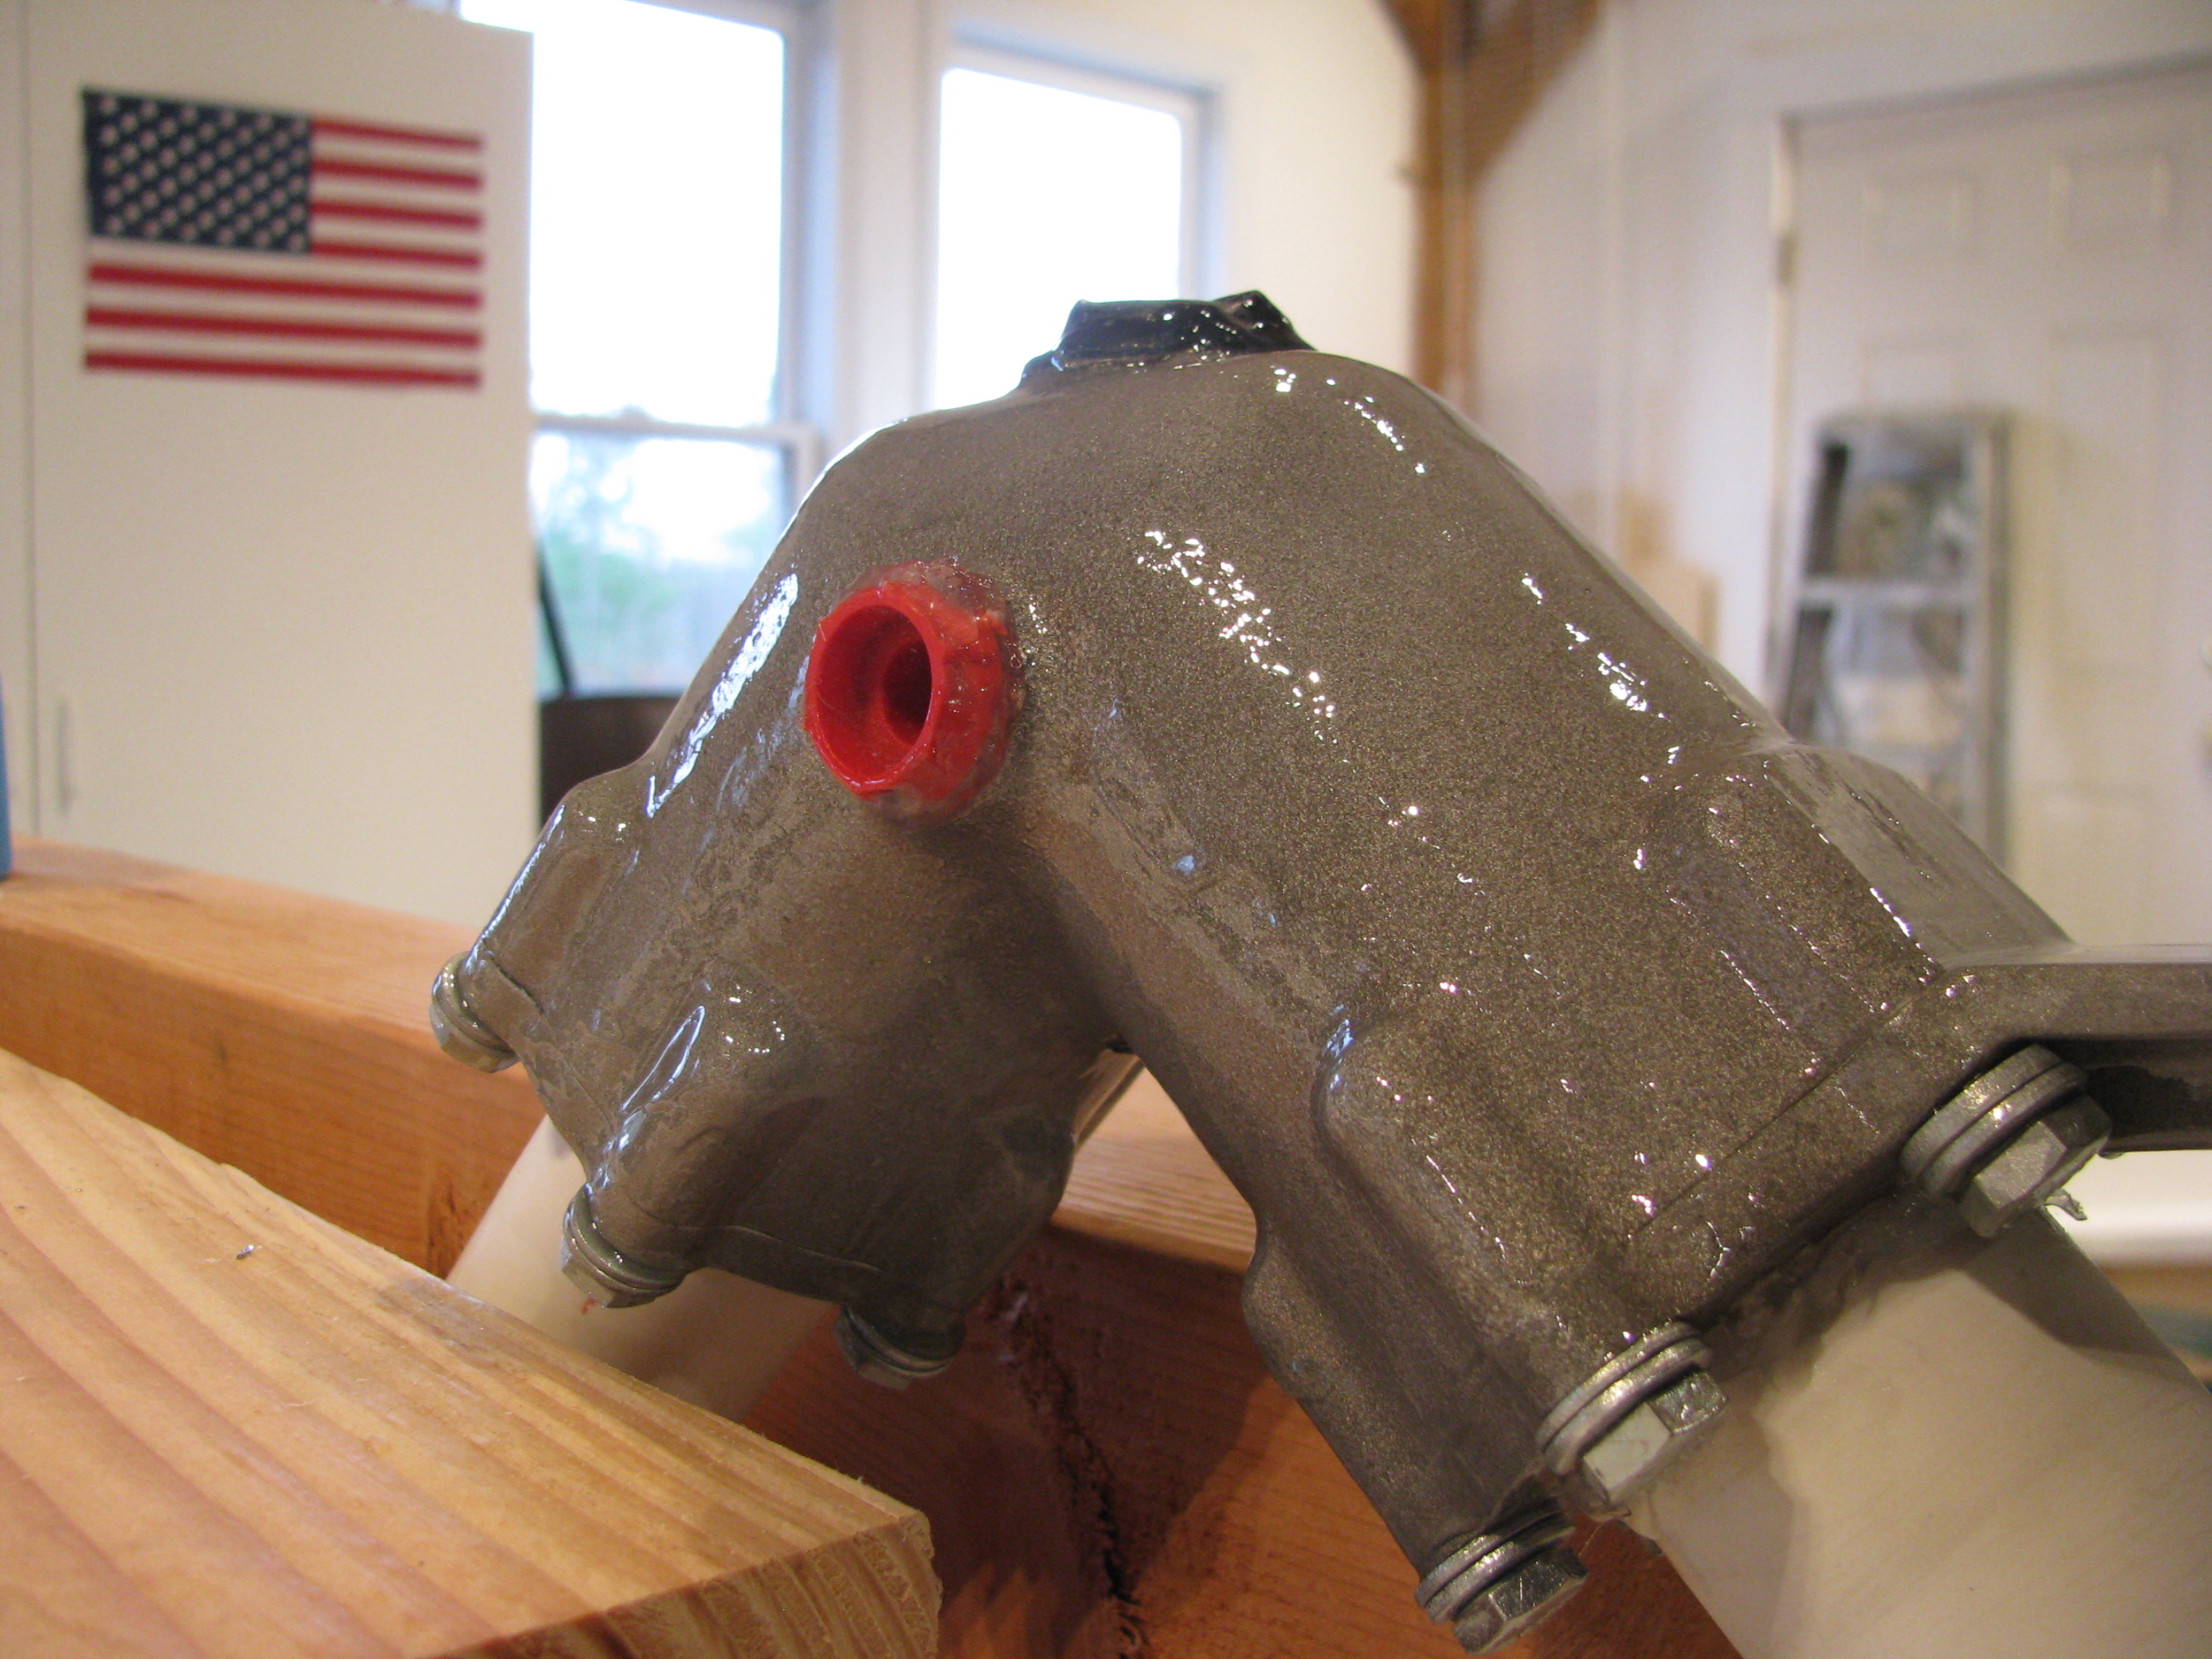
Wow. POR-15! Magic stuff. Two coats and this thing looks great. It’s like coating it with a form-fitting layer of glass. From reading the web I have to resist the strong temptation to touch it since it can take days to completely dry.
I wanted to try something small before committing to the main transmission with the POR-15. I have no reservations at this point. Some folks use color on these parts, but I like the effect of keeping the mechanical parts looking like manly hardware.
Important note on the POR-15: Don’t mix it in a plastic cup! The first little bit sat for a minute, then ate through the cup (polycarbonate, I think) and then ate through the coat of polyurethane on my workbench. Strong stuff. I had to steal a glass form the kitchen, then dig around for a camel hair brush instead of the little plastic one I was going to originally use.
I also ordered a transmission lift strut from Hap Miller today (nice guy!). I’ve heard good things about it from Juan R’s site and really don’t like the “heat and smash” tubes that are used in a number of places. I’ll probably use his tail fin braces as well.
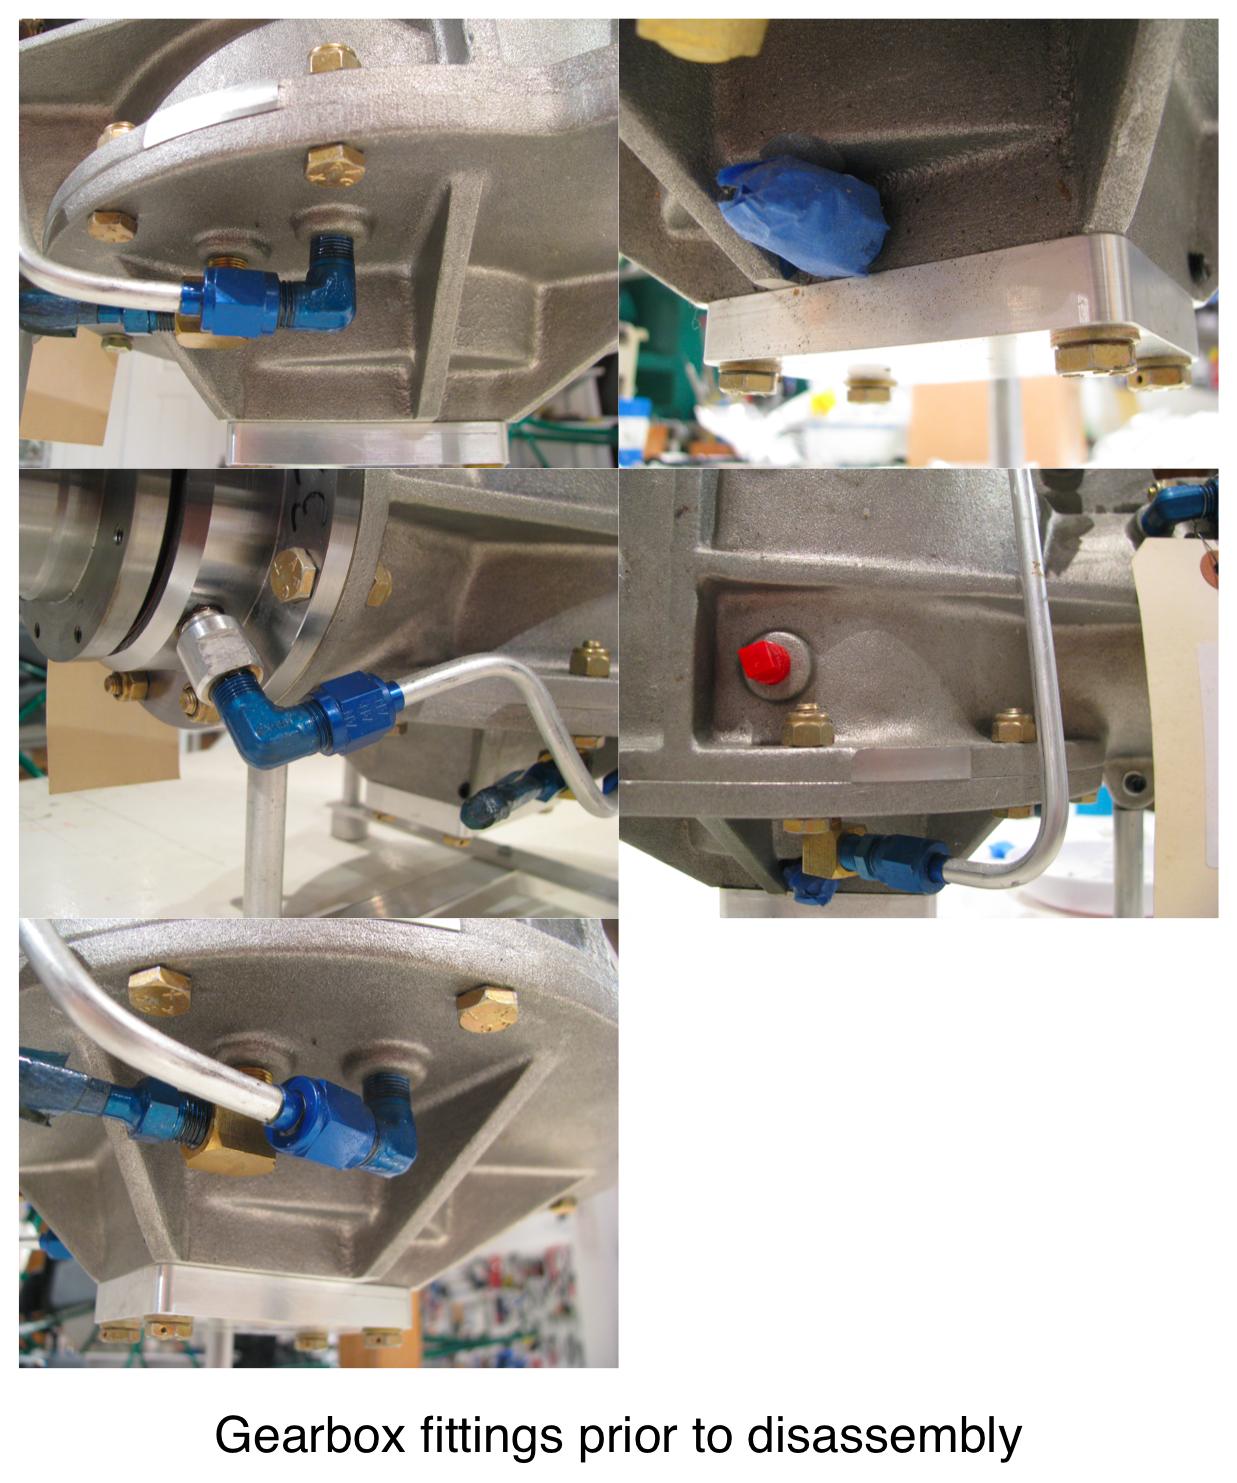
Prior to painting the main transmission I took a series of photos so I would have a reference for where the various tubes and fittings go on reassembly.
GearboxPlumbing_1.jpg
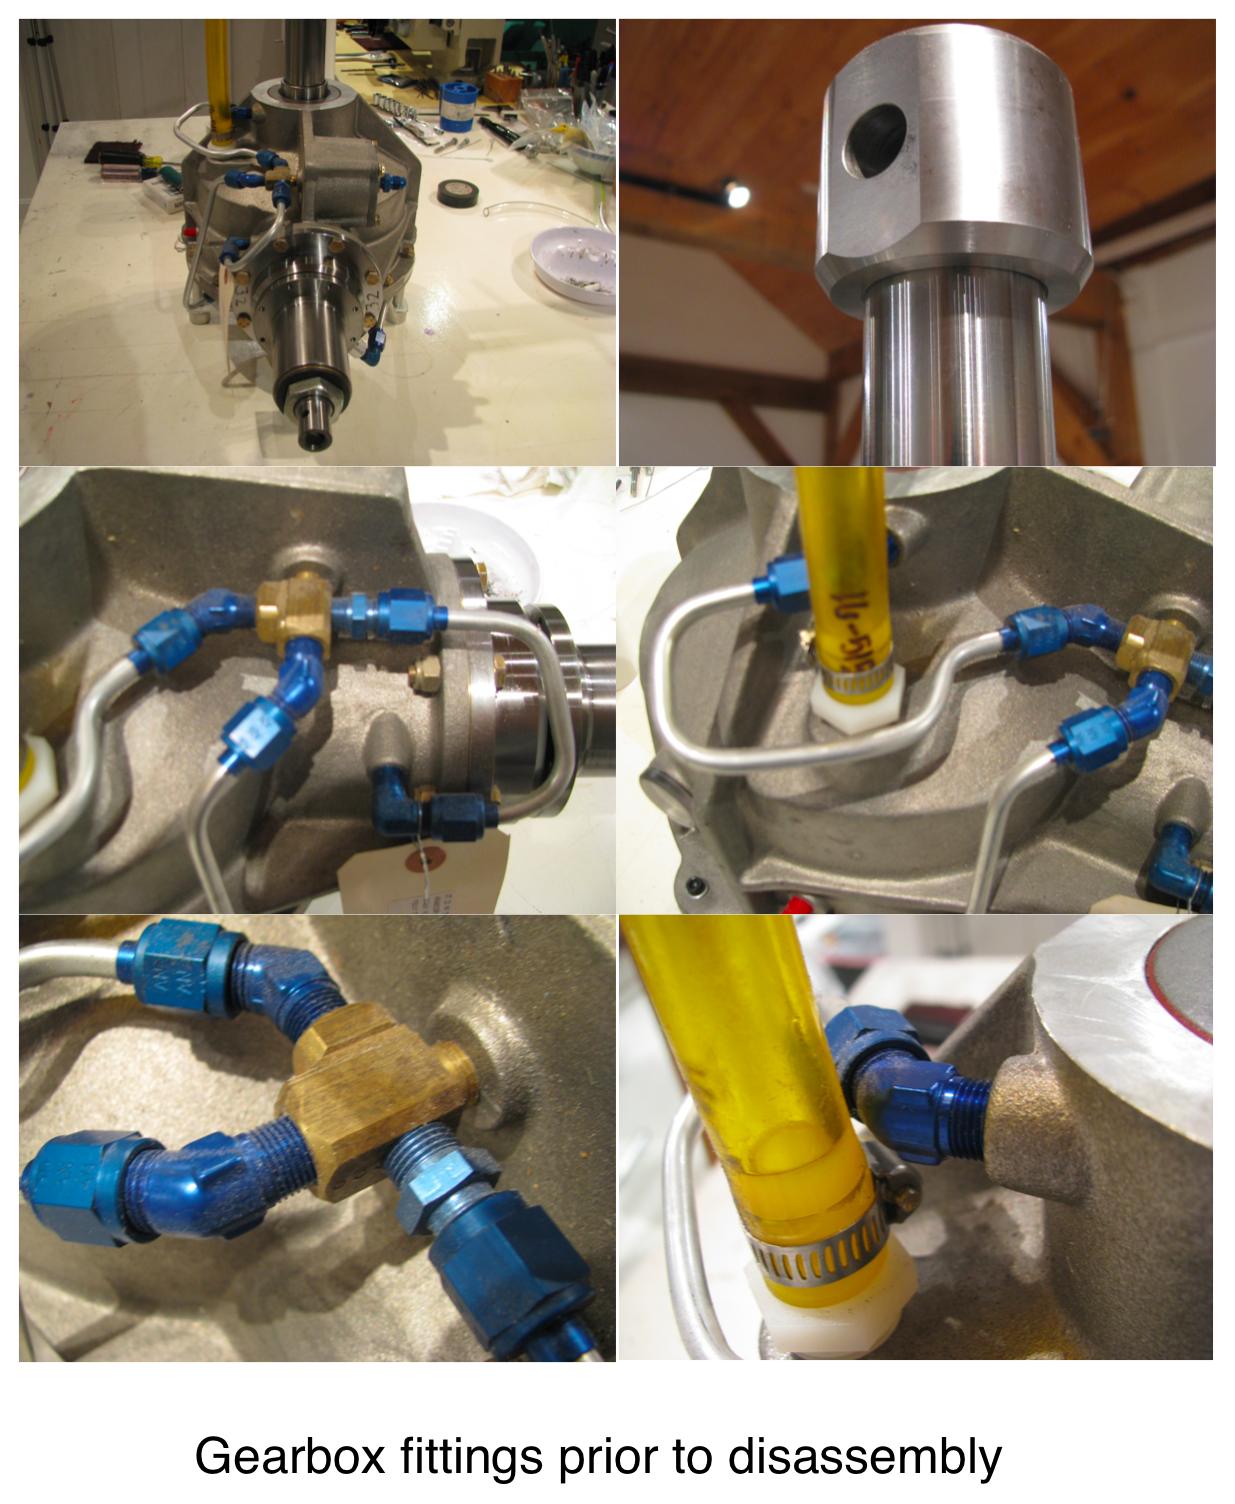
GearboxPlumbing_2.jpg
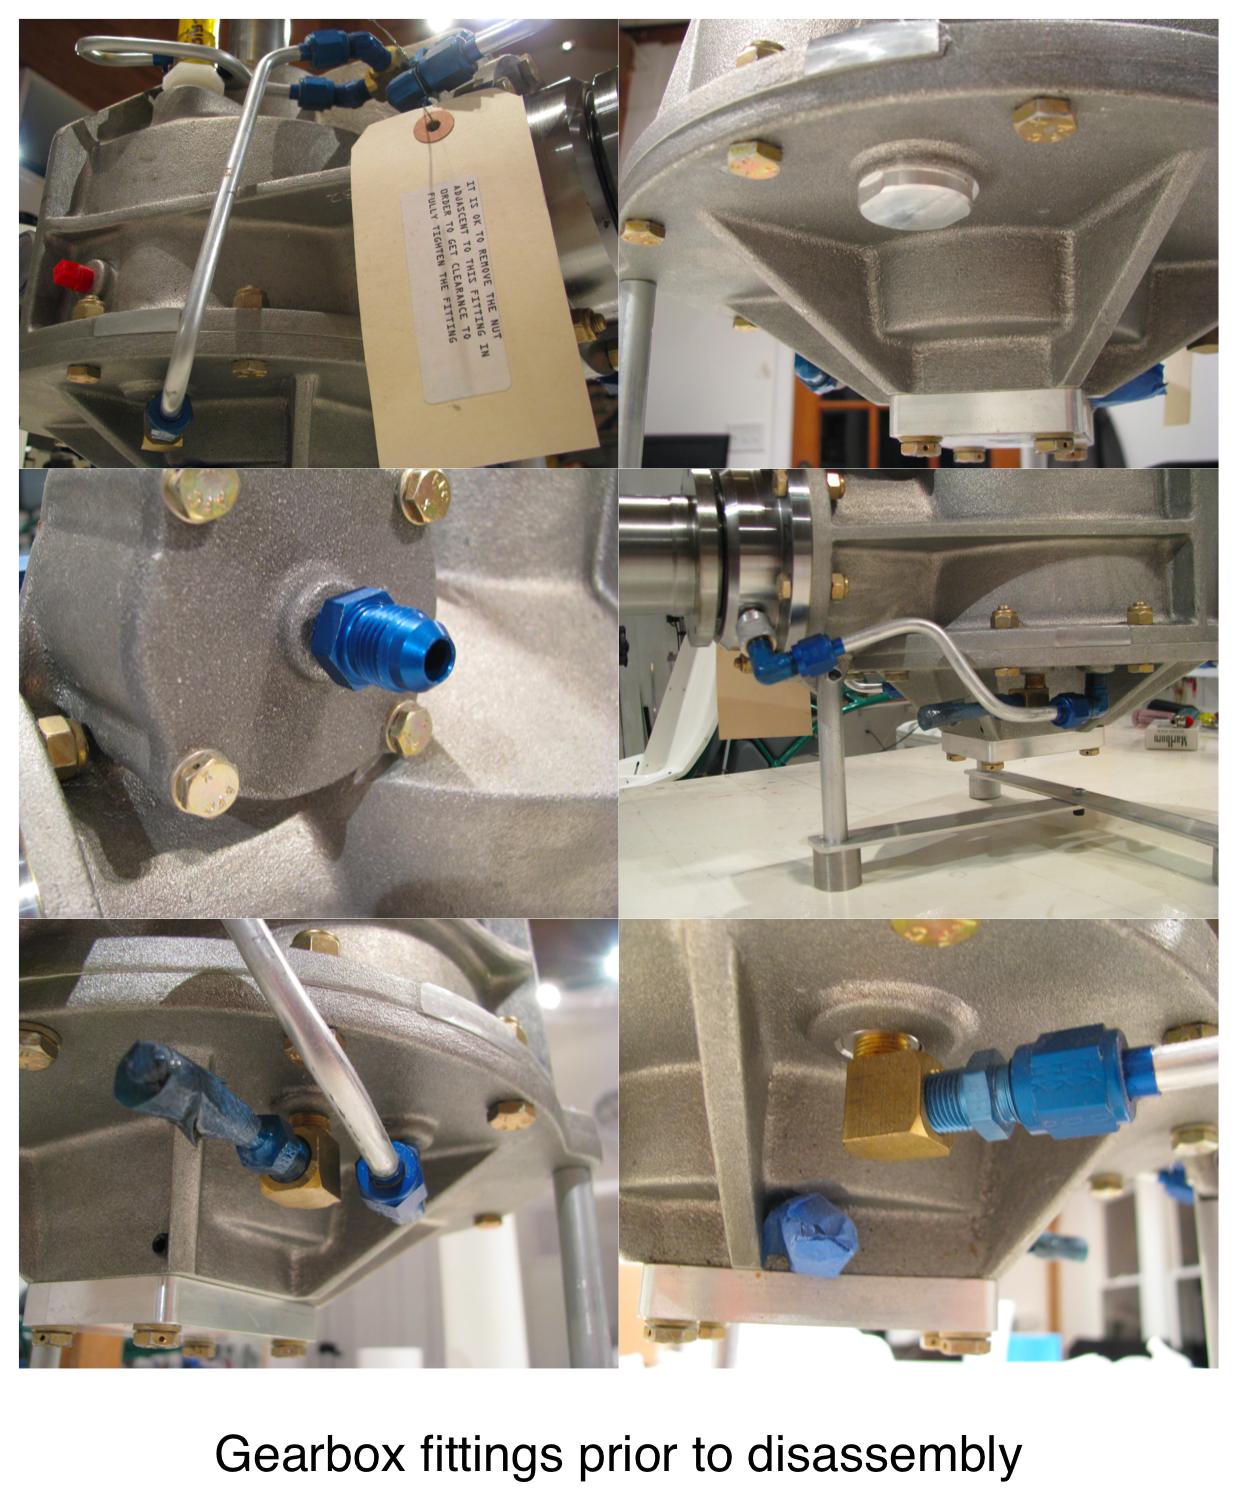
GearboxPlumbing_3.jpg